Learn how to make party favor boxes with cricut with a free cut file template
You are crafty and you want to make party favor boxes for an upcoming event.
You know it can be done because you’ve seen photos on social media.
Yet you aren’t sure where to start.
What are favor boxes made out of? How do I cut them all exactly the same? Are there any free templates I can use?
If all this makes you think twice about making your own favor boxes – take a breath. Because there is an easy way to make adorable favor boxes at home.
And that’s what I’m going to show you in this article.
This post may contain affiliate links, which means I’ll receive a commission if you purchase through my links, at no extra cost to you. Please read my full disclosure for more information.
Best Cricut machine to make party favor boxes
You probably guessed it…
You need a Cricut cutting machine. But not just any Cricut cutting machine.
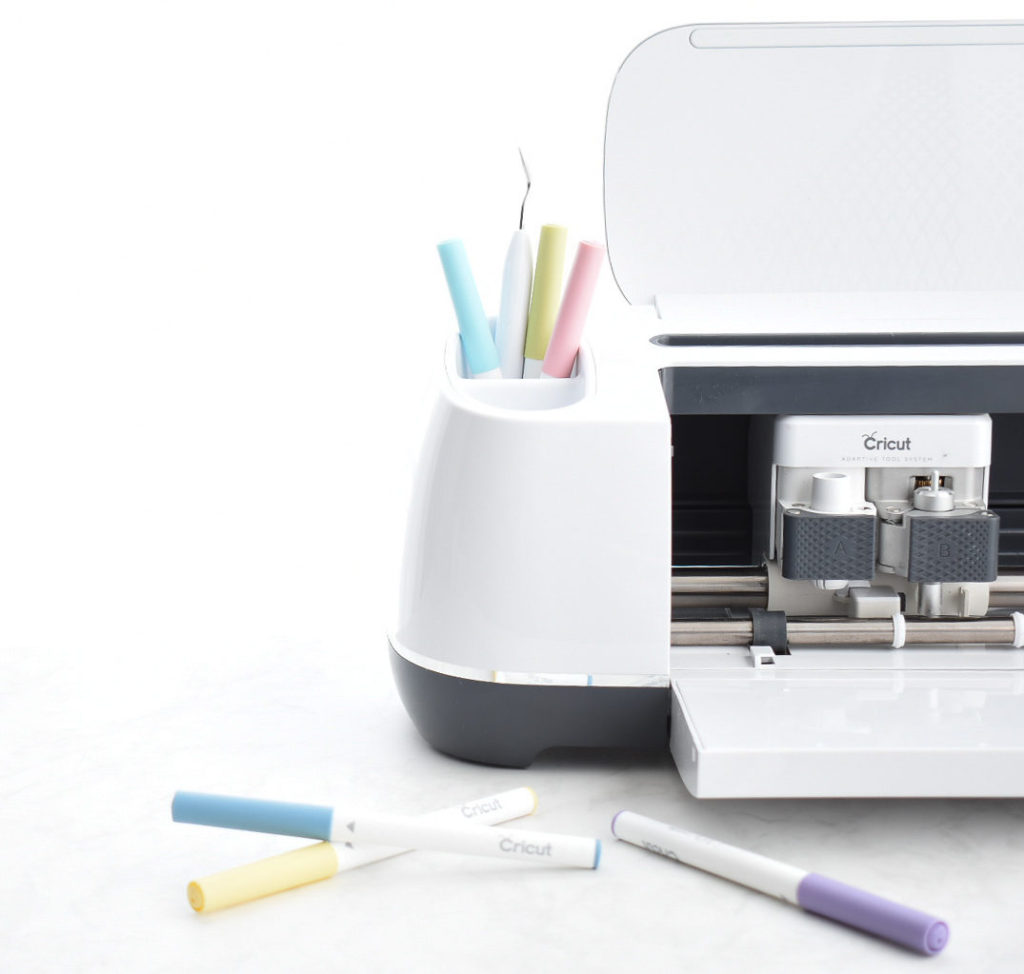
You need either a Cricut Explore Air 2/3 or a Cricut Maker/3 machine.
Why? I’m glad you asked
Here’s why this is important. Any Cricut machine that can cut cardstock can be used to make party favor boxes.
However, the little Cricut Joy has a cut size limitation of 4.5 inches wide. The cut size limit will reduce the available template options that fit or will cause you to make super tiny boxes.
The best Cricut machine to make party favor boxes one of the following:
- Cricut Explore Air 3 (best value)
- Cricut Maker 3 (cuts 300+ materials)
These machines have a cut size limit of 11.7 inches wide.
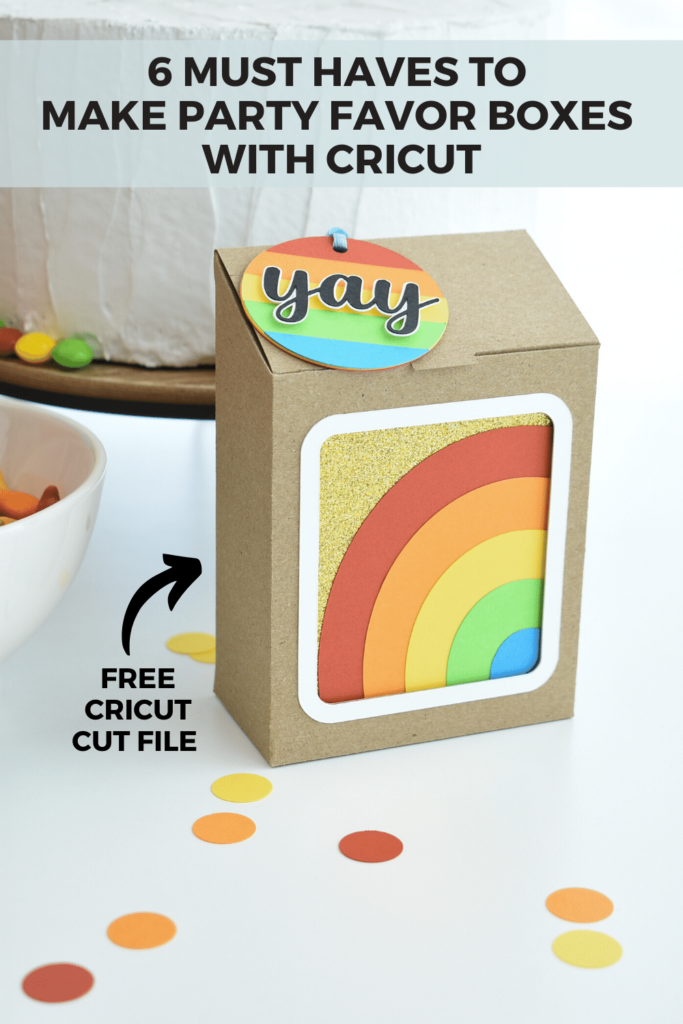
For example, this rainbow favor box was cut all at once on one Cricut mat with a single sheet of 12 x 12 cardstock.
Cardstock to make party favor boxes
But we aren’t done there. Next we need materials to cut on your Cricut machine.
To make party favor boxes, you need cardstock. Cardstock comes in a wide variety of weights and textures.
Cardstock weight refers to the thickness of the cardstock. The higher the weight the thicker the cardstock
- 65 lb = thin cardstock
- 110 lb = thick cardstock
I know what you’re thinking.
You probably think I need thick cardstock to make a favor box. Well, sure you can use a thick 110 lb cardstock.
And you can also use 65 lb cardstock to make party favor boxes. The rainbow favor box shown above was created using lightweight cardstock.
A well thought out favor box design will still work well even with thin cardstock.
Cricut blades to make paper crafts with Cricut
Next up, we need a way to score fold lines into our cardstock to make party favor boxes.
It should be no surprise to learn that favor boxes are assembled by folding score lines. Luckily for us, our Cricut machines can make score lines for us.
Score! (pun totally intended)
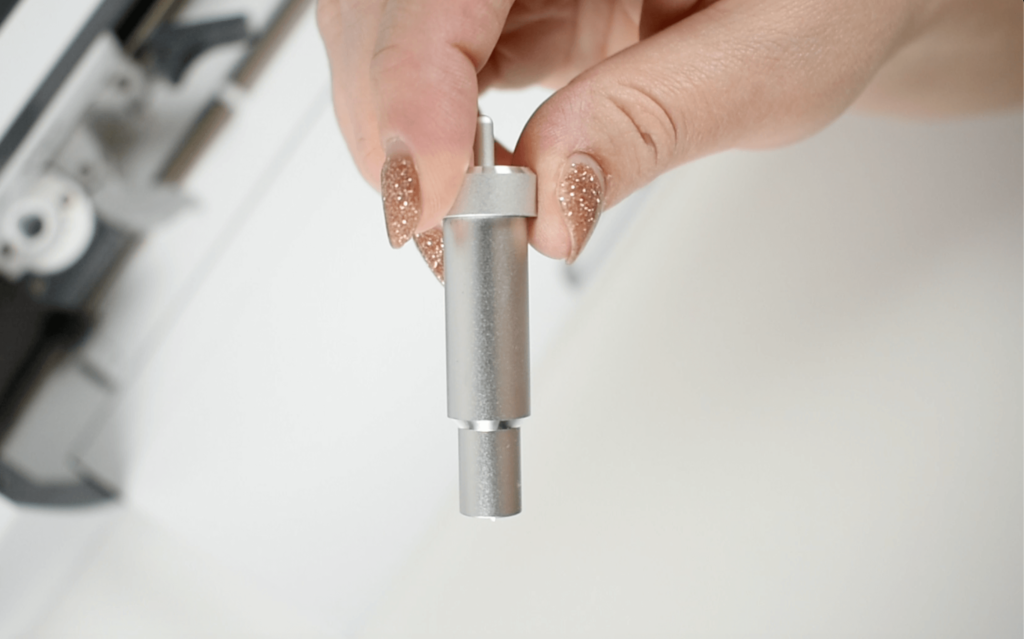
The Cricut Scoring Stylus can be used on both the Cricut Explore and Maker machines.
What’s special about the Scoring Stylus is that the Cricut machine can hold both the stylus and the cutting blade at the same time so you can cut and score in one step.
Another option for the Cricut Maker is the Scoring Wheel.
Here is what you need to know about the Scoring Wheel:
- Only works with the Maker
- Creates extra-deep score lines for super crisp creases
- Has 10X more pressure than the Scoring Stylus
- Adds a little extra time to switch out the blade during the cut
Best glue to make party favor boxes with Cricut
Stick with me here because we are headed to simpler papercraft tools.
We need glue or adhesive to assemble and secure our boxes together.
Believe it or not – not all glue is created equal. That elmers school glue you used as a kid, won’t work as nicely on cardstock.
That is because school glue is very watery and will wrinkle cardstock.
For that reason, I use a glue made specifically for papercrafts, dries clear and comes with a precision tip for super tiny areas.
The precision tip makes it really easy to control the amount and flow of the glue.
Other options for adhesive to use with papercrafts are:
- Glue gun with small tip
- Double sided tape
Best Cricut Mats for cardstock
Now, this is important and can make or break your project.
You might be wondering which Cricut mat is the best to make party favor boxes.
With your Cricut machine, you will use mats to load the cardstock into the machine. The Cricut will use the mat to keep the cardstock stable while cutting.
Let me break this down for you with a list of machine mats:
- Blue LightGrip Mat: light/thin cardstock, printer paper, construction paper
- Green StandardGrip Mat: medium cardstock, textured paper, patterned paper
- Purple StrongGrip Mat: Thick cardstock, Glitter cardstock
The reality is, for Cricut papercrafts you need all three varieties of machine mats. It really depends on the type of cardstock you want to cut.
For the most part, you can get away with using the LightGrip (blue) and StandardGrip (green) mats. Once in a while, you may need the purple mat for a really thick or heavily textured cardstock.
How to apply and remove cardstock without tearing
My final must haves to make party favor boxes with Cricut are two tools I use all the time:
For a long time I was not convinced a brayer was necessary, and then I got one.
A brayer makes a noticeable difference for how well your cardstock sticks to the Cricut machine mats, which then leads to better cuts especially for the most difficult little pieces and the really textured glitter cardstock.
Cricut has a brayer but there are other options available such as this one.
I can almost hear you thinking – what on earth does a spatula have to do with paper projects?
It may seem like a random tool but the Cricut Spatula is helpful for removing cardstock from the machine mat.
The Spatula only comes in sets like this one with the scraper tool. Bonus! Because the scraper tool is handy for scraping tiny cardstock pieces off the machine mat without damaging the mat.
How to make a favor box with Cricut
To help you make party favor boxes, I made this Rainbow favor box a freebie in my shop. Go grab the free template and upload the cut file into Cricut Design Space.
What supplies do I need to make this project?
Prepare the favor box in Cricut Design Space
When you upload a project with score lines, you need to change the lines from cut to score.
Select all the lines and go to Operation on the top menu. Then select Score. This will change all the lines to score lines.
Select the box and the score lines, and click attach. Attaching the score lines to the box will keep the score lines in place once you click make it.
Click make it when you are ready to cut the design.
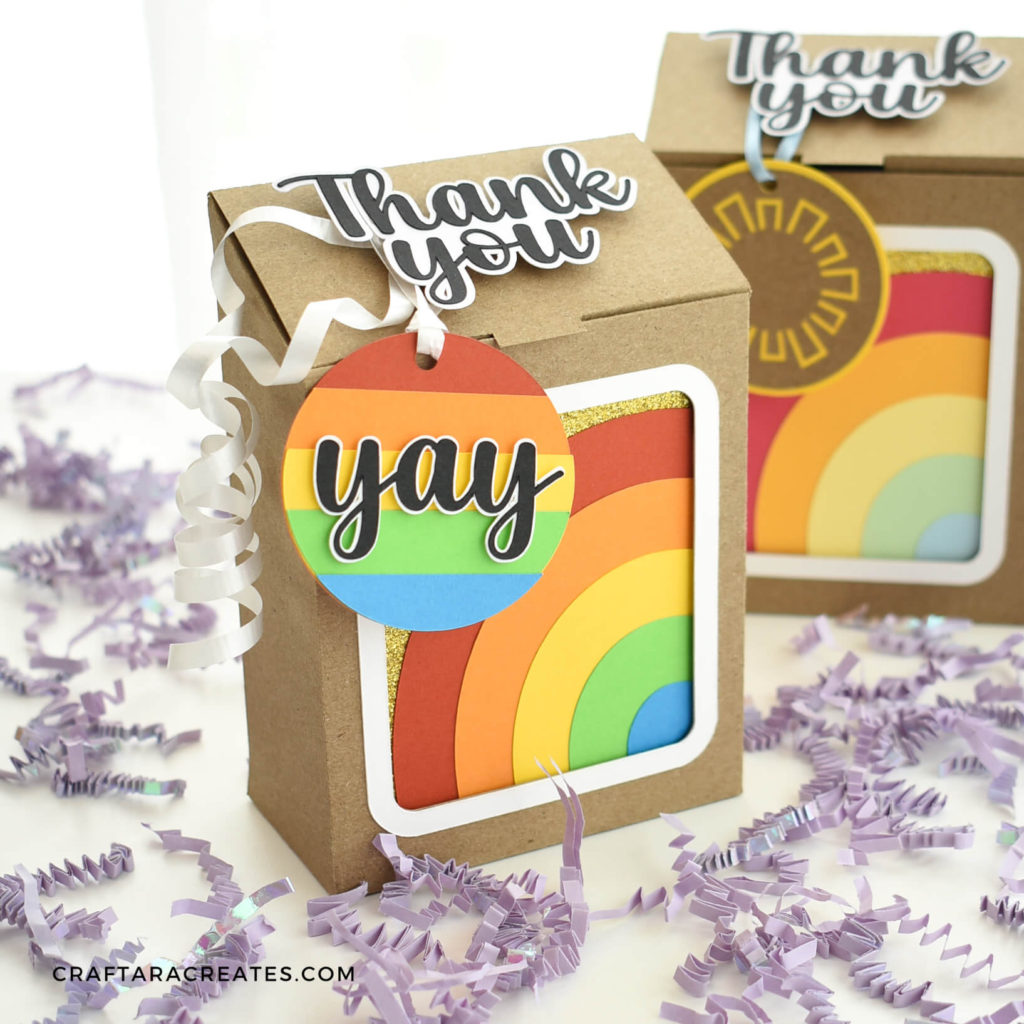
For the favor box I made, I used brown kraft paper for the box and gold glitter cardstock for the background of the rainbow. And I used a bunch of colors to create a rainbow.
Continue on and cut the project with cardstock using your Cricut cutting machine.
How to assemble your favor box
Once all the pieces are cut out, use paper glue to assemble the rainbow one layer at a time.
Once the rainbow is completed, glue to the rectangle. The rectangle is the background of the rainbow.
Go ahead and glue the frame around the outside of the favor box window.
Next, fold all the score lines inward. Glue the thin flap above the window down. This is extra reinforcement at the top of the box where the lid closes.
Before you fold together the box, add the rainbow to the window. I used thin double sided adhesive tape to secure the rainbow to the window. This adds a little dimension and looks like an inset.
Once the rainbow window is done, fold the box together. Add glue to the flap and hold for a moment to let the glue set.
Add glue to the bottom flap as well.
Double check that the box is secure and add extra glue if needed.
I put the extra rectangle cut in brown kraft paper into the bottom of the favor box. It is for extra support.
And that’s it. Your Cricut made rainbow favor box is ready to use.
Was this tutorial helpful?
Did you find this tutorial about how to make party favor boxes with Cricut helpful? If so, please pin this idea and let me know your thoughts in the comments below!
