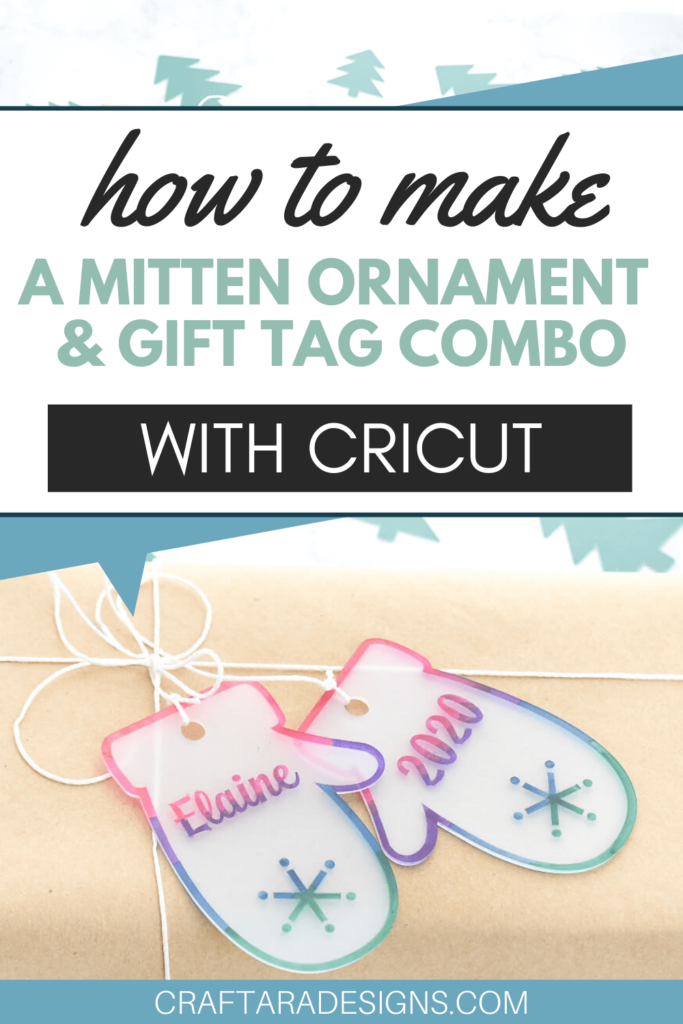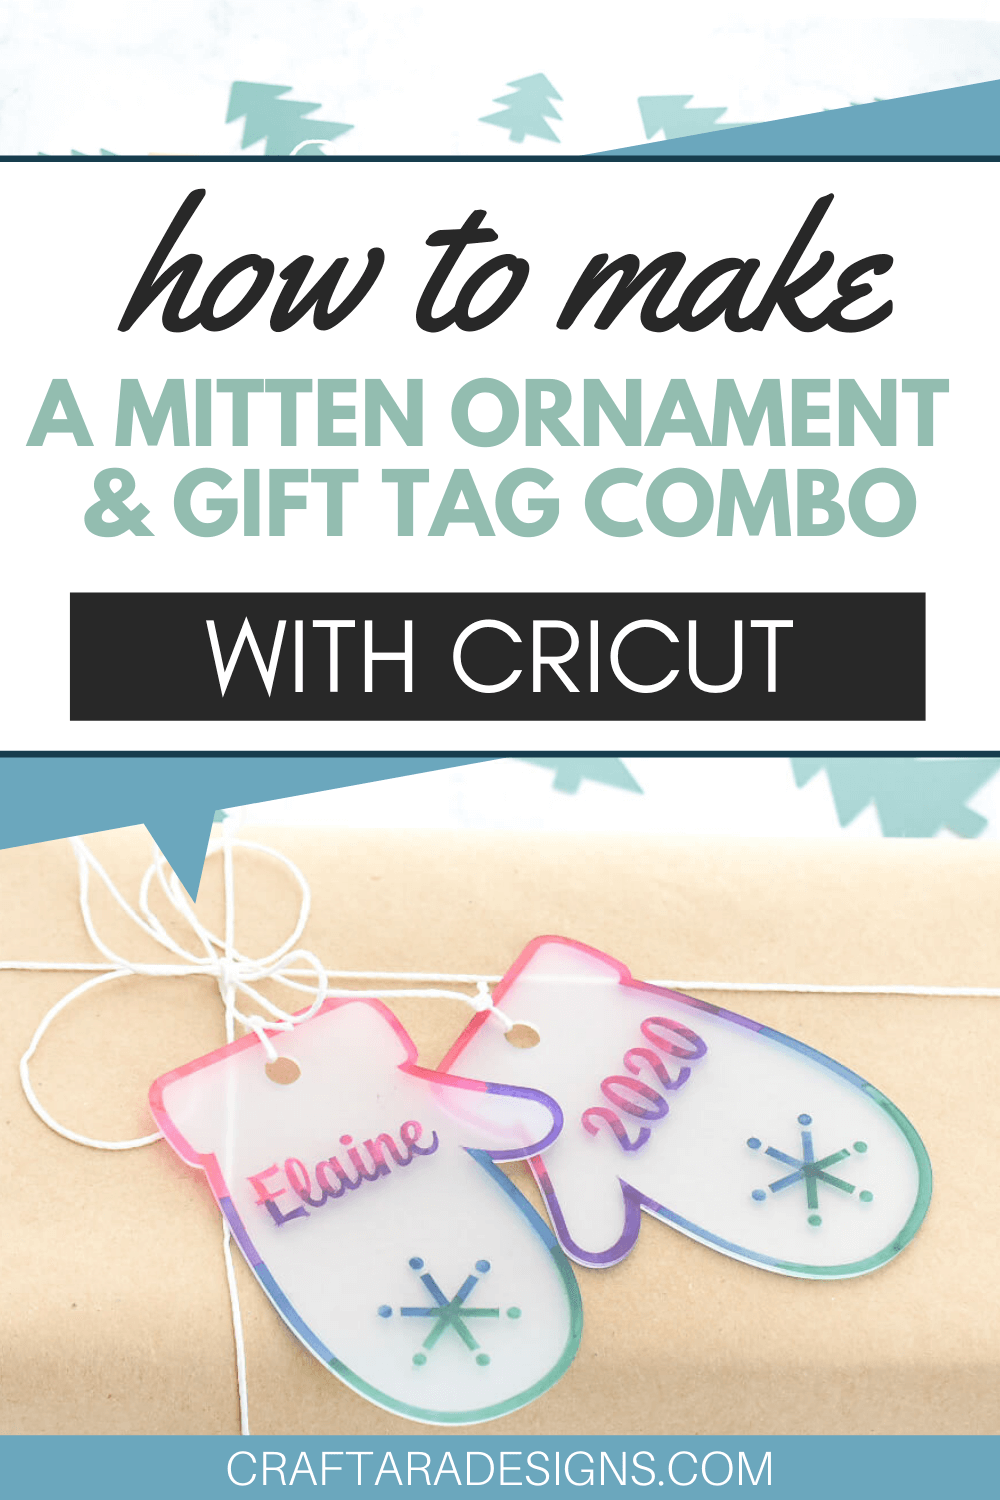
Learn how to use a vinyl stencil to create a personalized mitten ornament using your Cricut and shrink plastic.
My oldest daughter loves to watch shrink plastic bake in the oven. She gets so excited when the plastic starts to move and curl as it heats up. In fact, she puts a small kid seat in front of the oven so she does not miss out on anything.
This is a kid friendly project using removable vinyl as a stencil on shrink plastic. Learn how to personalize a mitten ornament/gift tag combo using your Cricut – perfect as a unexpected addition to your already beautiful gift wrap.
DIFFICULTY LEVEL
Easy to Medium
SUPPLIES
- Cricut (Explorer Air 2 or Maker)
- Cricut mat (either light or standard grip)
- Cricut Deep Cut blade
- Removable vinyl
- Pre-sanded Shrink plastic
- Washi tape (alternatives: masking tape or painters tape)
- Alcohol ink markers (alternatives: colored pencils or Sharpies)
- Ribbon or String
- And an oven to bake the shrink plastic
DIRECTIONS
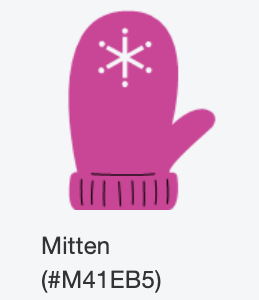
I created this project in Cricut Design Space. The mitten design is #M41EB5 however, I have prepared the design with the cut hole for the string. Click here for the link to the Design Space project.
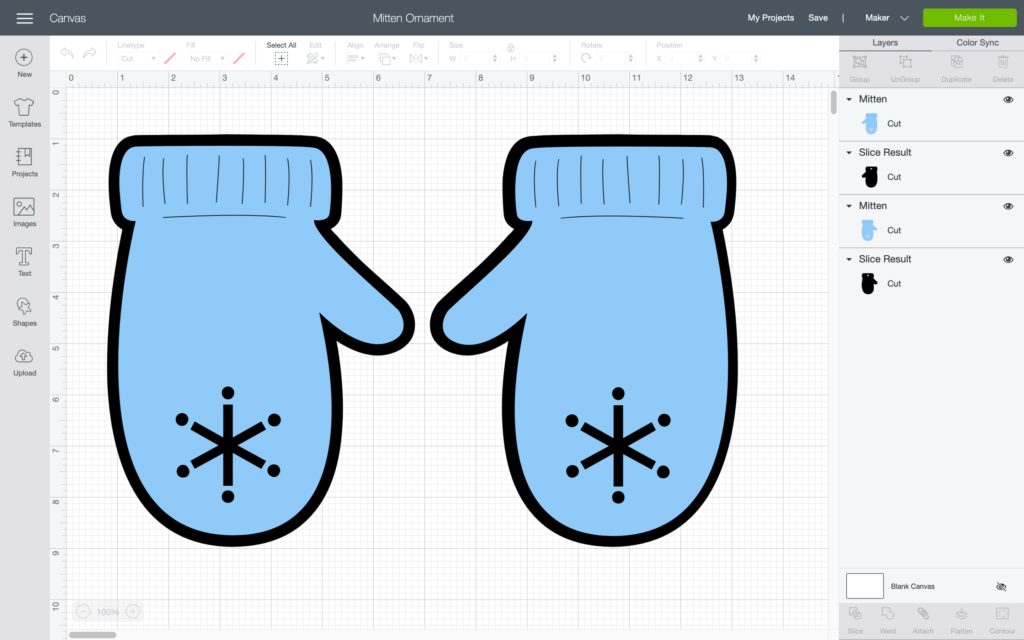
To personalize with a name and year, start by double checking all layers are ungrouped.
Add the text you want to put on the stencil.
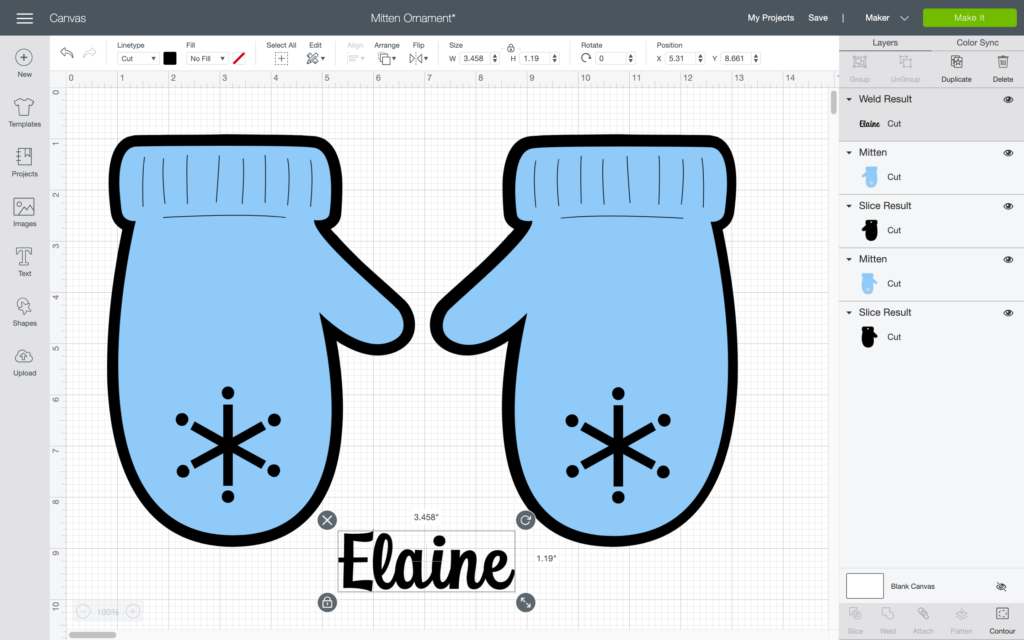
Place the text over the top (blue) later of the mitten.
Prepare your design for the Cricut by attaching the text to the top layer of the mitten design. Select the blue mitten layer, hold down shift and select the text. Now with both the top (blue) mitten layer and text selected, select attach.
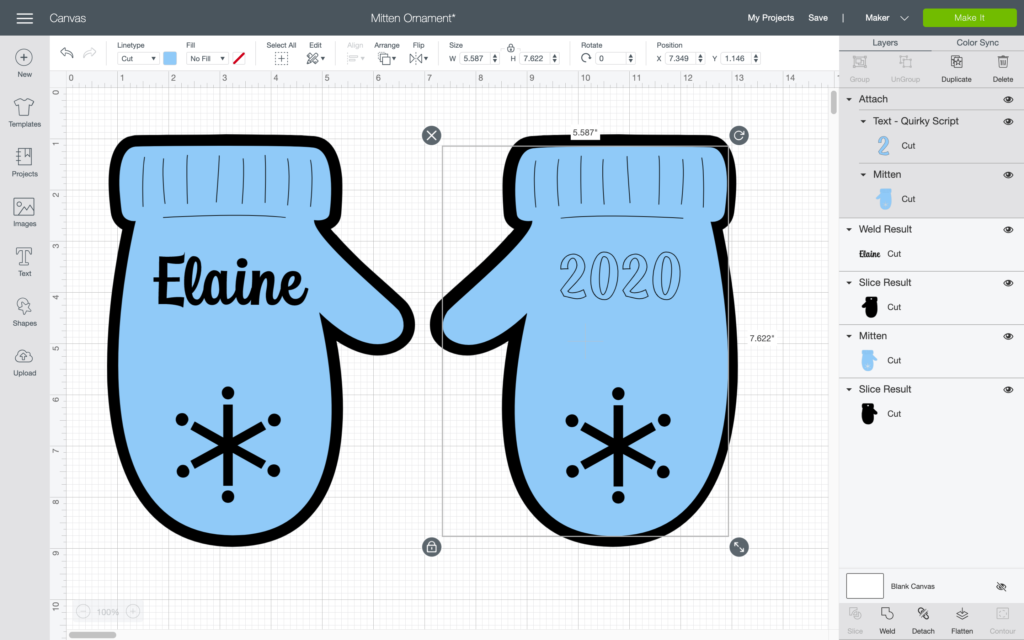
Send the project to the Cricut by clicking ‘Make It’. Cut the bottom black colored base layer with shrink plastic. Cut with the smooth, shinier side down and the rougher side up. Secure the outside edges of the shrink plastic with washi tape and switch the blade to the deep point blade.
Cut settings:
Acetate
More Pressure
For the top layer (blue color), cut using removable vinyl. Weed out the text and snowflake to use as a stencil.
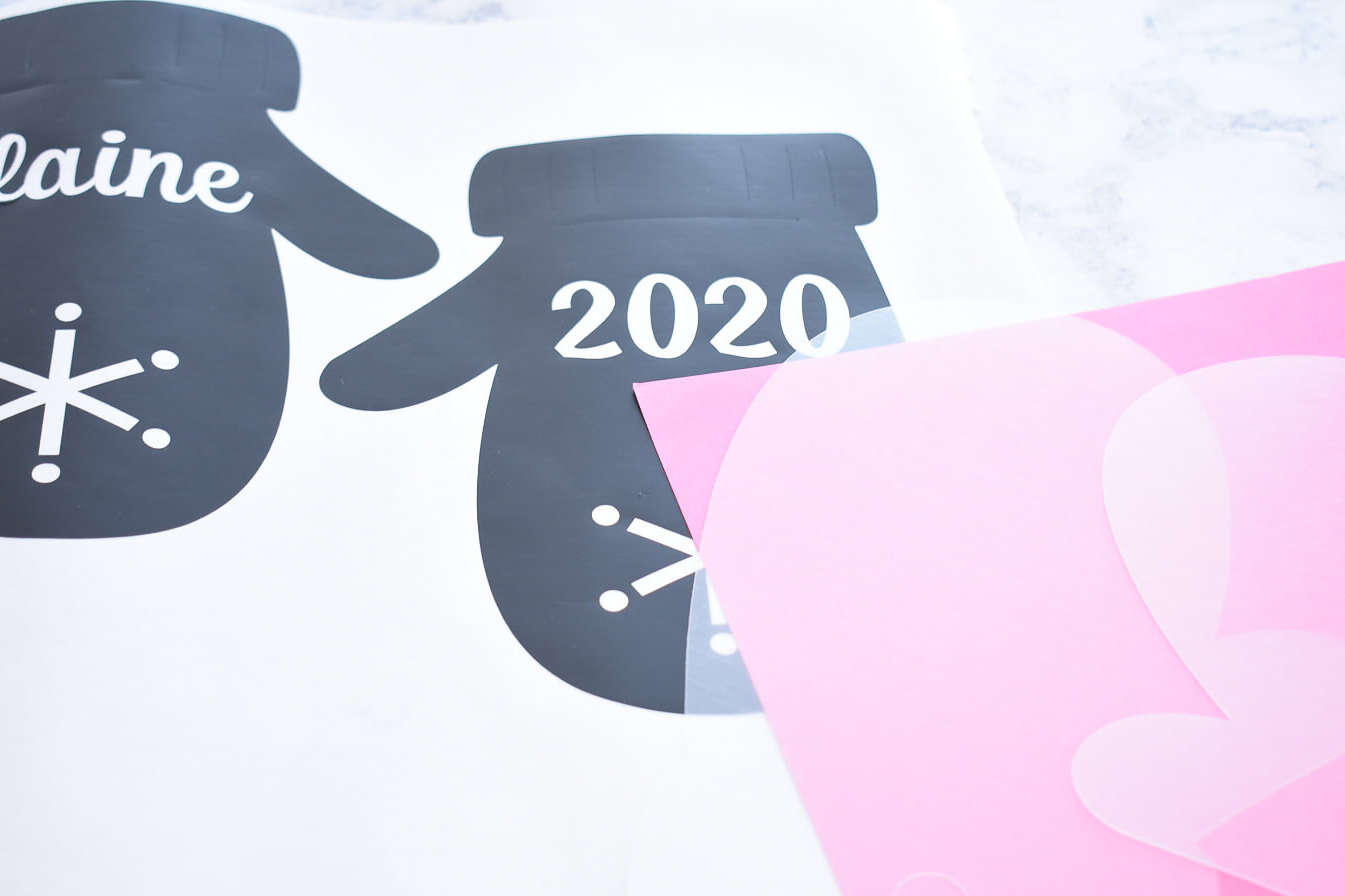
TIP: To easily apply the stencil to the shrink plastic, lay the removable vinyl stencil down with the sticky side up and apply the shrink plastic to the vinyl. The shrink plastic is transparent so it is easy to see placement.
Be sure to check that you are applying the vinyl stencil to the rougher side of the shrink plastic. The rough side will take the color better in the next step. Push out any air bubbles and double check the vinyl is applied well to avoid color bleed.
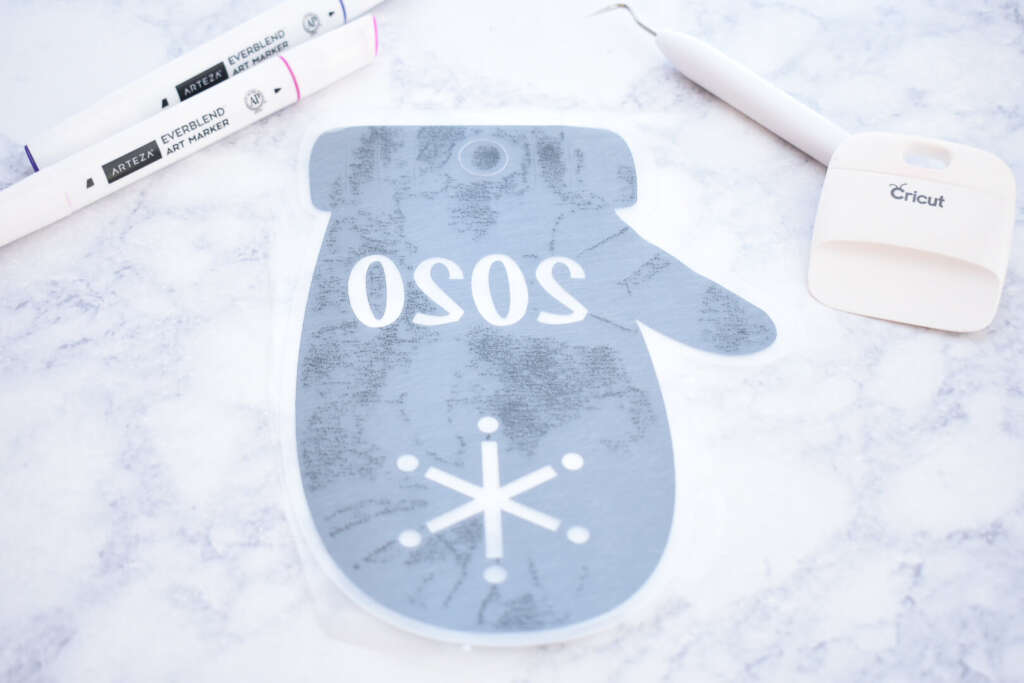
Time to add color! I used alcohol ink markers to add color. Shrink plastic also works well with sharpie markers or colored pencils. Feel free to let the kids add color but avoid crayons as the wax will not do well when the shrink plastic is baked.
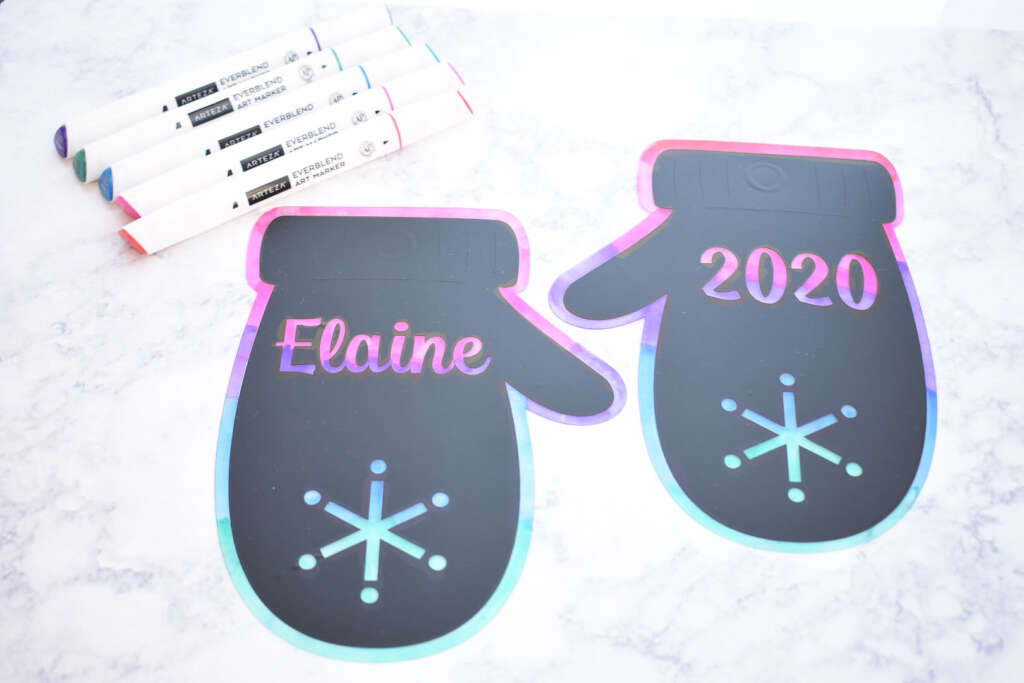
Once the markers are dry, carefully remove the vinyl stencil.
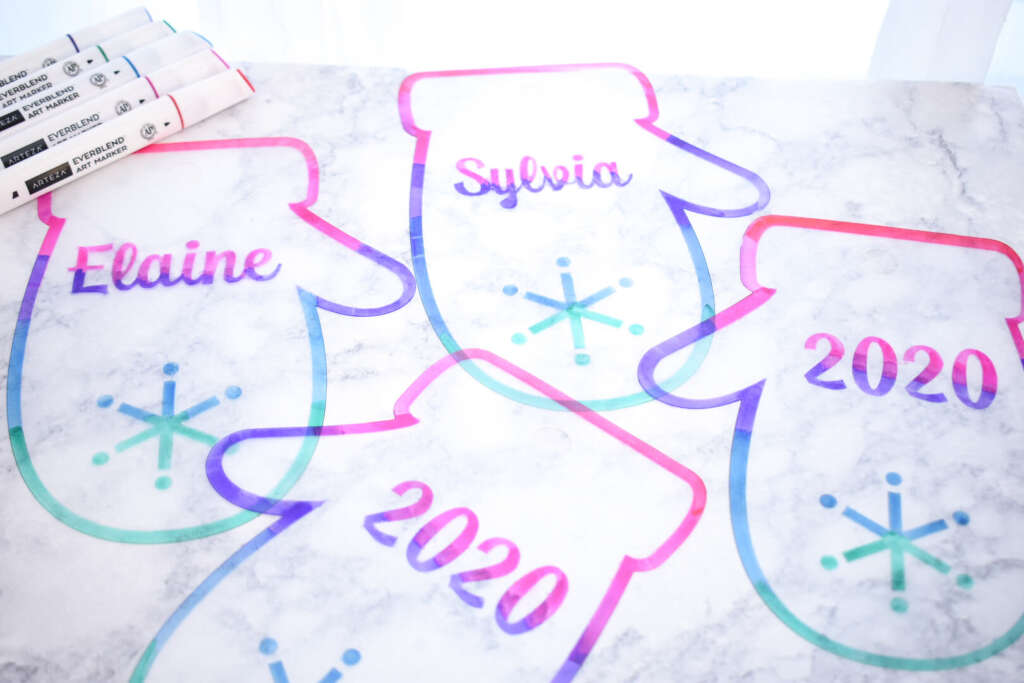
Bake the shrink plastic according to the package instructions. The shrink plastic will curl and crinkle up in the oven. Don’t worry! The plastic will go flat again.
