


Learn how to design and make a DIY gamer cake topper
For me, it is easy to come up with cake topper ideas for my young kids. But for older kids, it’s a challenge to find ideas they can relate to. If you have a video gamer in your life, learn how to use your Cricut machine to make a simple DIY gamer cake topper.
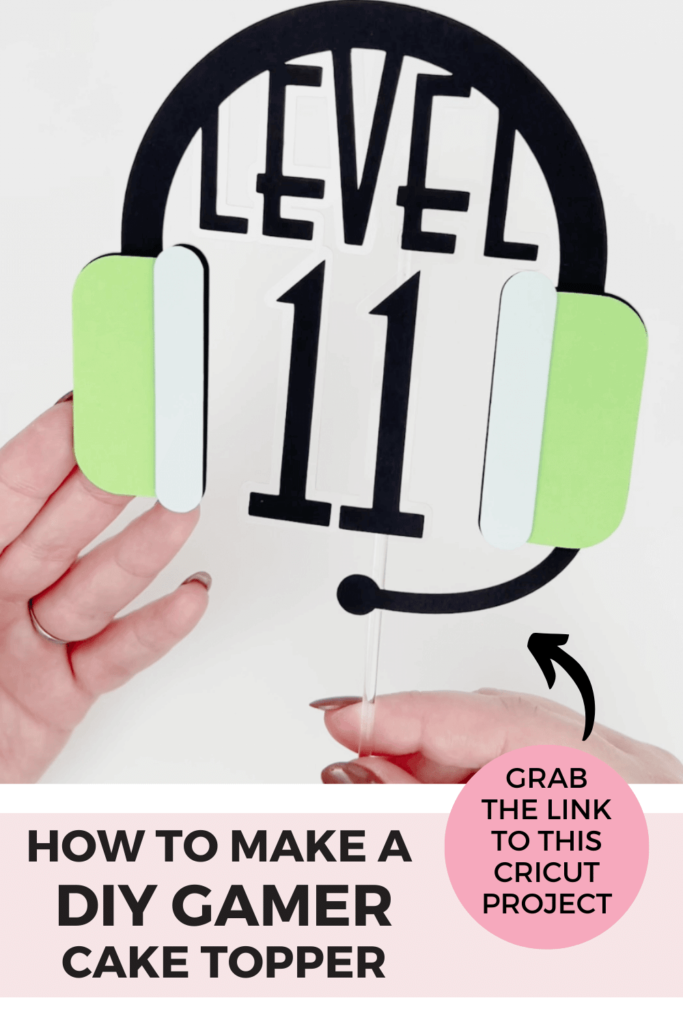
This DIY gamer cake topper includes the age for the birthday boy/girl/adult as the level which appears to be floating. Follow along as I show you how to design a DIY game cupcake topper with Cricut perfect for a gamer that uses headphones.
Lucky for you, I’ll show you my trick to achieve the floating effect.
This post may contain affiliate links, which means I’ll receive a commission if you purchase through my links, at no extra cost to you. Please read my full disclosure for more information.
What is a Cricut machine and which one do I need?
If you are new to the world of Cricut cutting machines, let me help you get started.
A Cricut machine is a at home, desktop cutting machine. With a cricut machine, you can cut a variety of materials quickly and with much more precision than cutting by hand.
For cake toppers and paper crafts, I recommend the Cricut Explore Air 3. This machine is all you need for paper projects.
With that said, I personally have both Cricut Explore Air and Cricut Maker models.
Why?
Sometimes I try other projects beyond papercrafts. The Cricut Maker is more powerful and has additional blades to engrave or cut thin wood/plastic.
Either way, the Cricut Explore Air 3 or the Cricut Maker 3 will work for this cake topper project.
Do you love this tutorial? Never miss another one.
Let’s be craft besties and stay in touch. Join the Craftara family to gain access to my resource library full of free SVG cut files compatible with Cricut. Sign up below to unlock the resource library and never miss any of my tutorials.
You will be included in my email newsletter with helpful Cricut ideas, tips and resources. Unsubscribe anytime and your email will never be shared.
How do I make a DIY gamer cake topper?
Cricut design space has a project share feature. And since I created this DIY gamer cake topper using images from the Cricut library, you can check out the pre-made project.
Here is the link to the DIY gamer cake topper project in Cricut design space:
Here’s what you’ll need to make a DIY gamer cake topper
Find the DIY Gamer cake topper project in Cricut Design Space
Click on the DIY Gamer cake topper project link -> HERE to open this project in Cricut Design Space.
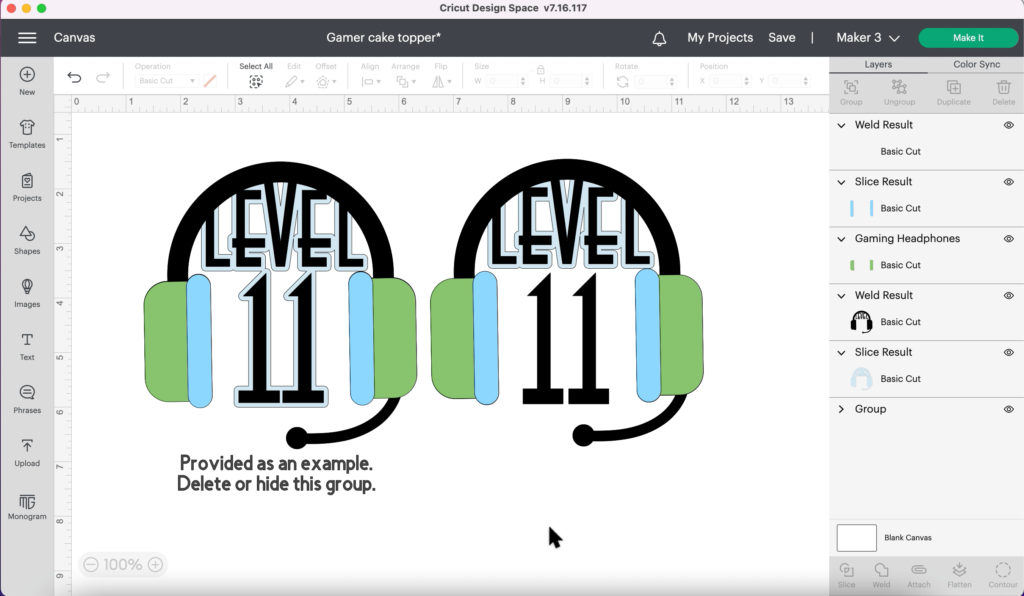
Click customize to open the project in Cricut Design space.
You will find two designs on the canvas:
- A completed example cake topper
- A ready to customize with an age cake topper
How to customize the DIY Gamer cake topper project in Cricut Design Space
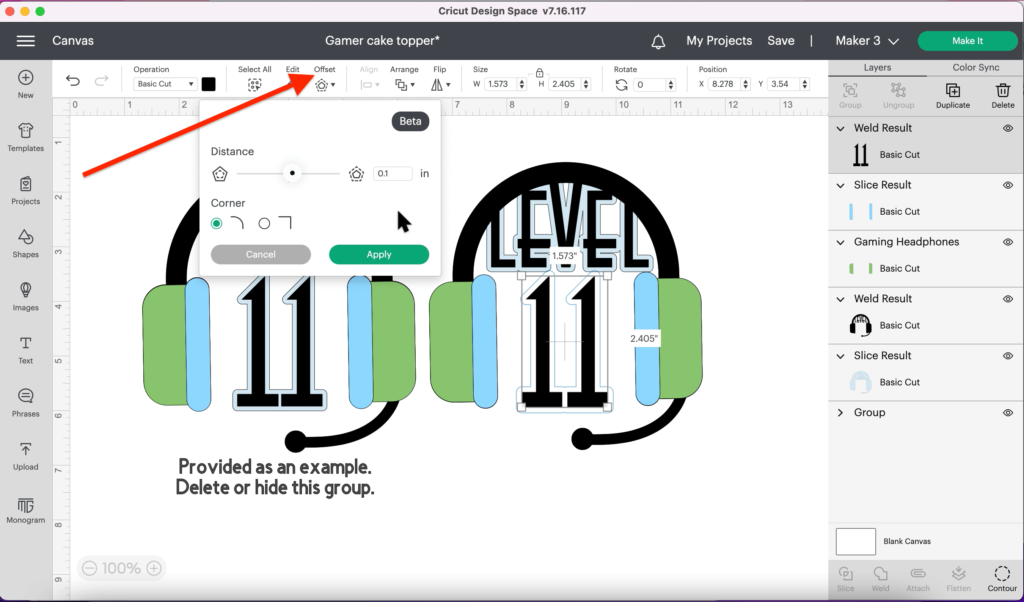
Start by adding text and type the age you want to use. Adjust the size and color of the number to fit well in between the headphone set. You want the number close by not touching the word Level.
With the number selected, click offset. Select an offset that touches the offset of the word level.
Next click the offset layer for the level and headset and click the offset for the number, then click on weld. This will create one offset for the whole project.
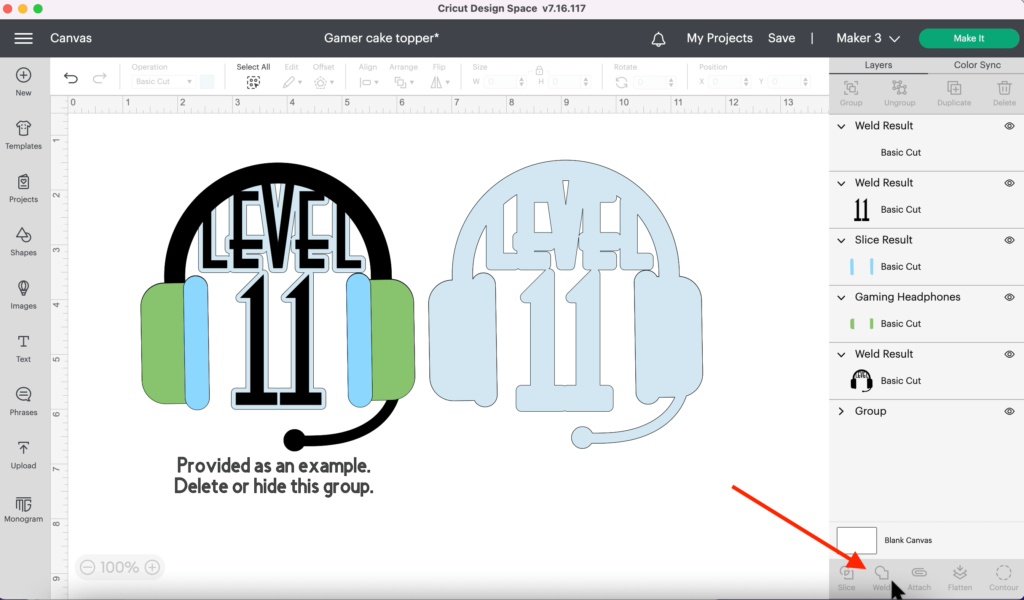
The offset is light blue and will be cut with clear acetate. You can use any color for the offset layer – whatever works for you.
Before you send to Cricut be sure to hide or delete the other example design.
Cut your DIY Gamer cake topper pieces
This project uses 3 cardstock colors and acetate.
At the set material screen, choose the type of cardstock you have. I chose the medium cardstock setting.
I always use a brayer to make sure the cardstock is well stuck to the mat. This ensures the best cutting results.
To remove cardstock from your machine mat, turn the mat over and push the cardstock to the table and peel back the mat.
Next up is the acetate. We are using acetate for the offset layer. In Cricut design space you can search for the material setting for acetate.
To cut acetate, add the clear plastic to a blue or green Cricut mat. Use a brayer to make sure the acetate is stuck well to the mat. If you opened a new sheet of acetate, check to see if there is a clear plastic liner on either side.
Unload the mat when the cut is complete. Next we will assemble the box.

how to assemble your DIY Gamer cake topper
Once the project is cut out, follow the steps below to assemble your cake topper.
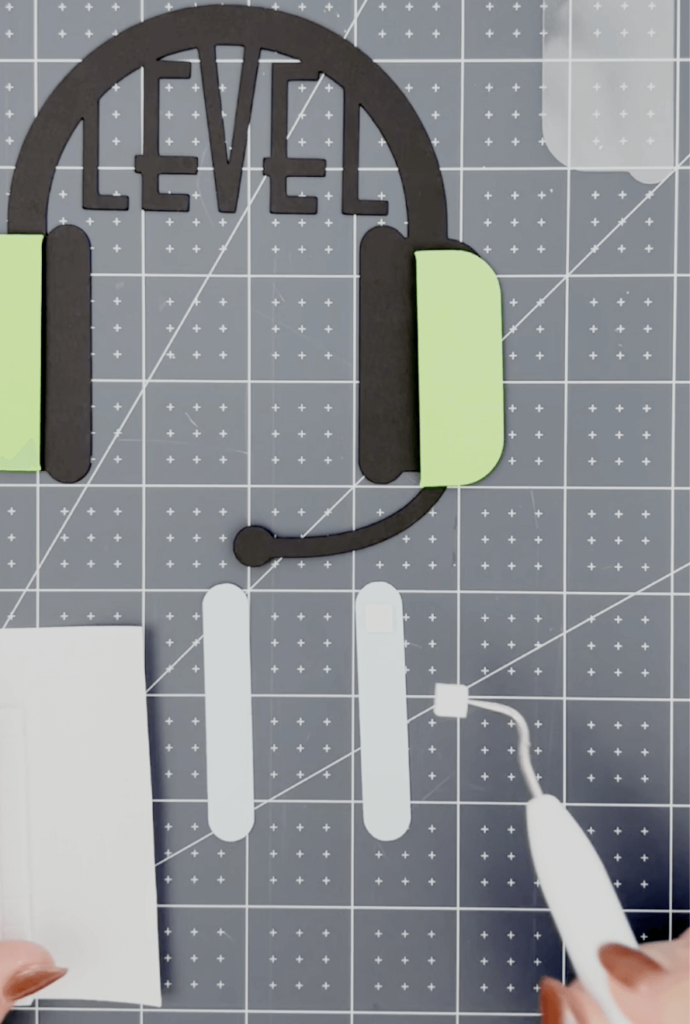
Step 1: To add a little dimension to this project, I used adhesive craft foam to create the headphone speakers.
It’s so easy to use a weeding tool to grab foam squares and place them. The wedding tool is perfect for stabbing and grabbing the craft foam.
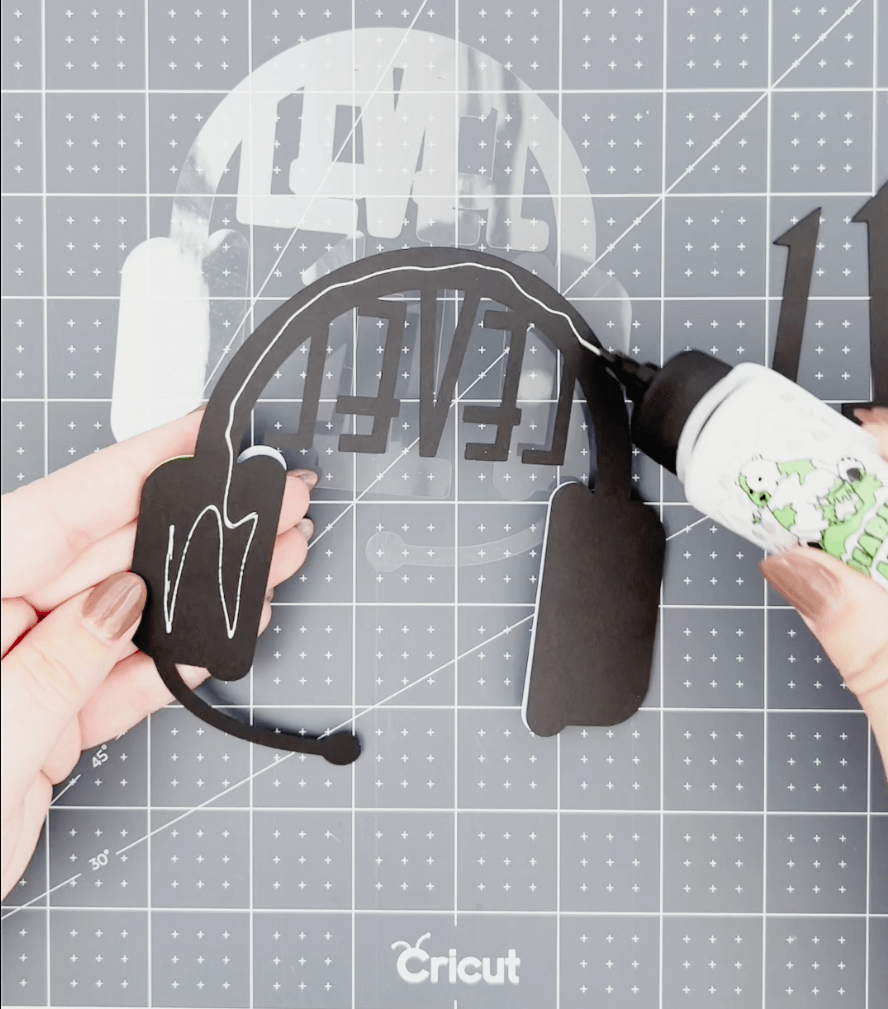
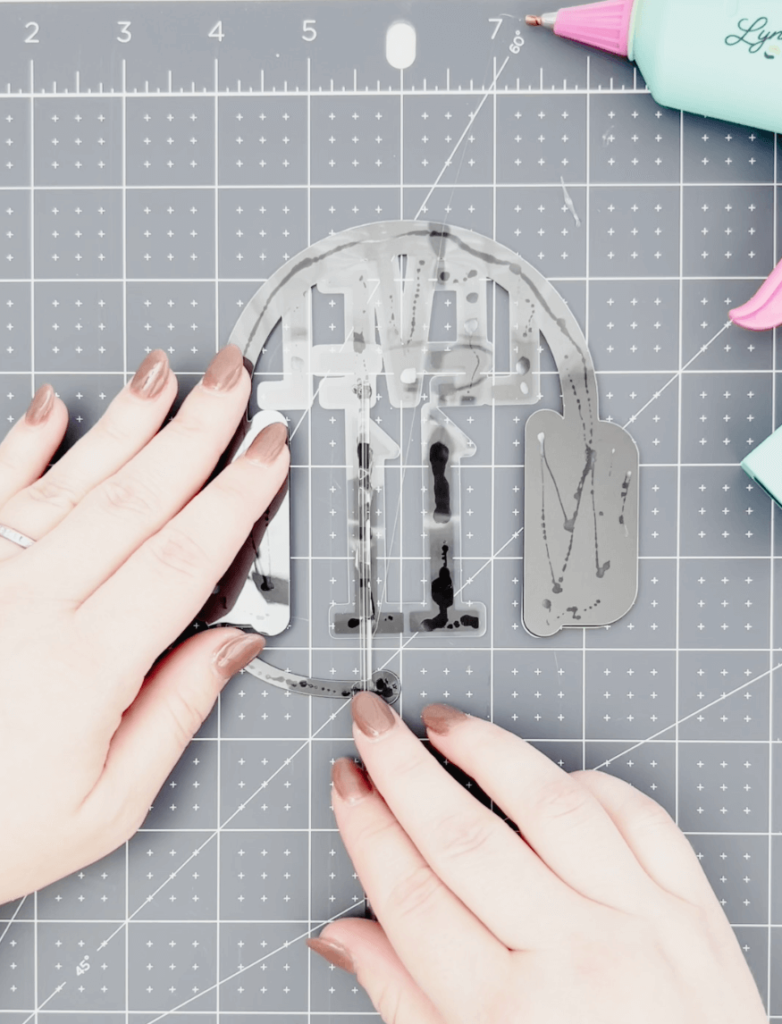
Step 2: Time for the acetate to create a floating effect.
I used paper glue with a precision tip to add the acetate to the back of the headphones.
Step 3: Last step is to add a stick. I used a clear acrylic cake pop stick which works great for the floating effect. Add the stick with hot glue.
Done! Your floating Level up gamer cake topper is ready to go.
WAS THIS TUTORIAL HELPFUL?
Did you find this information on how to make your own DIY Gamer cake topper with Cricut helpful? If so, please pin this idea and let me know your thoughts in the comments below.