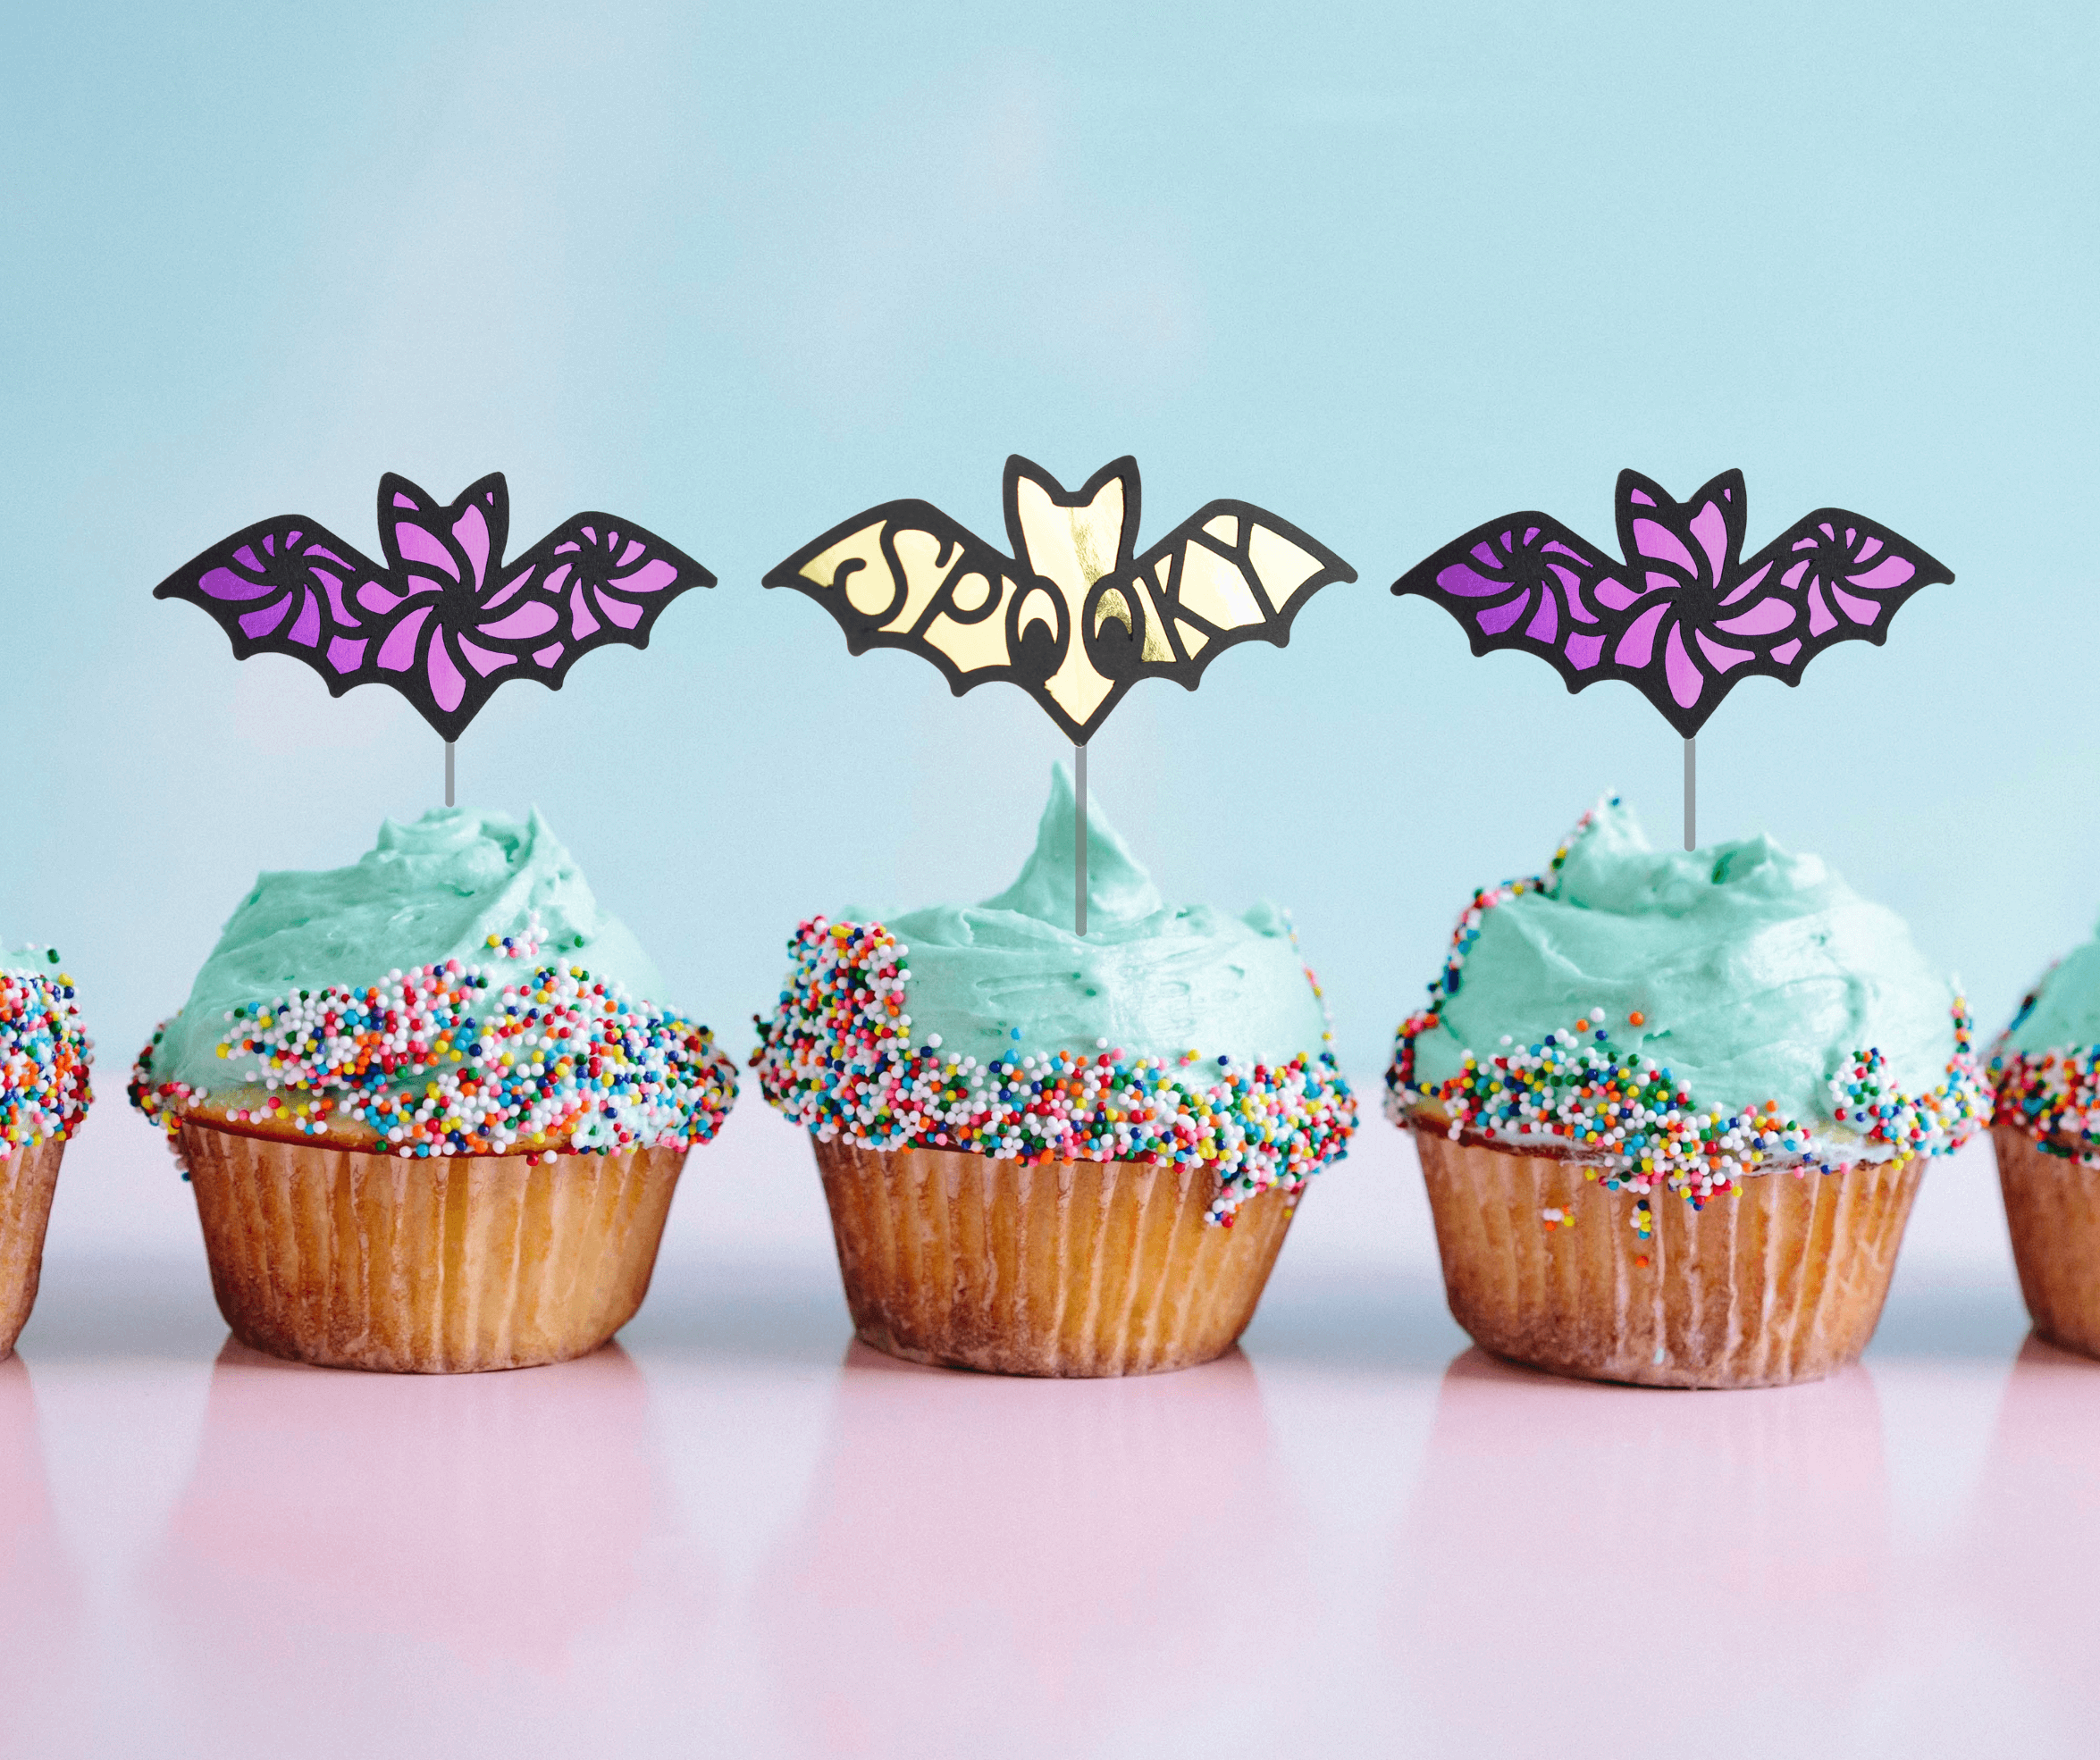
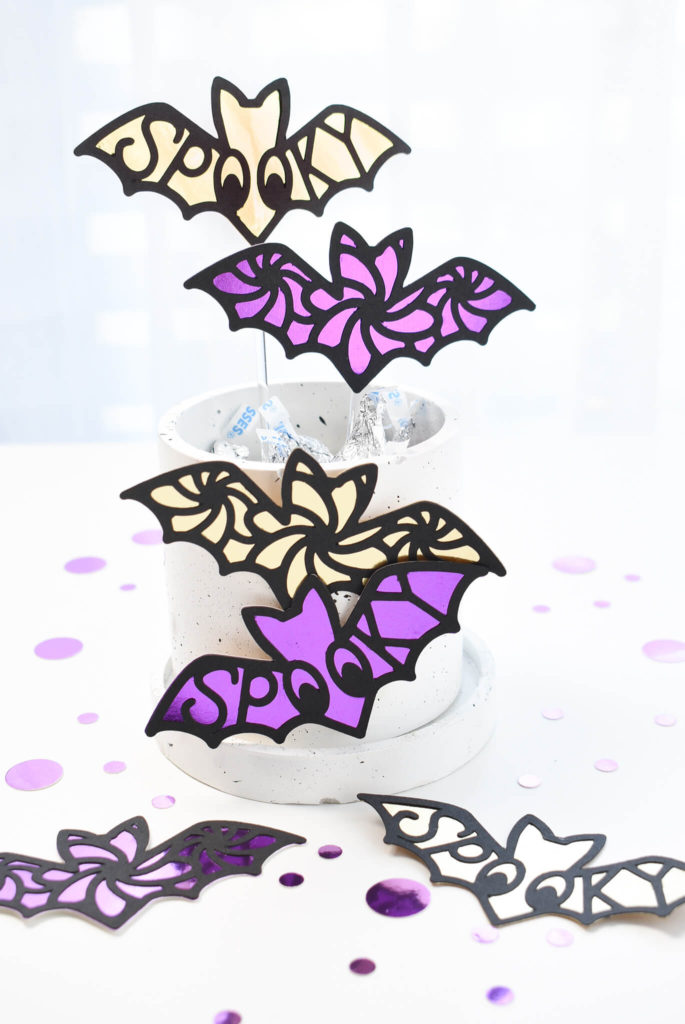
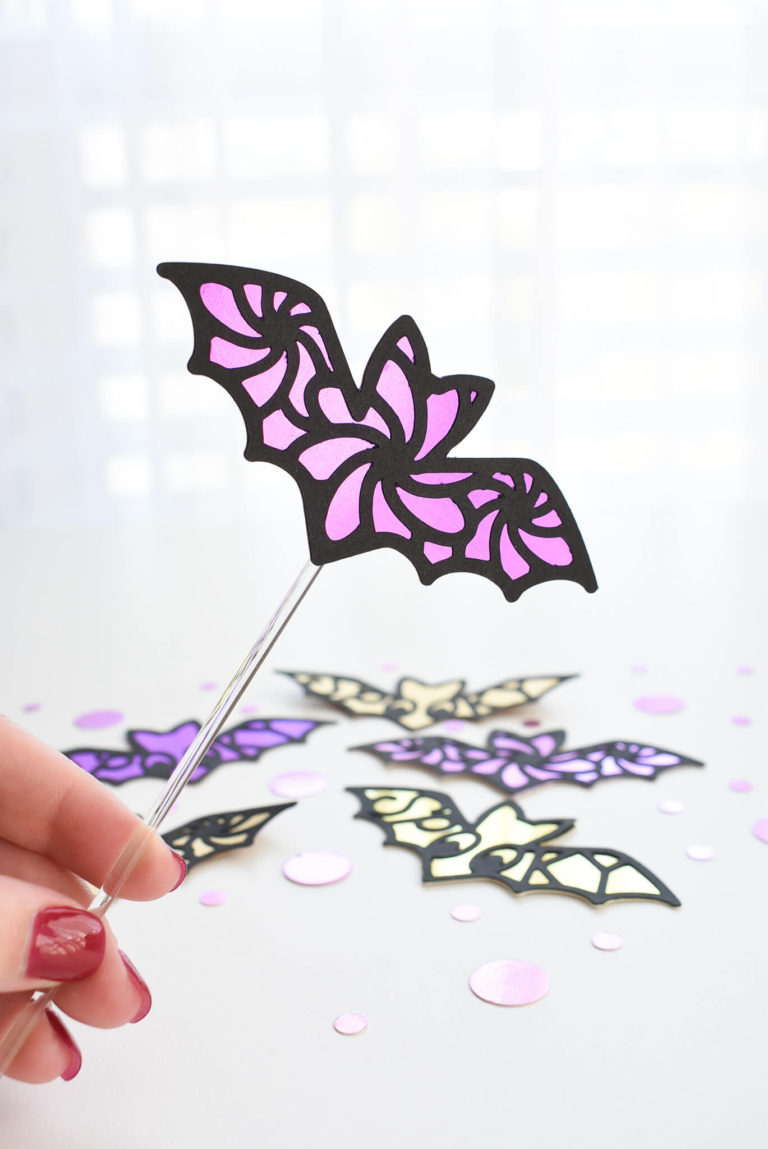
Dress up your Halloween party with these fun spooky bat paper crafts. This two layered design is easily cut with any Cricut cutting machine. These fun DIY Halloween cake topper decorations work well as cake toppers or extra decorations for the candy bowl. My 5 yr old loves the pink bats and added them to her kindergarten class goodie bags.
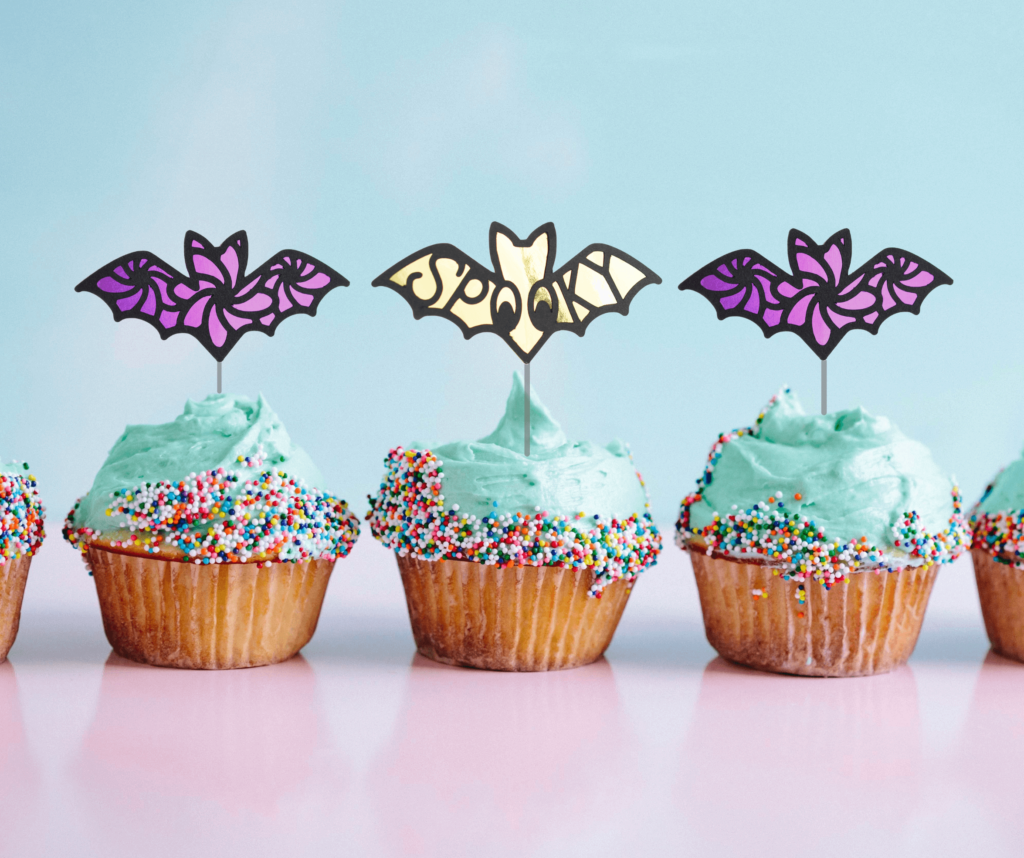
I used foil cardstock to give my DIY party decoration bats extra shine. Along with an acrylic cake pop stick, these DIY Halloween cake Toppers would be the perfect addition to cupcakes.
This post may contain affiliate links, which means I’ll receive a commission if you purchase through my links, at no extra cost to you. Please read my full disclosure for more information.
Grab the design here
The DIY Halloween cake topper Bats cut file free in my resource library. Sign up here to unlock the resource library and grab the free SVG cut file. You will find this in the Fall & Halloween section of the resource library.
You will be included in my email newsletter with helpful Cricut ideas, tips and resources. Unsubscribe anytime and your email will never be shared.
Here's what you'll need to make DIY Halloween cake toppers with Cricut
How to make DIY Halloween cake toppers with Cricut
To get started making the DIY Halloween cake toppers with Cricut, upload the free SVG cut file into Cricut Design Space and adjust the size as needed. I cut my toppers at 4 inches wide. You can adjust the colors of each layer so it is easy to know which color of cardstock to use for each Cricut mat.
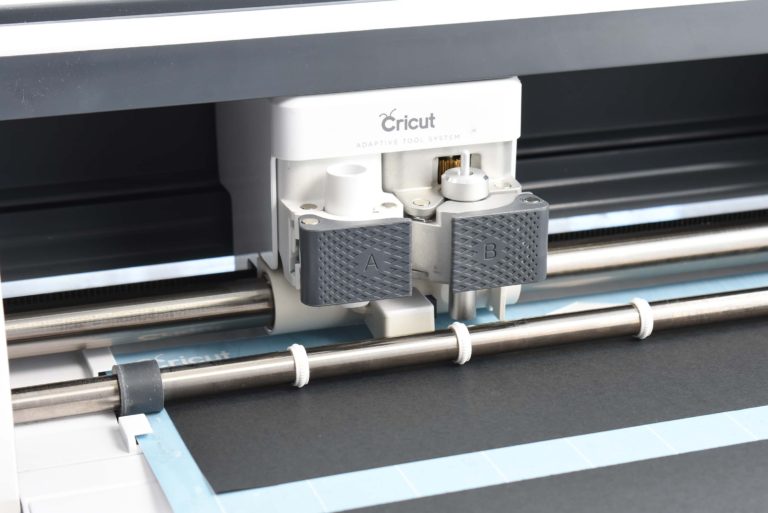
Once you have the design sized and colors set, click Make It to send the DIY Halloween cake toppers to Cricut. Select the material you are using. If you can’t find the type of cardstock you need, select browse materials on the Cricut Maker or switch the dial to custom for Cricut Explore Air models, and search for the type of cardstock you are using.
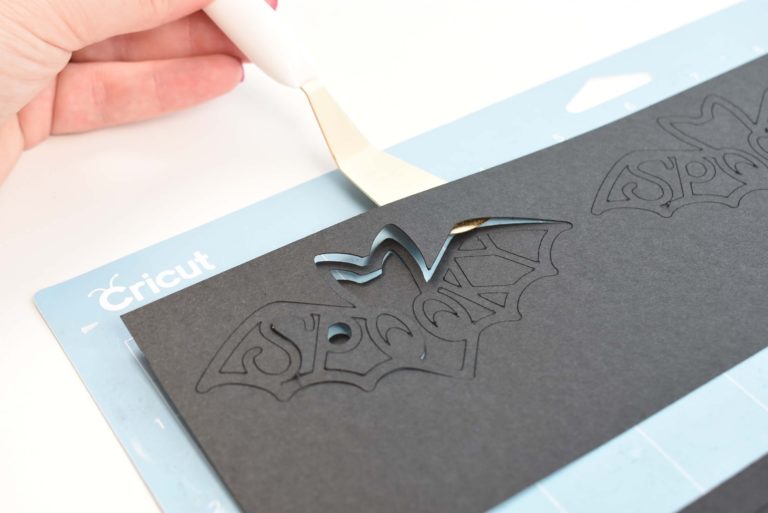
I love using the spatula from the Cricut Basic tools to help remove cardstock from the Cricut mat. If the cardstock is difficult to come off the mat, flip the mat over and peel the mat away from the cardstock instead of peeling the cardstock off the mat.
Reverse tweezers are super helpful with paper crafts because they do not need constant pressure to stay secure. Reverse tweezers are part of the Cricut Basic Tool set.
Use a paper craft glue with a precision tip to add small dabs of glue on the back of the top layer for your DIY Halloween cake topper bat.
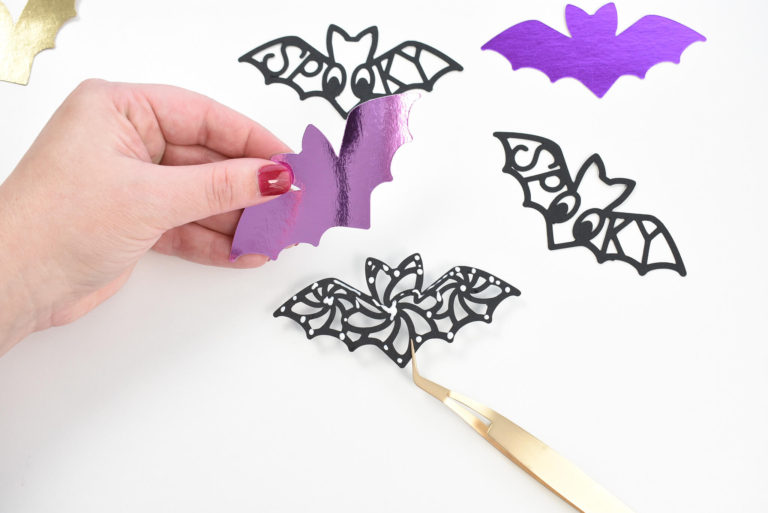
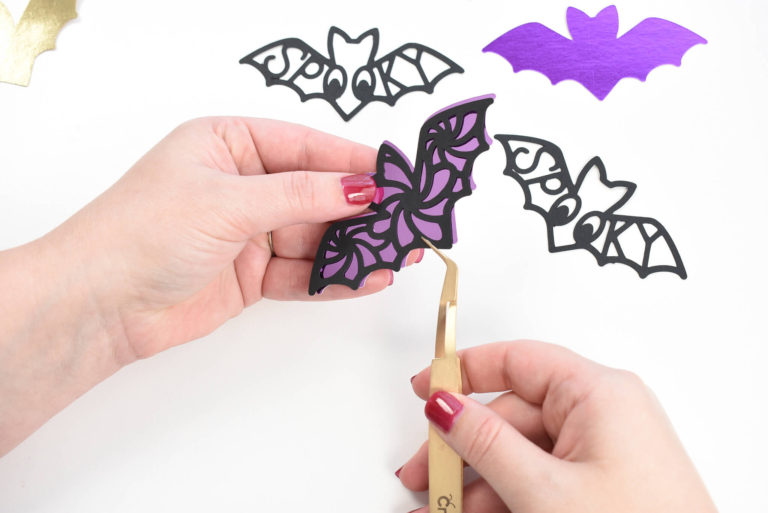
Layer the top design onto the solid bottom layer.
Use hot glue to secure a clear acrylic lollipop stick to the back of your DIY Halloween cake toppers.
More Halloween and Autumn Crafts
Looking for my Halloween crafts to do with your Cricut? Check out these awesome ideas from my crafty friends:
Momster | Abbi Kirsten Collections
Frankenstein | Persia Lou
Three Eyed Monster | Crafting Overload
Witch Lollipop Holder | Gina C. Creates
Mommies Little Monster | Color Me Crafty
Spooky Vibes | The Denver Housewife
Monster Suckers | The Quiet Grove
Witches Hat Box | Dinosaur Mama
Set of Four Trick or Treat Bags | Kiy's Craftroom
Candy Monster | Crafty Life Mom
Monster Mash | Artsy-Fartsy Mama
Candy's for Kids | Liz on Call
Hey Boo Pumpkin Monster | Simple Made Pretty
Little Monster Side Edge Card | The Bearded Housewife
Let's Go Ghouls | The Walnut Street House
Mom of Monsters & Mom's Monster | Sunshine & Munchkins
You Can't Scare Me | Tried & True Creative
Jack o'Lantern Handle Box | Dinosaur Mama
Boo Crew | The Denver Housewife
Kiy’s Craftroom: Pumpkin and Sunflower Iron-On Design
Craft with Sarah: Layered paper craft Pumpkin and Flowers
The CraftPrint: Boo Ghosts cake topper
Was this tutorial helpful?
Did you find this tutorial how to make DIY Halloween cake toppers with Cricut helpful? If so, please pin this idea and let me know your thoughts in the comments below. I’d love to hear from you!
