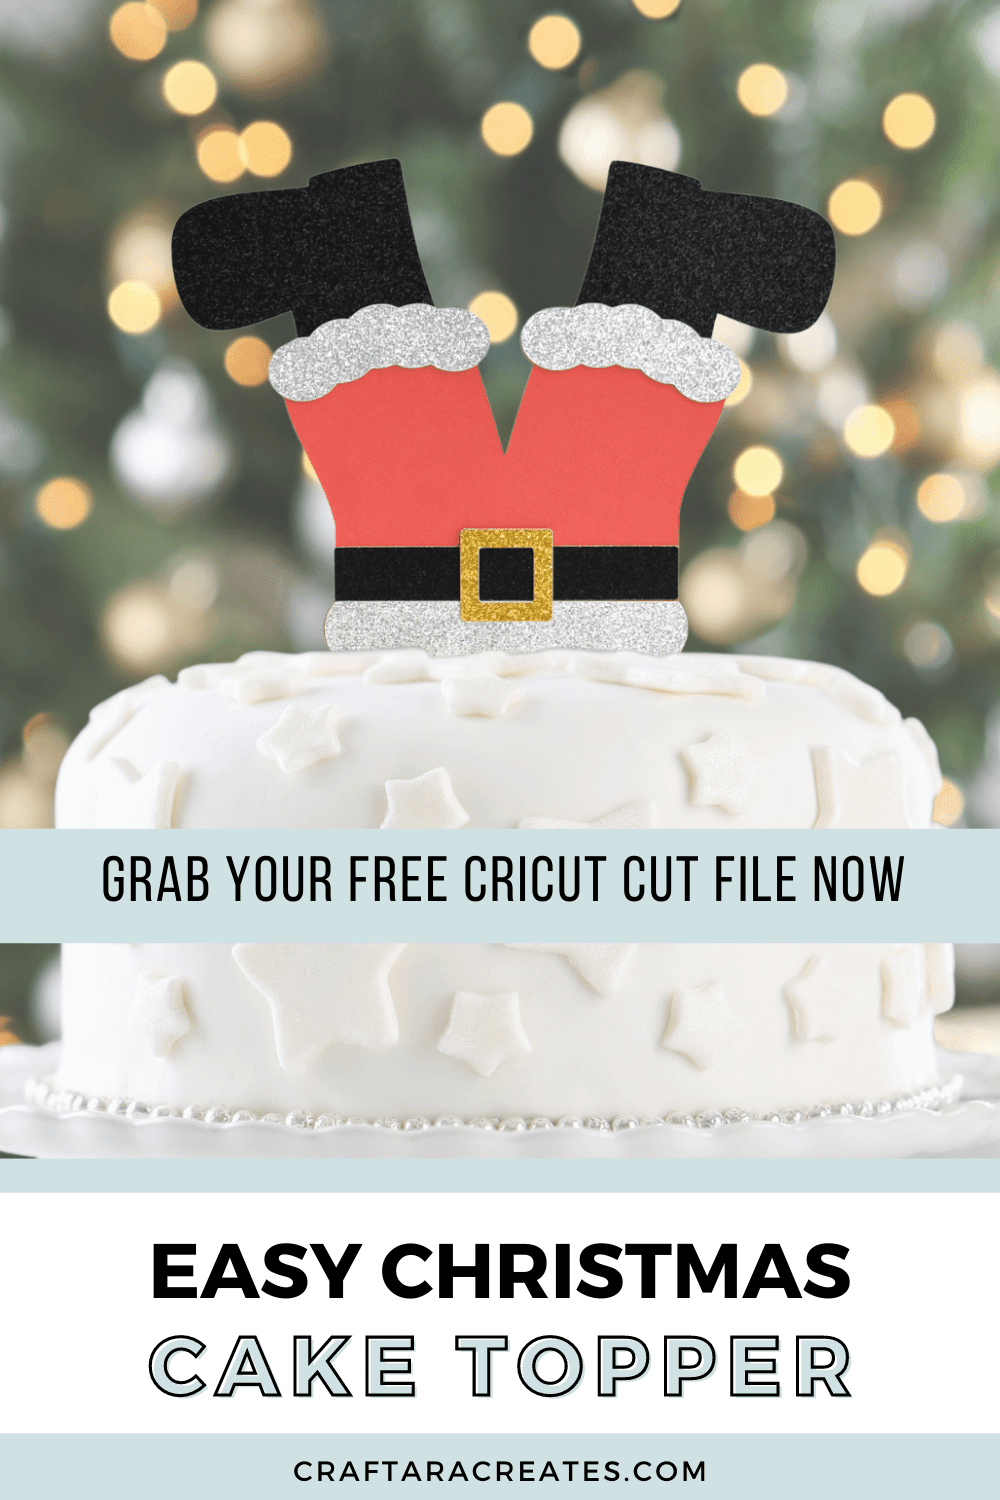
Learn how to make an easy Christmas cake decorating idea with Cricut
With Cricut, you can make holiday family gatherings extra special with an easy Christmas cake topper. Add a little DIY fun and homemade sparkle to your holiday spread this year – or every year.
This easy Christmas cake topper is a simple, beginner friendly Cricut project that you can cut and assemble in no time. Assemble the easy Christmas cake topper with your favorite paper craft glue and add a stick for a cute ‘Santa fell in’ cake topper.
Grab four sheets of cardstock and follow along as I show you how to create an easy Christmas cake topper with Cricut. You are going to have a lot of fun with this project!
This post may contain affiliate links, which means I’ll receive a commission if you purchase through my links, at no extra cost to you. Please read my full disclosure for more information.
Where can I find the cut file?
Grab the easy Christmas cake topper SVG cut file for FREE from my resource library. Sign up below to unlock the resource library.
Once you have the password, click on the resource library and select the Christmas craft freebies to find the template download.
The file will download as a .zip file. Once you unzip the file, look for the SVG file to use with Cricut Design space. This is one where the filename starts with SVG.
You will be included in my email newsletter with helpful Cricut ideas, tips and resources. Unsubscribe anytime and your email will never be shared.
What machine do I need to make cake toppers with cricut?
Any Cricut cutting machine can cut the cardstock needed to make cake toppers: Cricut Maker 3, Cricut Explore Air 3 or Cricut Joy.
Here’s the main issue with Cricut machines for paper crafts: cut size limits
Any Cricut machine can cut cardstock but not all machines can cut a cake topper that is 6.5 inches wide. For the easy Santa cake topper, use a full size Cricut machine: Cricut Maker 3 or Cricut Explore Air 3.
Here’s what you’ll need to make an easy Christmas cake topper with cricut
How to upload the easy Christmas cake topper into Cricut Design Space
Start this project by uploading the cut file. The filename is SVG-UpsideDownSanta.svg
Click on Upload which is on the left side of the screen. Then click Upload Image. You can either click the browse button or drag and drop the cut file into the Cricut Design Space window.
Click upload. Then select the design so that the green box is around it and click Add to Canvas.
At this point, double check the size of the cake topper. I cut my easy Christmas cake topper at 6.5 inches wide.
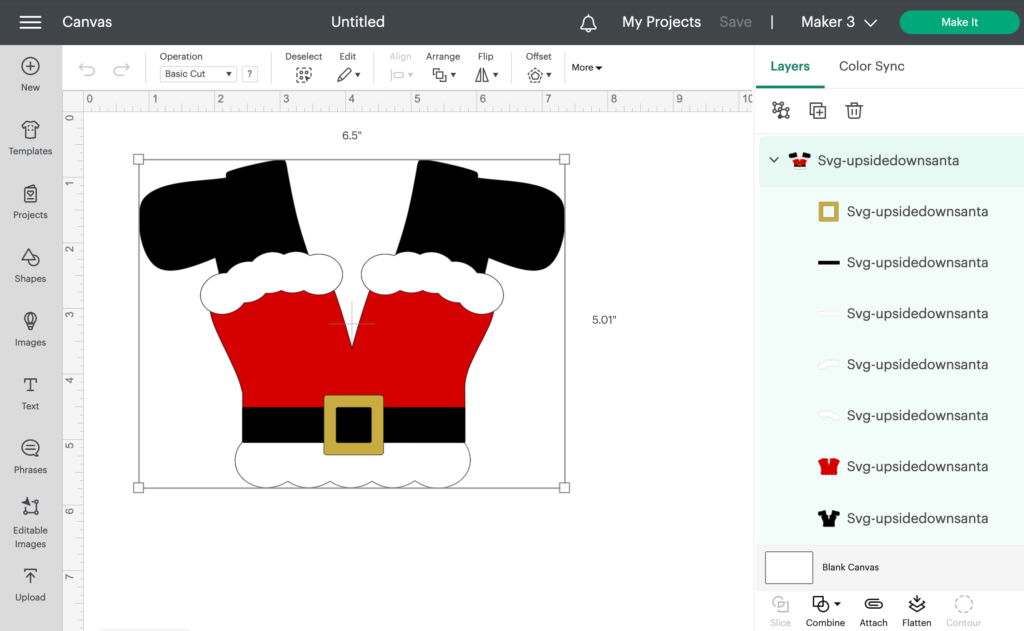
When you are ready, click make it to send the project to your Cricut machine.
For this project, you will need 4 colors of cardstock: Black, Red, white/silver and gold. Continue on to select the material setting for the cardstock you are using and cut out all the layers.
Assemble your easy Christmas cake topper
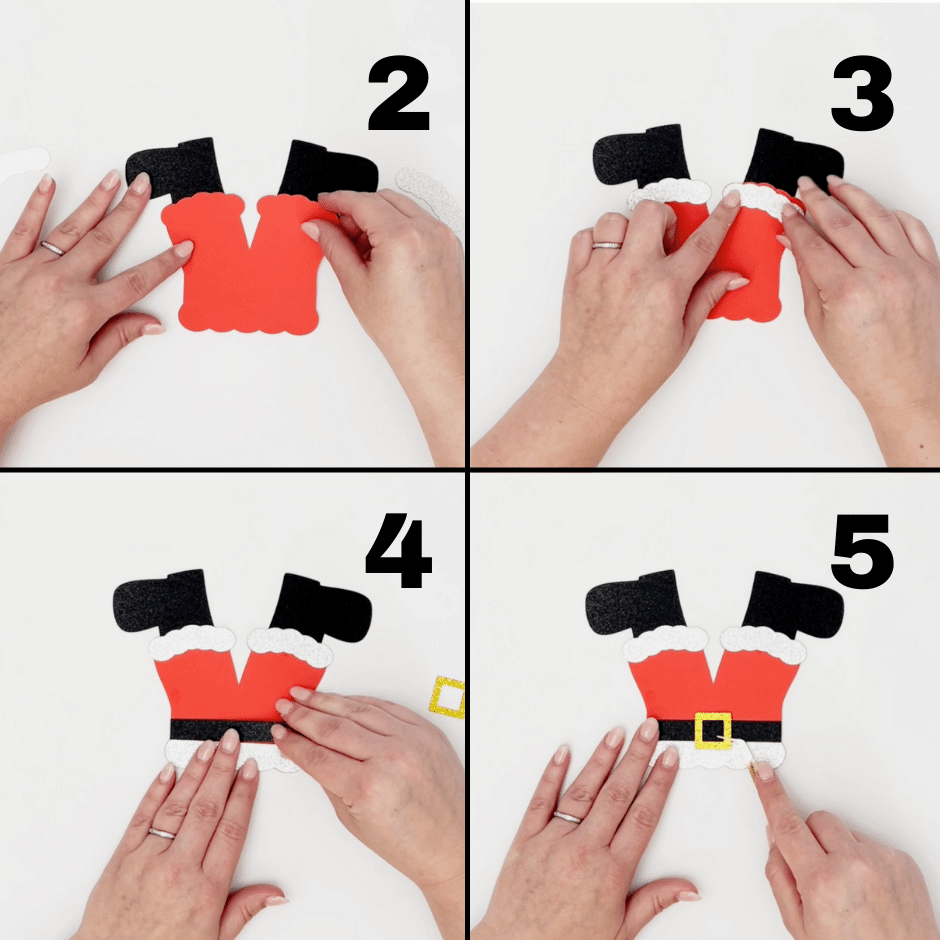
This project is quick and easy to assemble. Follow the below steps to assemble your Santa cake topper.
- Start with the black base layer
- Add the red pants on top of the black layer
- Add all the white or silver pieces at both ends of the red pants
- Add the black belt
- Add the gold belt buckle
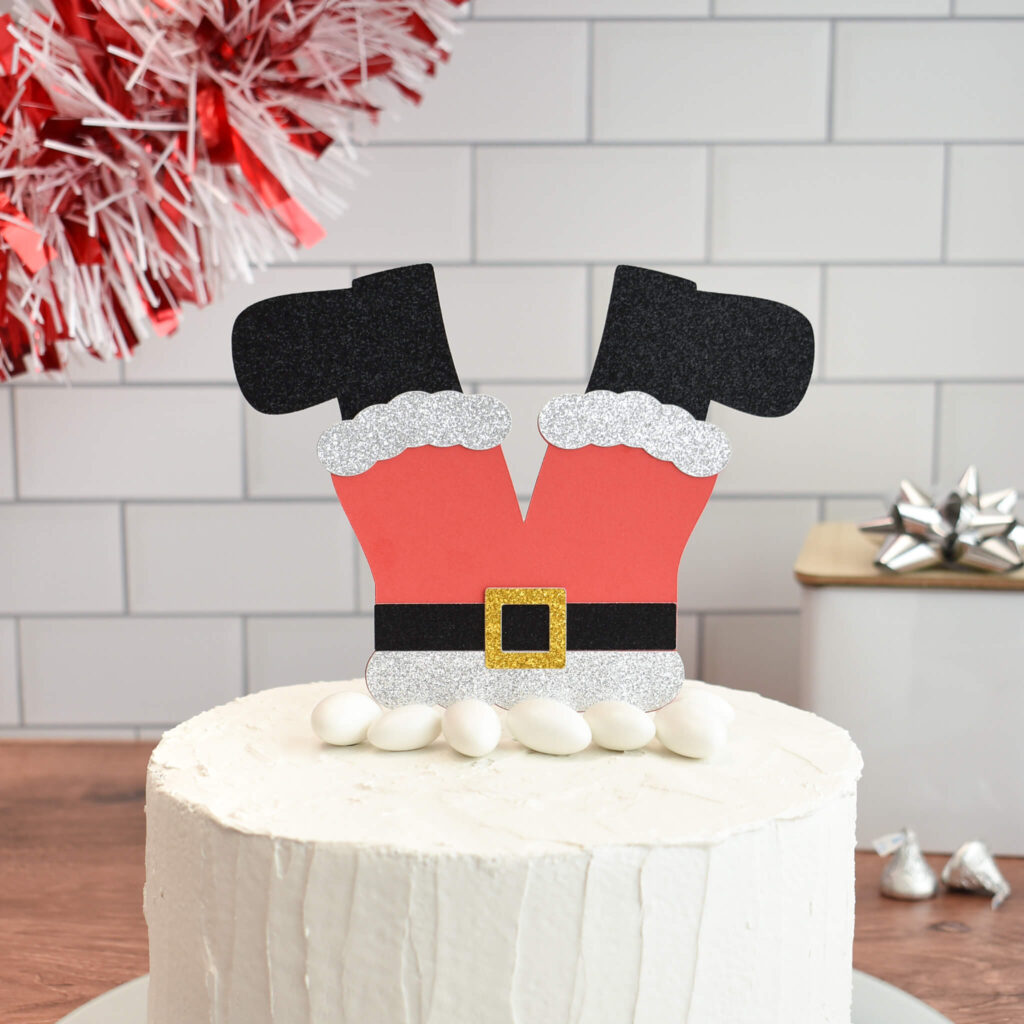
For this Santa cake topper, I added a clear acrylic cake pop stick. The clear stick is easier to hide and make the Santa look like he fell into the cake.
Use hot glue to add the cake pop stick to the back.
And that’s it. Your Cricut made easy Christmas cake topper is ready to go.
Thanksgiving cake topper
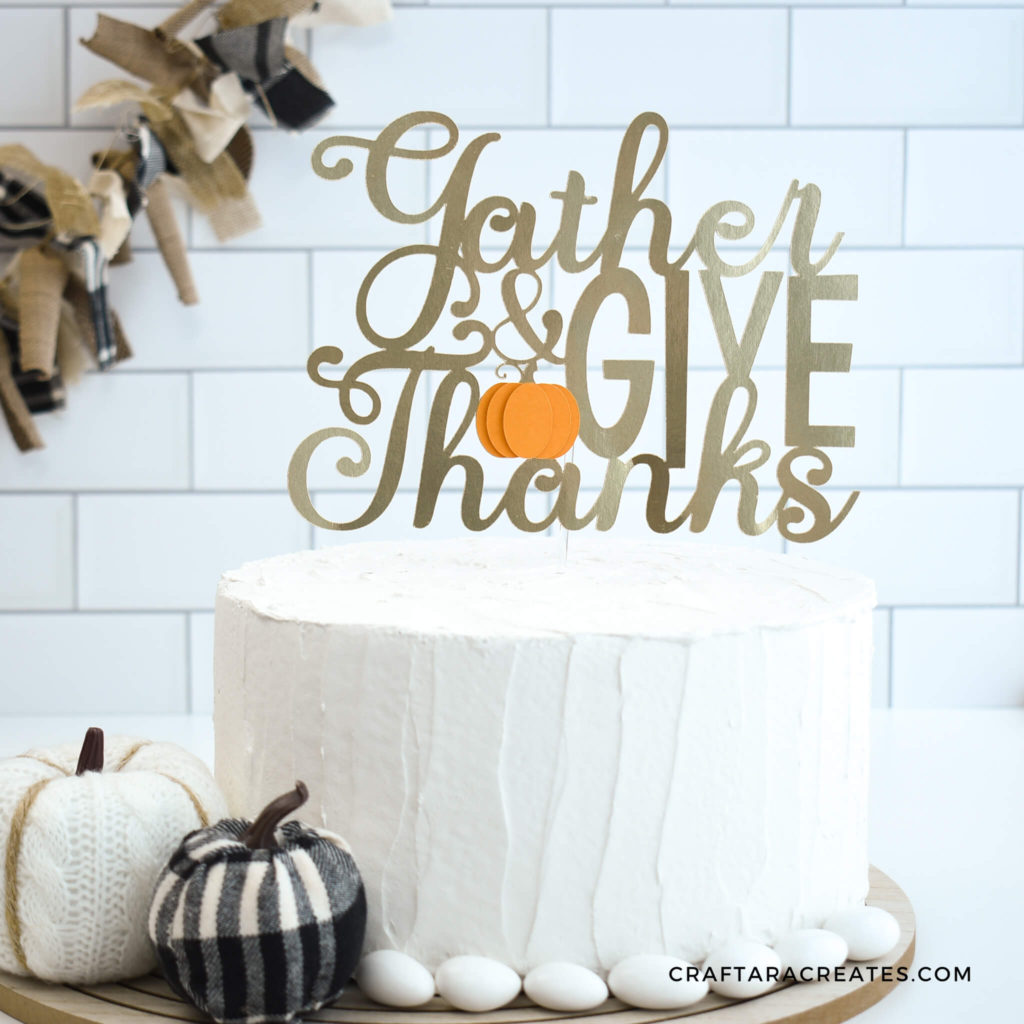
If you enjoyed this easy Christmas cake topper, you might also enjoy making an easy Thanksgiving cake topper with your Cricut machine. Grab the free cut file and check out the beginner friendly tutorial.
Was this tutorial helpful?
Did you find this information on how to make your own easy Christmas cake topper with Cricut helpful? If so, please pin this idea and let me know your thoughts in the comments below.
