Learn the best way to Reduce Static Problems with your Shaker Cake Toppers
If you’ve ever worked with shaker cake toppers, you may have noticed how frustrating it can be to deal with static cling on the acetate. If you are looking for a solution, you’re in luck! Today, I’m going to share with you a test I did to reduce static cling and achieve a free flowing shaker cake topper.
When I first started making shaker cake toppers, I was excited to create something special. But as soon as I got the project assembled, I faced a frustrating problem – static cling inside my shakers. The glitter would stubbornly stick to the acetate window and refuse to move, making my shaker almost ‘shake’-less. I tried to find a solution online, but I couldn’t find much information.
This post may contain affiliate links, which means I’ll receive a commission if you purchase through my links, at no extra cost to you. Please read my full disclosure for more information.
GRAB MY FREE beginner's guide to cricut cake toppers

How is acetate used for cake toppers?
Before we get started, let’s chat about how acetate is used for cake toppers. Acetate is a clear, plastic-like material that is commonly used in shaker cake toppers. Acetate is the window into the shaker to see the fun filler inside. However, it can be prone to static cling, which makes it difficult for the glitter to move around freely inside the shaker.
Ways to clean acetate to reduce static cling
I tested three different cleaning methods to see which one works best in reducing static cling from the acetate. The methods used were alcohol swabs, glass cleaner, and dish soap.
Alcohol Swab Method:
I started by using an alcohol swab to clean both sides of the acetate. I made sure to dab it onto a paper towel to dry it off since the swab made it quite wet.
Glass Cleaner Method:
Next, I sprayed a little bit of glass cleaner onto a paper towel and cleaned both sides of the acetate.
Dish Soap Method:
Lastly, I used dish soap to clean the acetate. Since dish soap requires water, I applied the soap on both sides of the acetate and rinsed it off.
Which method works best to clean acetate and what didn't work well
After assembling the shakers with one layer of craft foam, I was excited to see the final results. Here’s what I found:
Shaker 1: Pink – This piece was not cleaned with anything, and the small glitter stuck to the acetate, making it look blotchy.
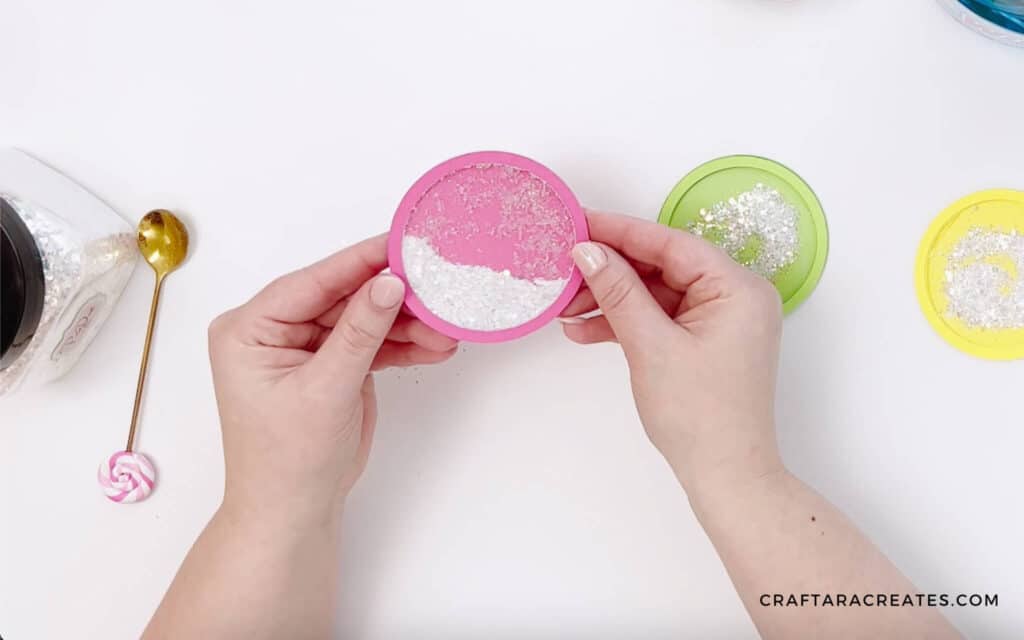
Shaker 2: Green – This piece was cleaned with an alcohol swab, and the glitter sticks much less to the acetate, making it look cleaner.
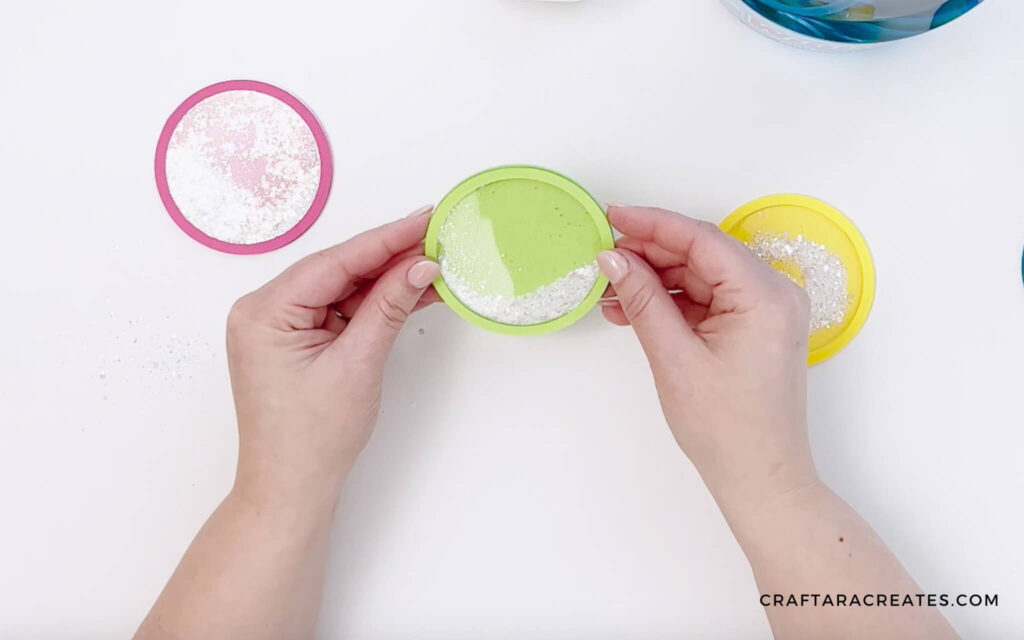
Shaker 3: Yellow – This piece was cleaned with glass cleaner and looks pretty good. It’s about the same as the green shaker.
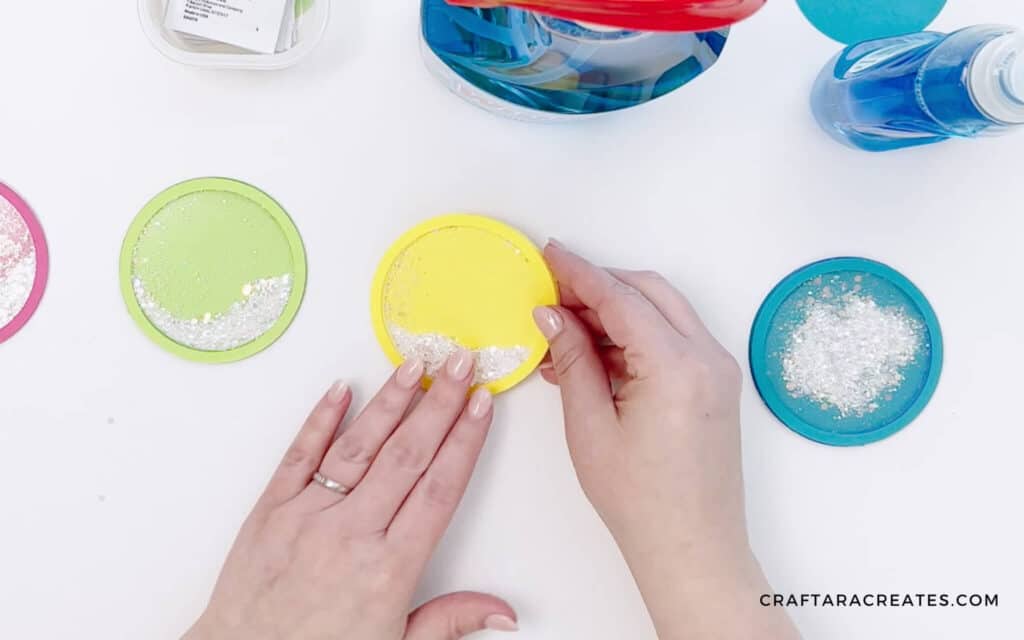
Shaker 4: Blue – This piece was cleaned with dish soap, but surprisingly it’s the worst one. The small glitter is really stuck to the acetate, making it look messy.
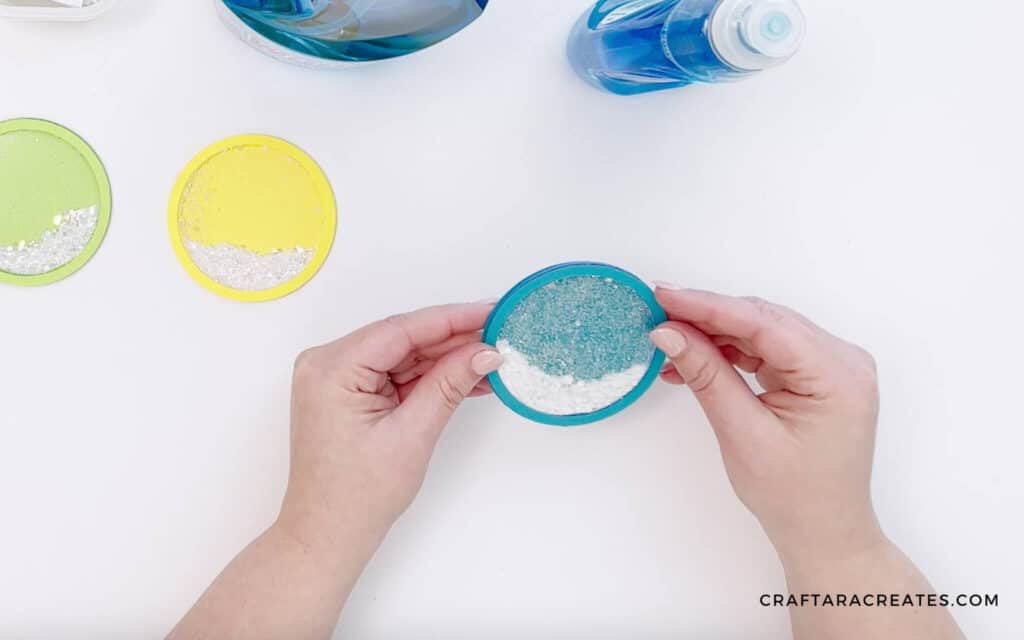
best method to reduce static cling for shaker cake toppers: The Results
In the end, the alcohol swab and glass cleaner methods worked best in reducing static cling on acetate, resulting in cleaner and more free flowing shaker cake toppers.
It’s important to note that the type of glitter used can also make a difference in the final result. I also tested the cleaning methods with chunky glitter and shakers with deeper side walls, and the results were different, with all four shakers looking about the same.
WAS THIS INFORMATION HELPFUL?
I hope this information helps you achieve cleaner and more polished shaker cake toppers. Give these cleaning methods a try and let me know how it works for you!


