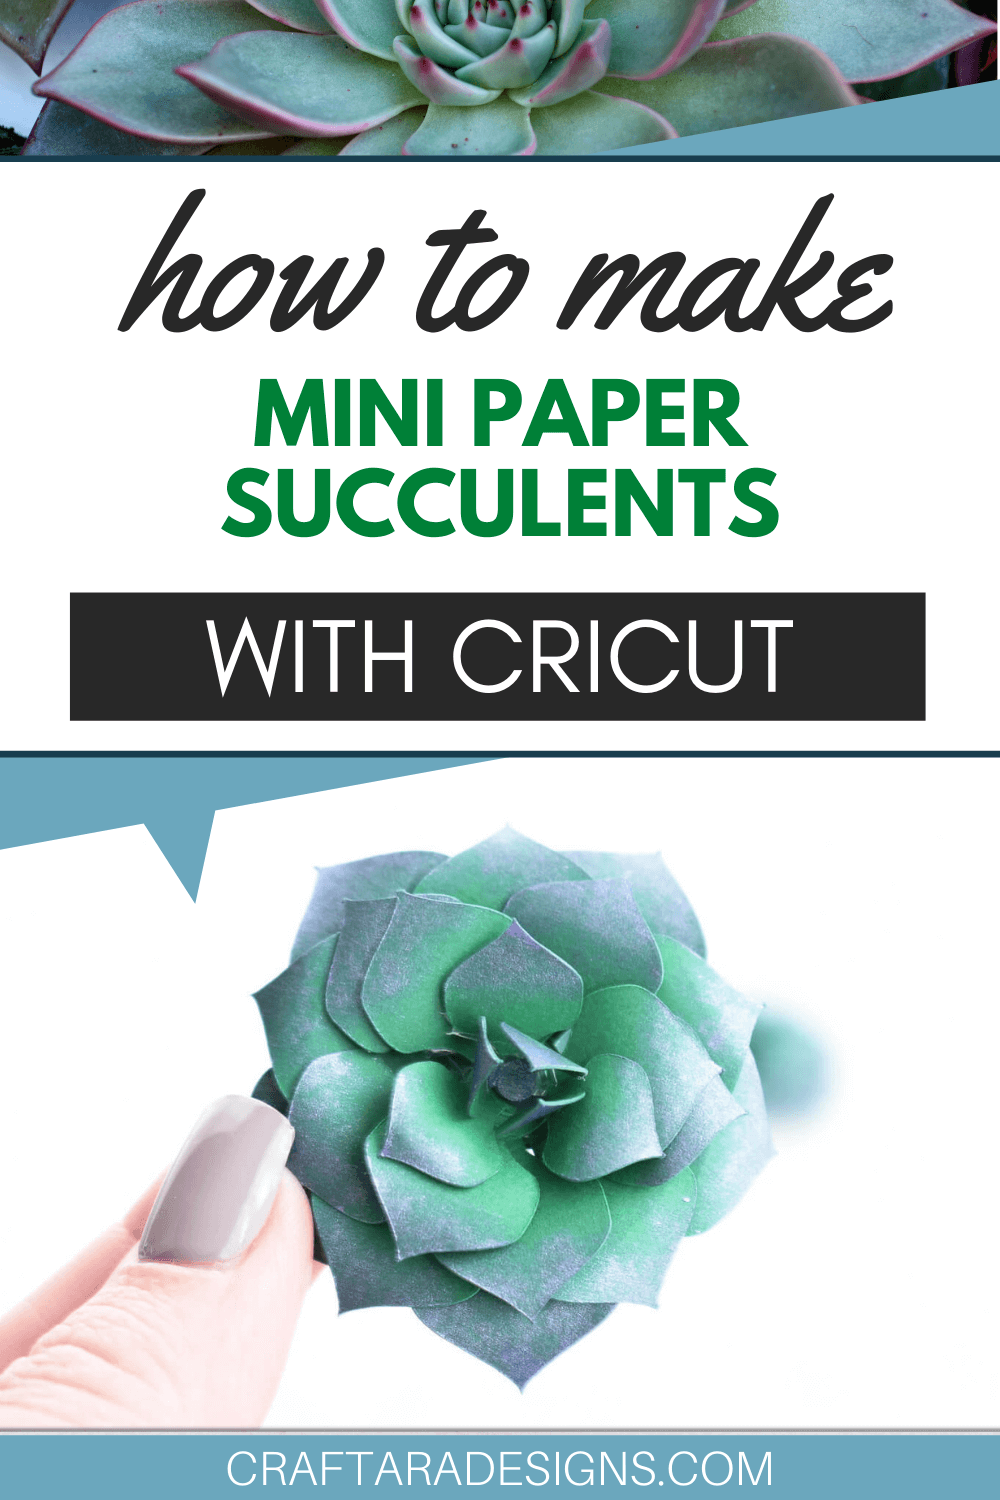
Learn how to make a mini paper succulent
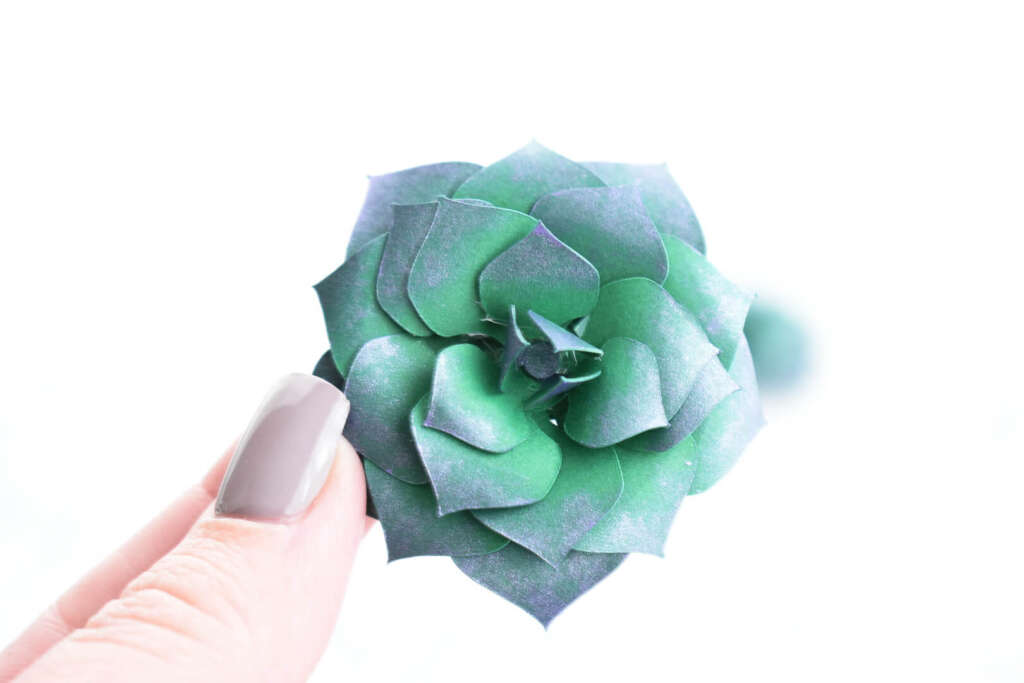
Get started creating your own mini paper succulents with this free cut file for Cricut. These succulents are sized well for shallow shadow boxes or to layer in a paper succulent garden.
Where can I find the cut file?
The free mini paper succulent cut file can be found in my resource library Springtime crafts section. Sign up below to get the password.
You will be included in my email newsletter with helpful Cricut ideas, tips and resources. Unsubscribe anytime and your email will never be shared.
This post may contain affiliate links, which means I’ll receive a commission if you purchase through my links, at no extra cost to you. Please read my full disclosure for more information.
what supplies do I need to make a mini paper succulent?
- Cricut Cutting Machine (Explorer or Maker)
- Cricut Mat
- Card stock
- Round wooden dowel (or chop stick)
- Multi-Purpose color sticks in metallic (alternative: chalk or colored pencils)
- Hot Glue
- FREE mini succulent cut file from my resource library – sign up below.
DIRECTIONS
Grab the cut file (below) and cut out the shapes of the succulent. The design is sized for a succulent just under two inches in size.

The mini succulent cut file includes six shapes. Base shapes with five leaves and inner shapes with three leaves.

Optional Step: To make the mini succulent look more realistic and to add dimension, color the leaf tips. I used gelato color sticks because of the pearlescent shimmer. However, chalk or even colored pencils would do the trick as well.


Use a q-tip to blend the color.

Use a round wooden dowel, skewer or chop stick to shape the leaves. Curl the leaves outward.

For the tiny center shape, bend the leaves inward so the center of the succulent folds in.

Now, the most rewarding part – assemble your succulent! Begin with the center piece and use a tiny amount of hot glue to secure the center piece to the next layer. This is a very small layer and if your hot glue gun does not have a small tip, use any other paper craft glue.

Assemble the base layers starting with the largest and going to the smallest.

Add the center section you glued in the previous step to the center. And done!

Sign up below for access to the resource library.
WAS THIS TUTORIAL HELPFUL?
Did you find this tutorial on how to make mini paper succulents helpful? If yes, please pin this idea and let me know your thoughts in the comments below!




2 Comments
I like this