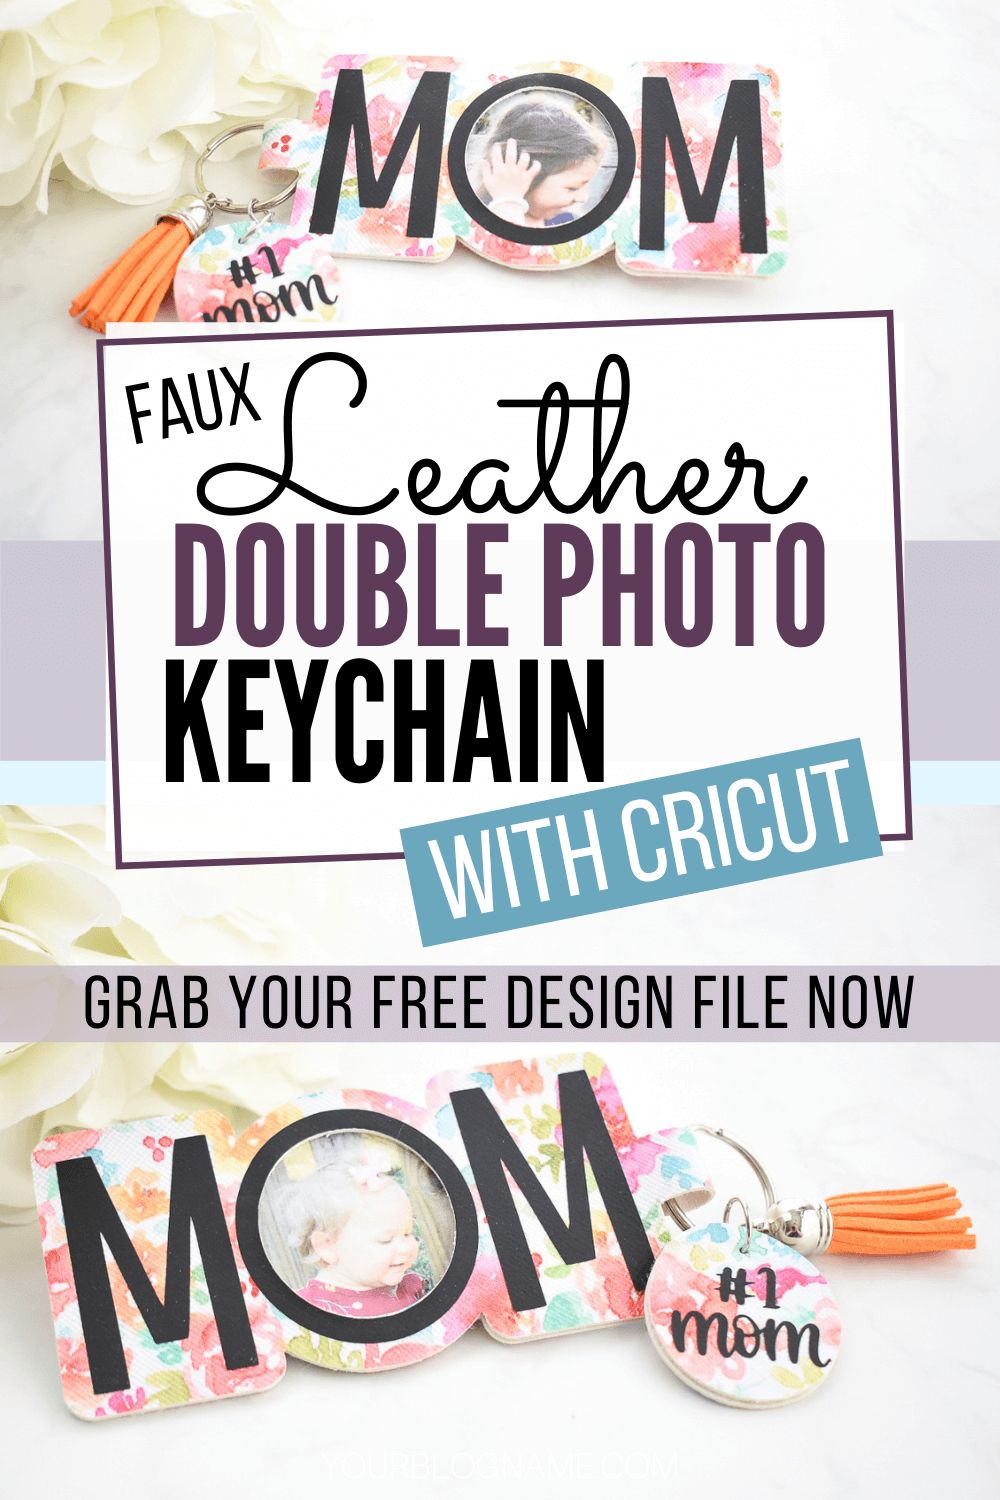
LEARN HOW TO MAKE A FAUX LEATHER MOM PHOTO KEYCHAIN WITH CRICUT
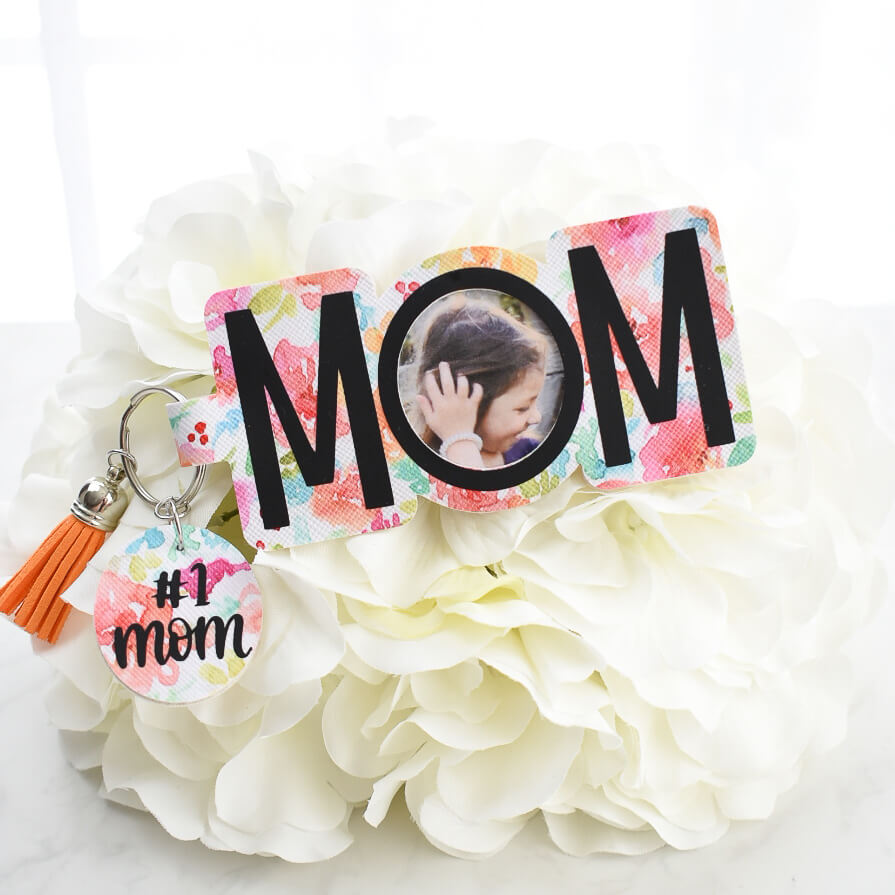
Give mom the perfect handmade gift with a leather MOM photo keychain made with your Cricut machine. Add your favorite photos to the double-sided picture window. This Cricut project is compatible with all Cricut cutting machines: Cricut Maker, Cricut Explore Air 2 and Cricut Joy.
For this Cricut project, I used faux leather with a beautiful floral pattern. Faux leather comes in a wide variety of patterns and is easy for any Cricut machine to cut. This MOM photo keychain design is double sided and provides extra sturdiness with the double layers without adding extra weight.
FREE DESIGN FILE TO MAKE A FAUX LEATHER MOM PHOTO KEYCHAIN WITH CRICUT
Sign up here to grab the MOM photo keychain cut file from my resource library in the Mother’s Day Craft Freebie section
This post may contain affiliate links, which means I’ll receive a commission if you purchase through my links, at no extra cost to you. Please read my full disclosure for more information. Thank you for your support!
HERE’S WHAT YOU’LL NEED TO MAKE A LEATHER MOM PHOTO KEYCHAIN WITH CRICUT
- Cricut Machine
- Cricut StrongGrip mat
- Cricut StrongGrip transfer tape or Regular transfer tape
- Faux Leather
- Clear Acetate
- Super Glue
- Cricut EasyPress Mini
- Cricut EasyPress Mat
- Iron-on Vinyl
- Scissors
- Two photos of your choice
- hardware: keyring, jump rings
- Tassel
- Jewelry tools
- Free Cut file

LEATHER MOM PHOTO KEYCHAIN CUT FILE SVG FOR CRICUT
Grab the MOM photo keychain cut file from my resource library in the Mother’s Day Craft Freebie section and upload the SVG into Cricut Design Space. Sign up above to unlock the resource library.
Due to frequent Cricut Design Space updates, the size upon upload may not be correct.
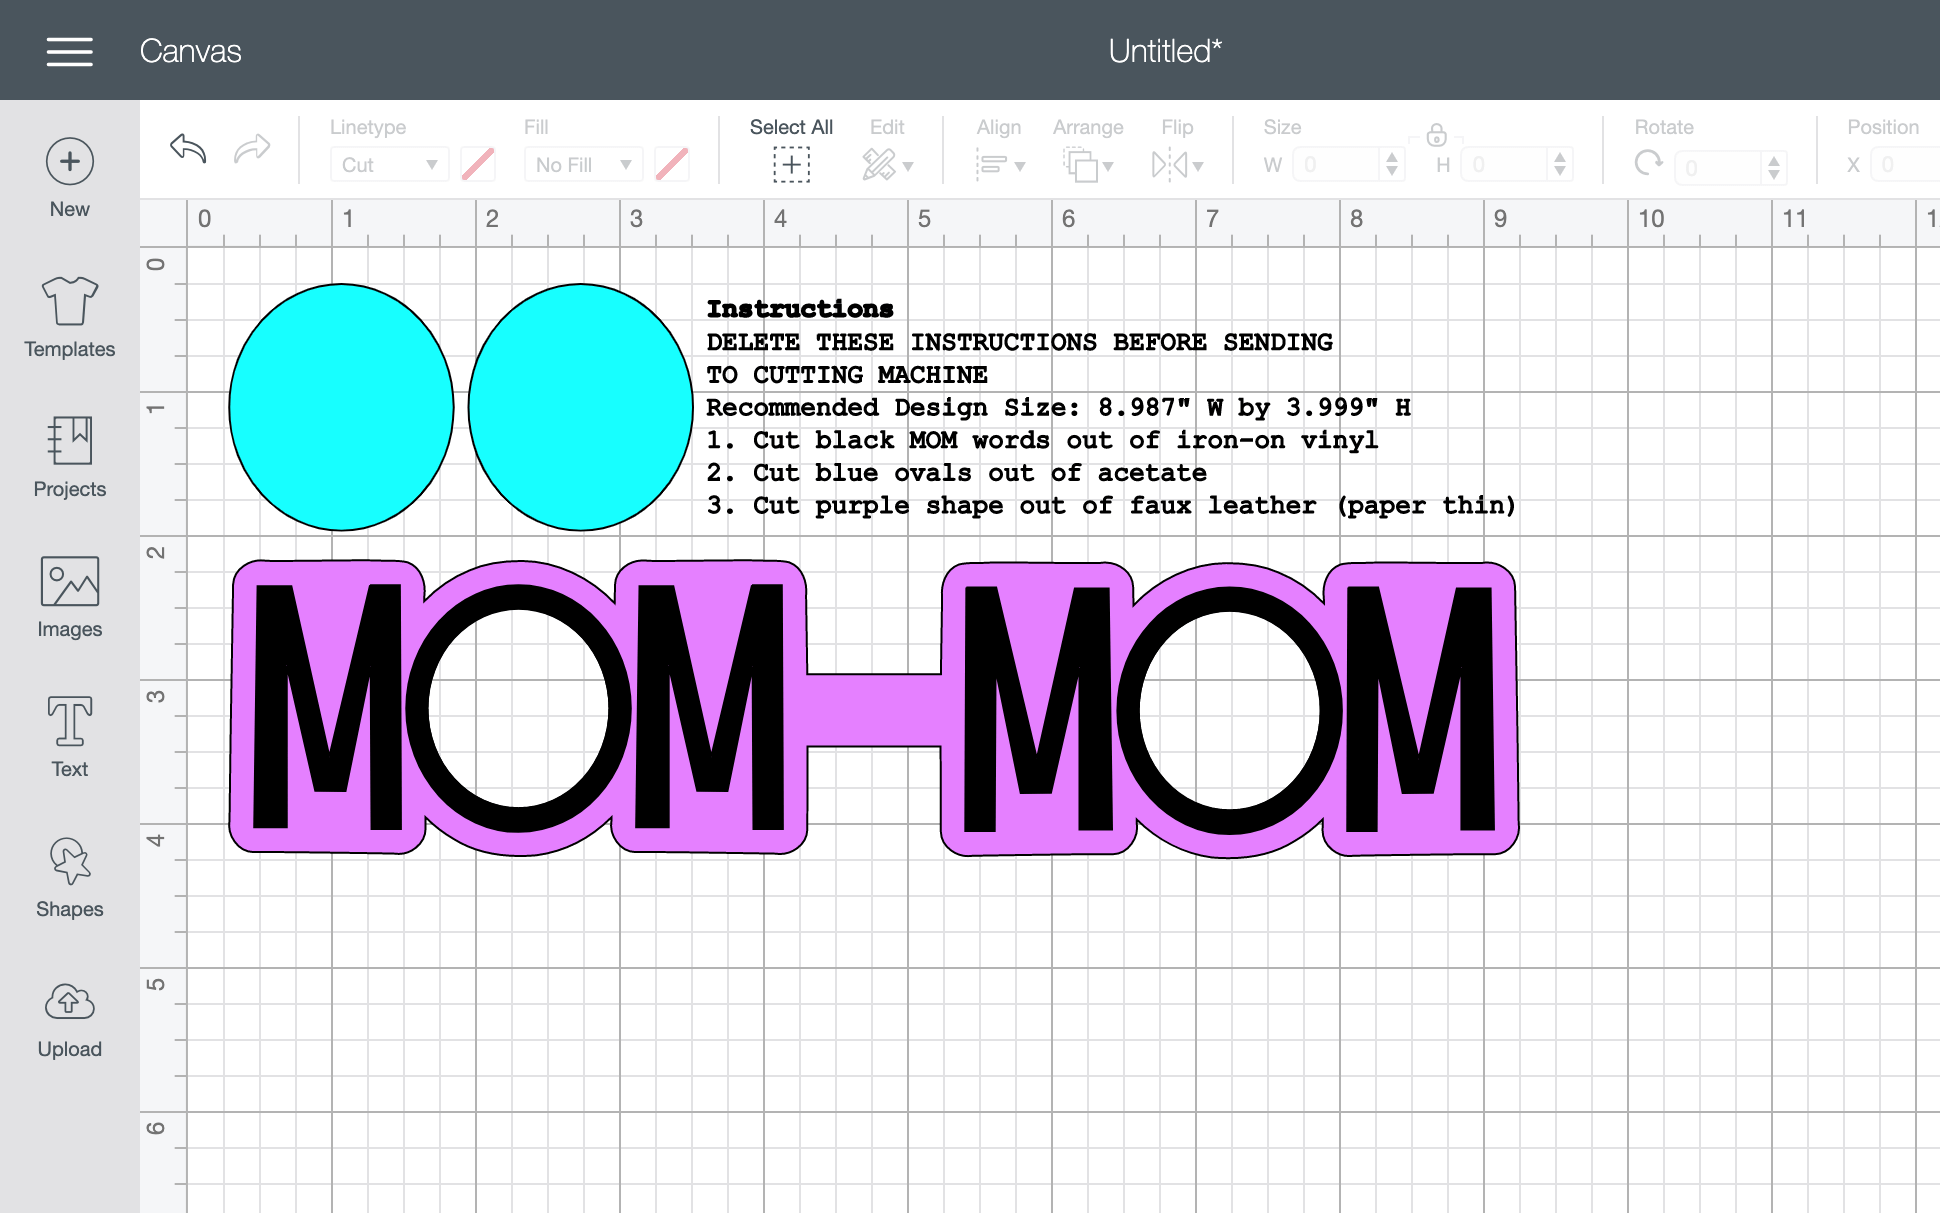
Please be sure to check the size of the whole design (grouped) as 8.987 inches wide by 3.999″ inches high.
The final keychain, without a keyring, is just under 4.5 inches wide and 2 inches tall.
VIDEO INSTRUCTIONS TO MAKE A LEATHER MOM PHOTO KEYCHAIN WITH CRICUT
CHECK OUT MY OTHER CRICUT LEATHER TUTORIALS
INSTRUCTIONS TO MAKE A LEATHER MOM PHOTO KEYCHAIN WITH CRICUT
Upload the MOM photo keychain SVG/cut file into Cricut Design Space and double check the size is correct. If you want to only use one photo, use the contour feature in Cricut Design Space to remove one of the window openings in the faux leather cut. Be sure to hide or delete the embedded instructions before sending to the Cricut machine for cutting.
Once your MOM photo keychain design is prepared to send to the Cricut machine, grab the materials you need to cut and lets get started.
CUTTING FAUX LEATHER WITH CRICUT
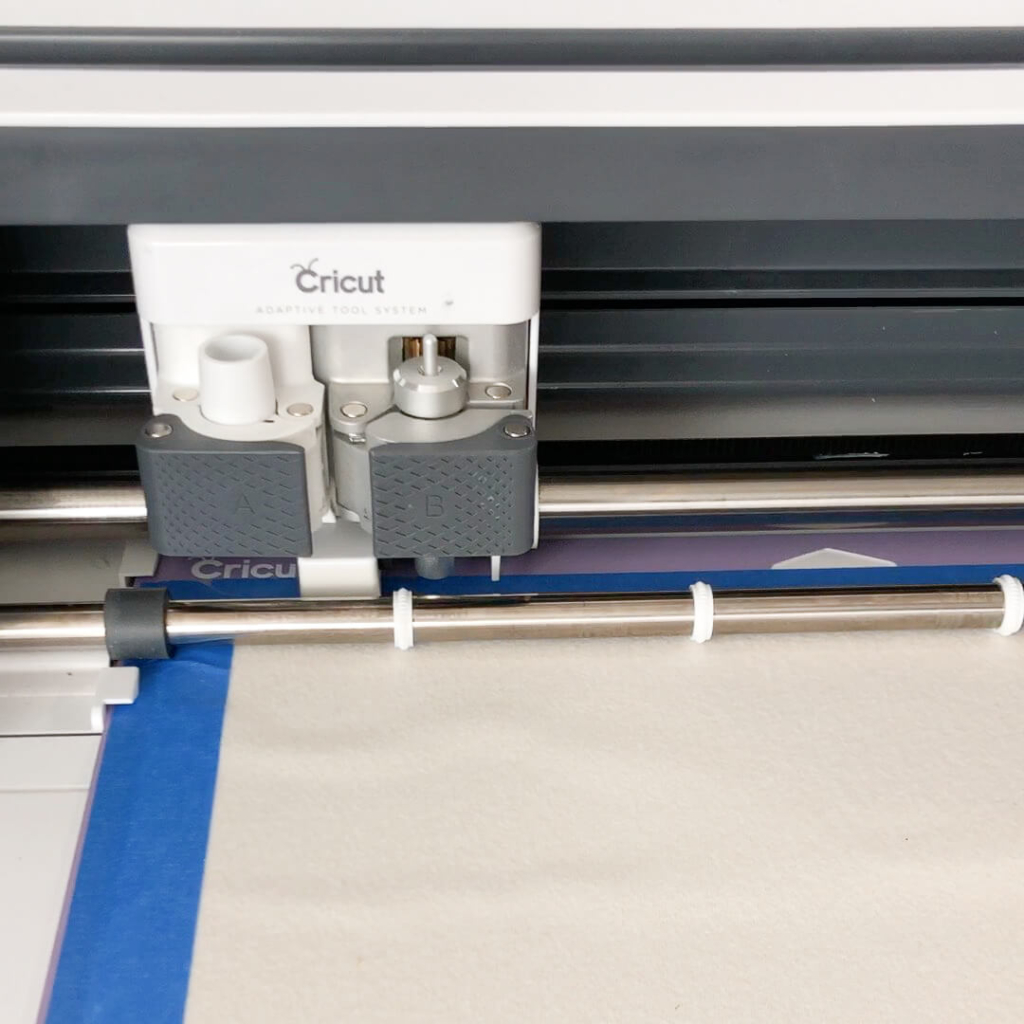
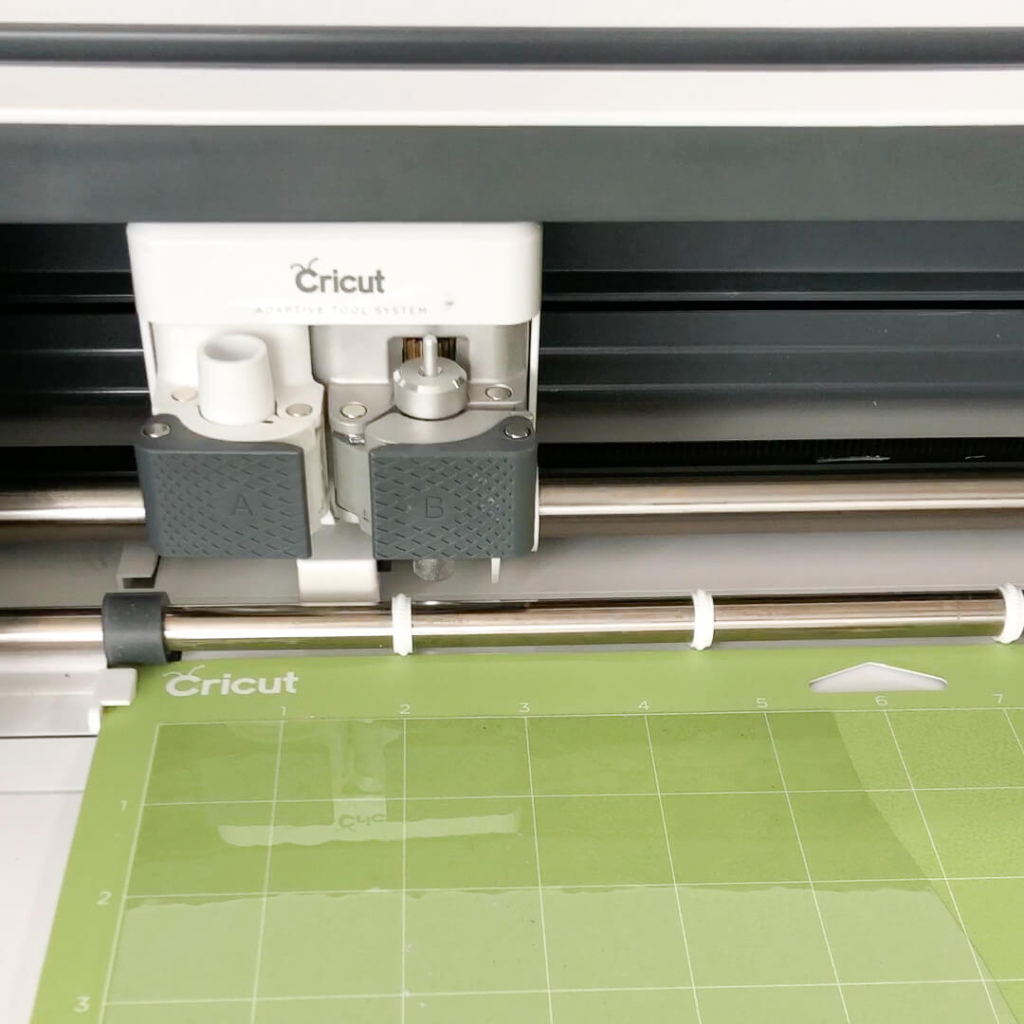
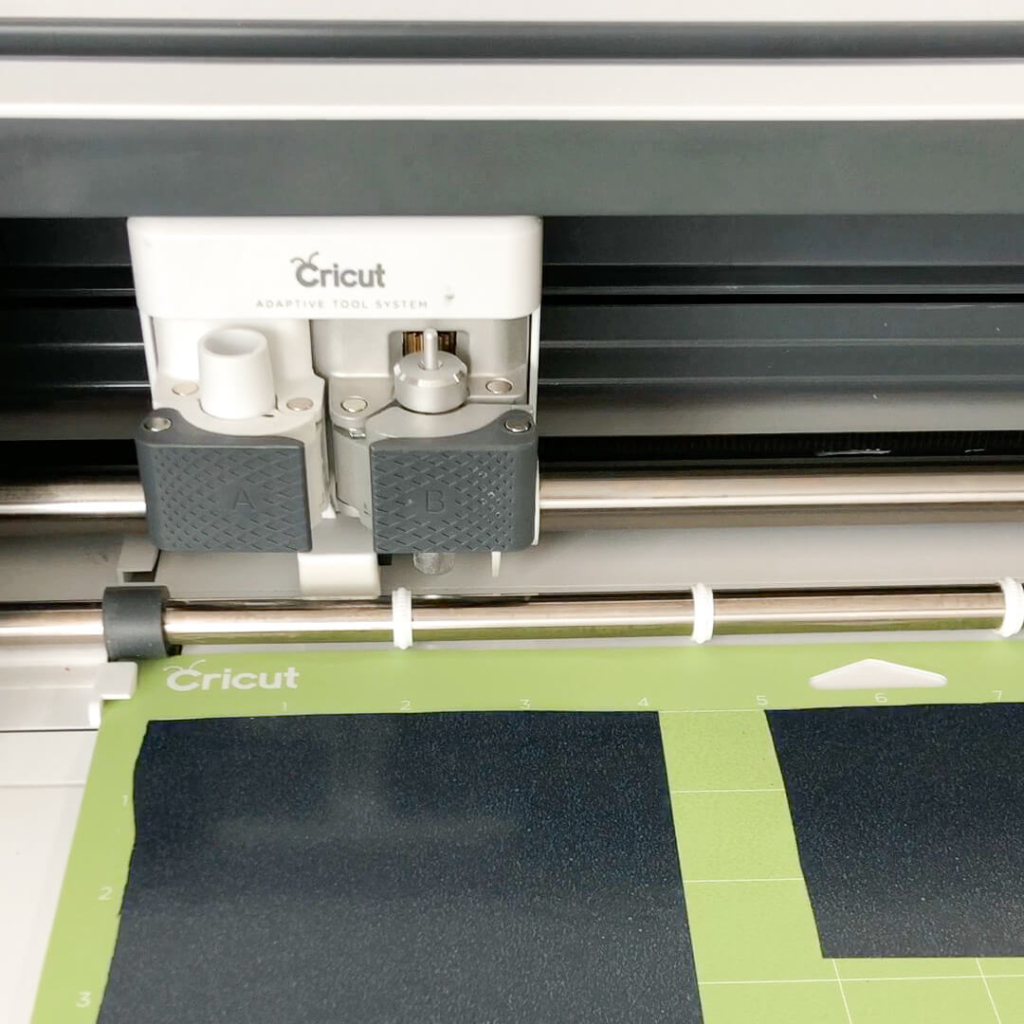
To eliminate the debris left behind on your Cricut mat by the leather, use Cricut StrongGrip transfer tape as a barrier between the faux leather and the Cricut mat.
Apply StrongGrip or standard transfer tape to the pretty side of the faux leather. I have tried both types of transfer tape and either transfer tape will work for faux leather.Apply the faux leather face down to a StrongGrip Cricut mat and add painters’ tape or washi tape to further secure the leather.
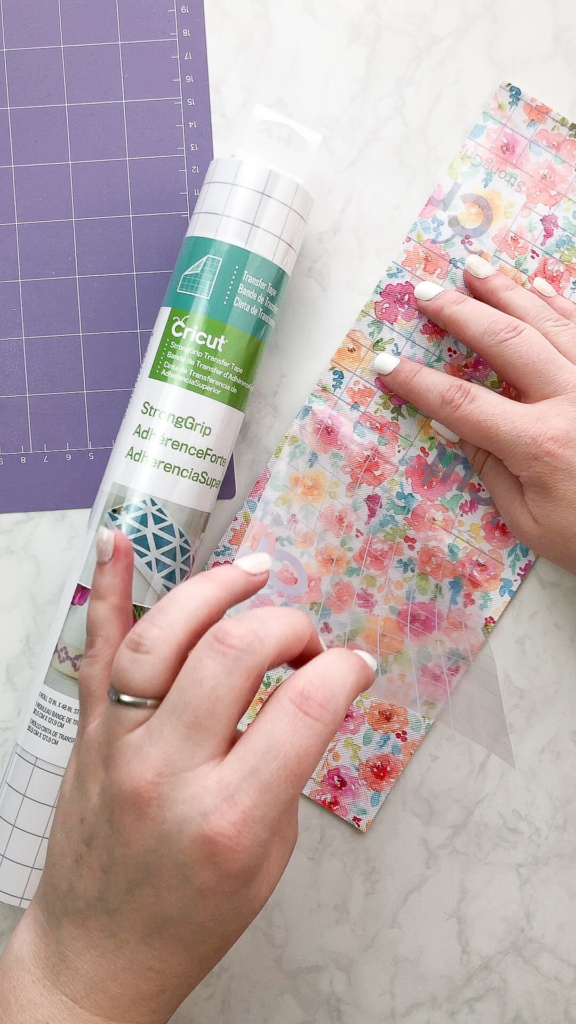
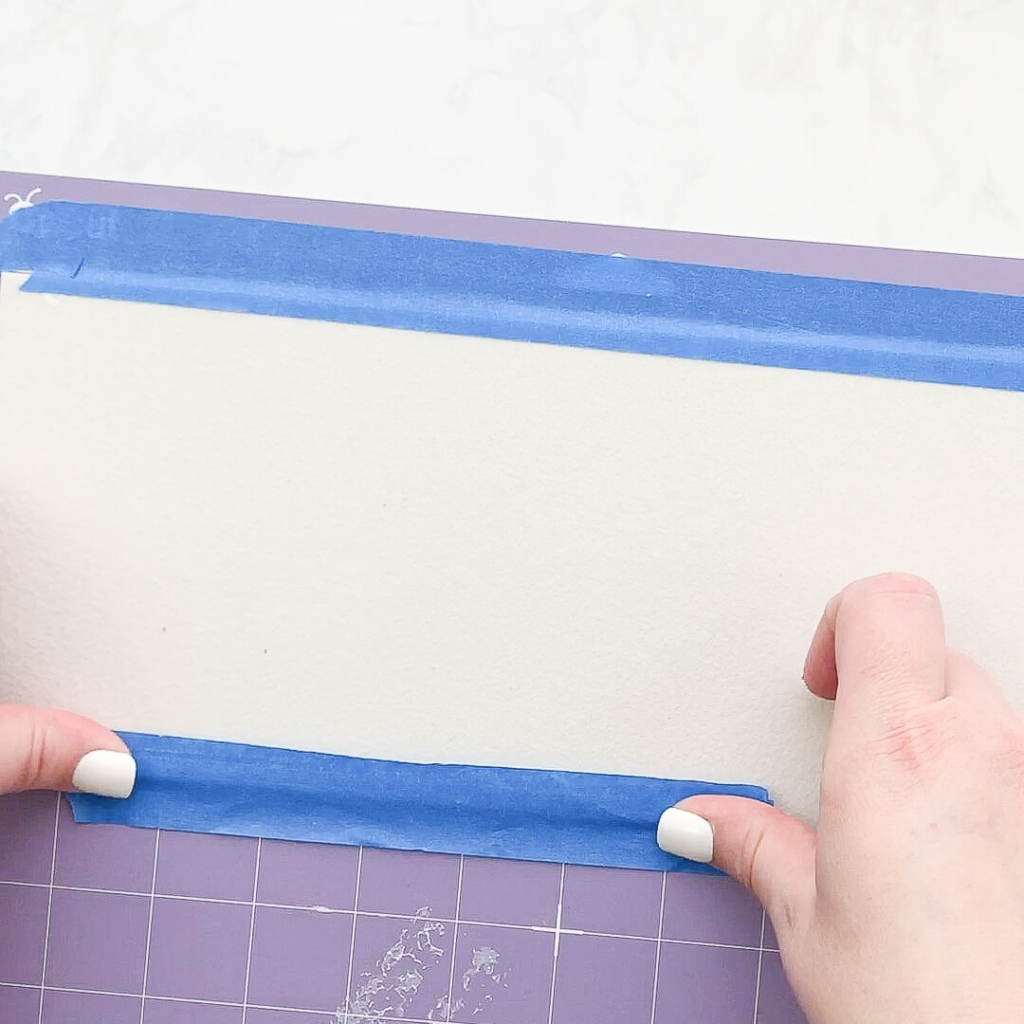
Per Cricut’s website, cut faux leather using the fine point blade and the setting Faux Leather (paper thin). Cricut’s website has settings for the Cricut Explore Air 2 and Cricut Maker. I did not see any settings for the Cricut Joy, however, this post reviews cutting faux leather on the Cricut Joy and the good news is, it works!
CUTTING ACETATE WITH CRICUT
Before cutting acetate with your Cricut machine, remove the protective film from the top layer and place that side up to cut. I found if the film is left on, the Cricut blade is not as effective.
Within Cricut Design Space, search for the acetate setting and use the standard fine point blade. I selected more pressure to ensure the cut was successful.
Once the cut is complete, check the clear acetate for sticky residue and clean off any stickiness by washing the acetate with dish soap.
CUTTING IRON-ON WITH CRICUT
Be sure to Mirror your mats before cutting if using Cricut Design Space. In the Cricut Joy app, Mirror is enabled automatically when you select a heat-transfer material.
Select the type of Iron-On material you are using. I selected Everyday Iron-On from the list of materials.
If using a Cricut Explore Air 2, turn Smart Set Dial to Custom.
Place iron-on sheet, liner side down (or shiny side down), onto Cricut StandardGrip cutting mat.
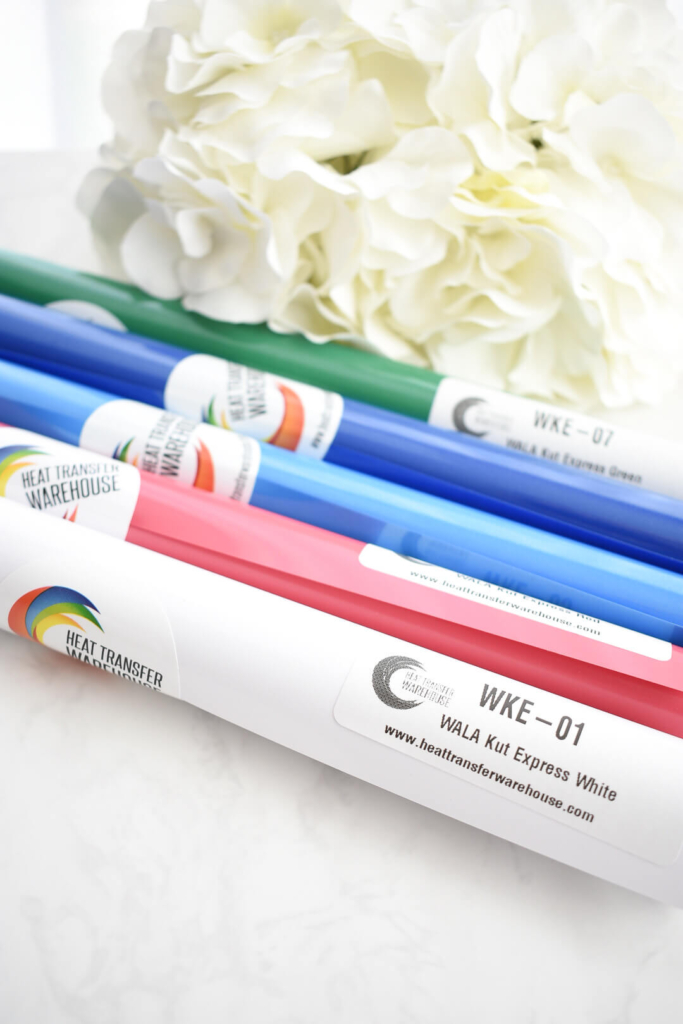
The iron-on vinyl that I used for this project came from Heat Transfer Warehouse and it applied very smooth on the faux leather. I am excited to try more projects with the WALAKut Express iron-on vinyl.
HOW TO ASSEMBLE THE LEATHER MOM PHOTO KEYCHAIN
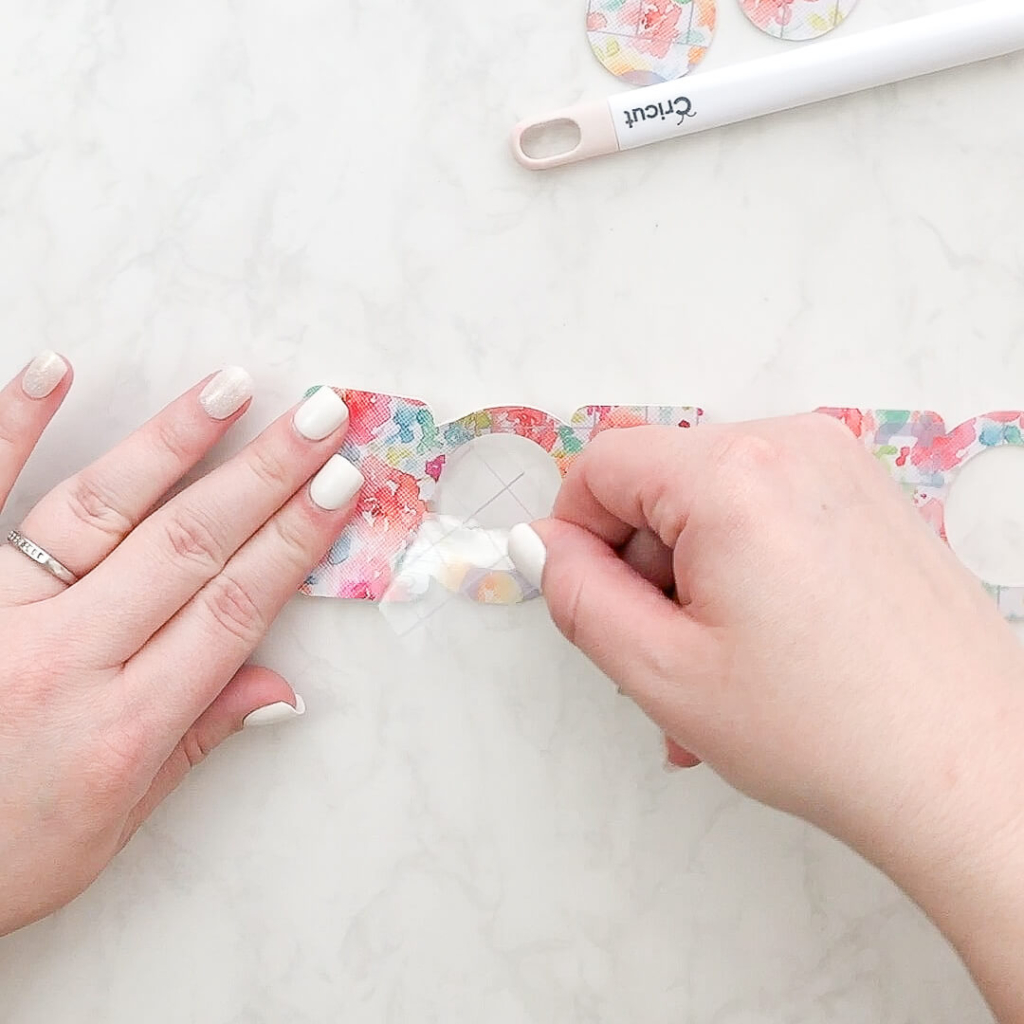
Once the cuts are complete and beginning with the faux leather, gently peel back and remove the transfer tape. Save the O cutouts for later.
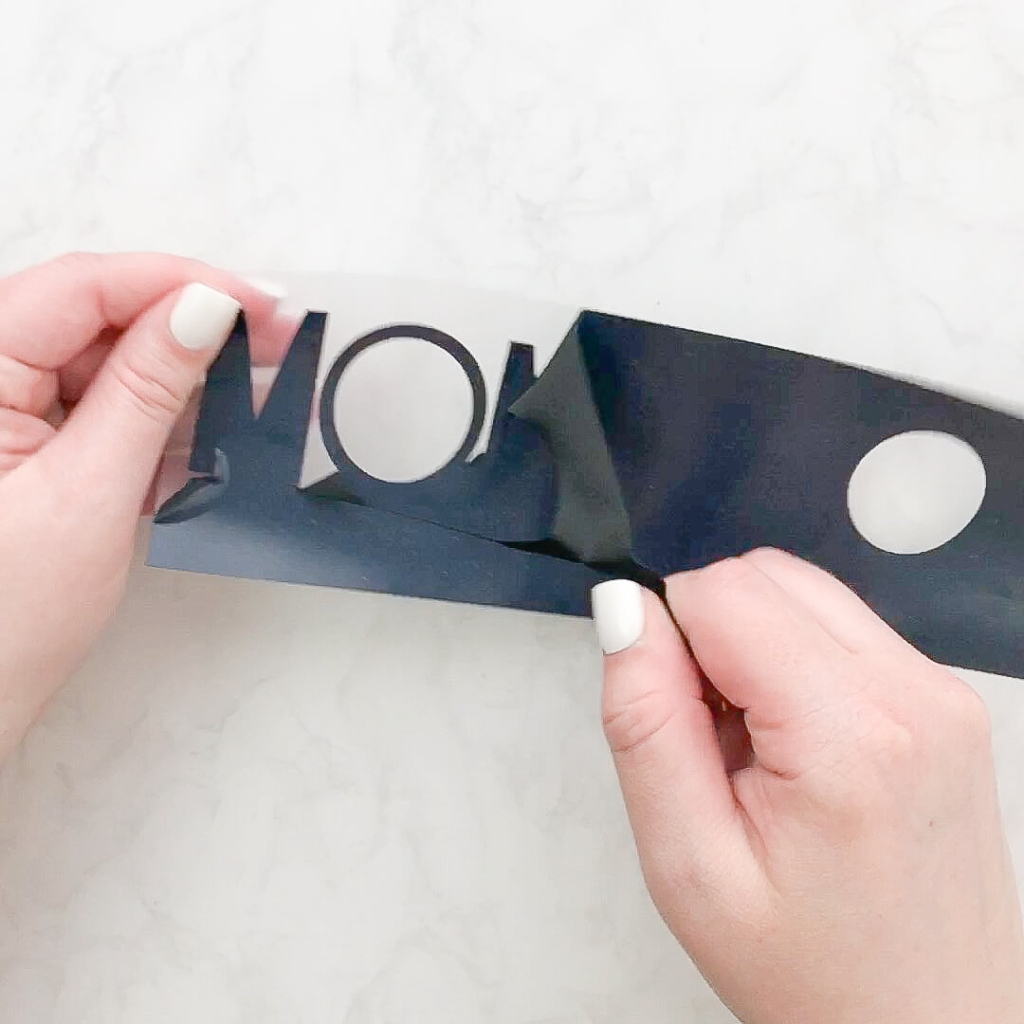
Weed the iron-on. To weed, means to remove the excess material that you do not need. In this case, we only need the word Mom.
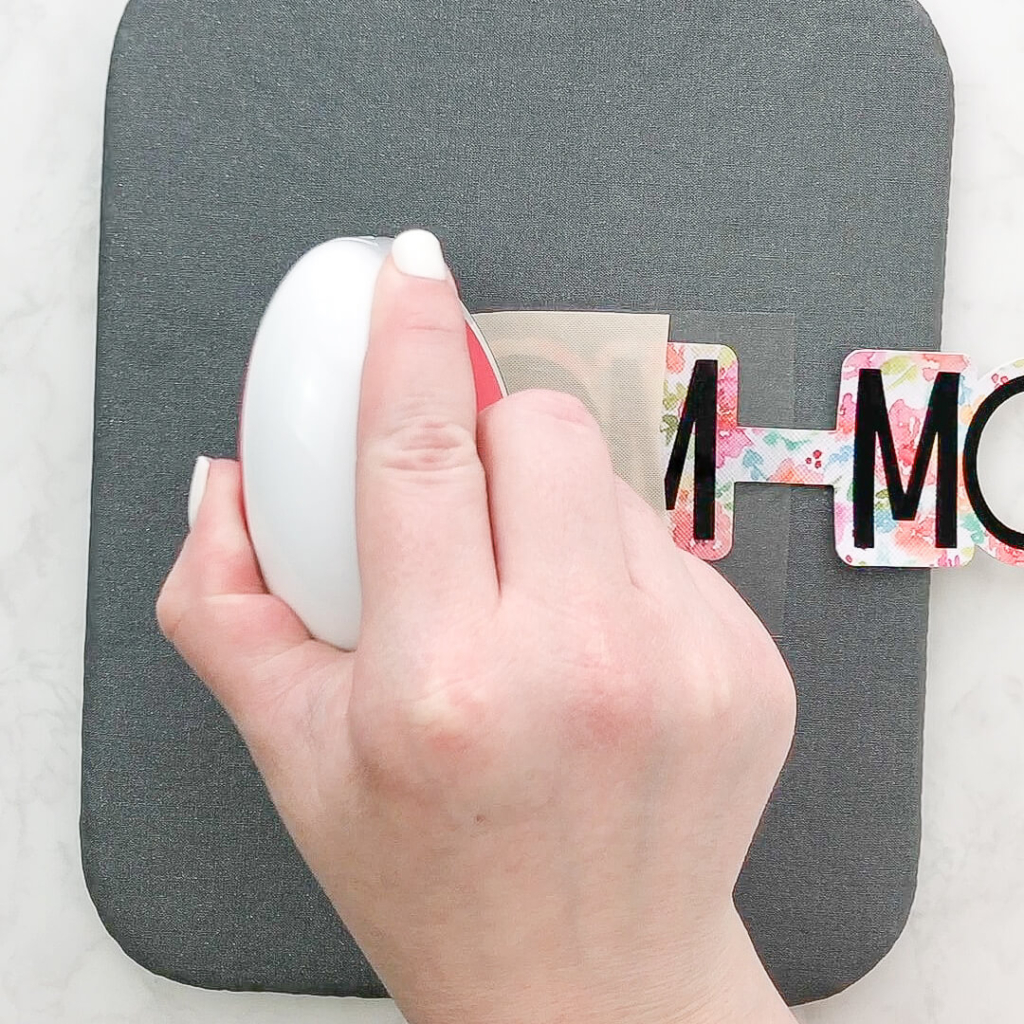
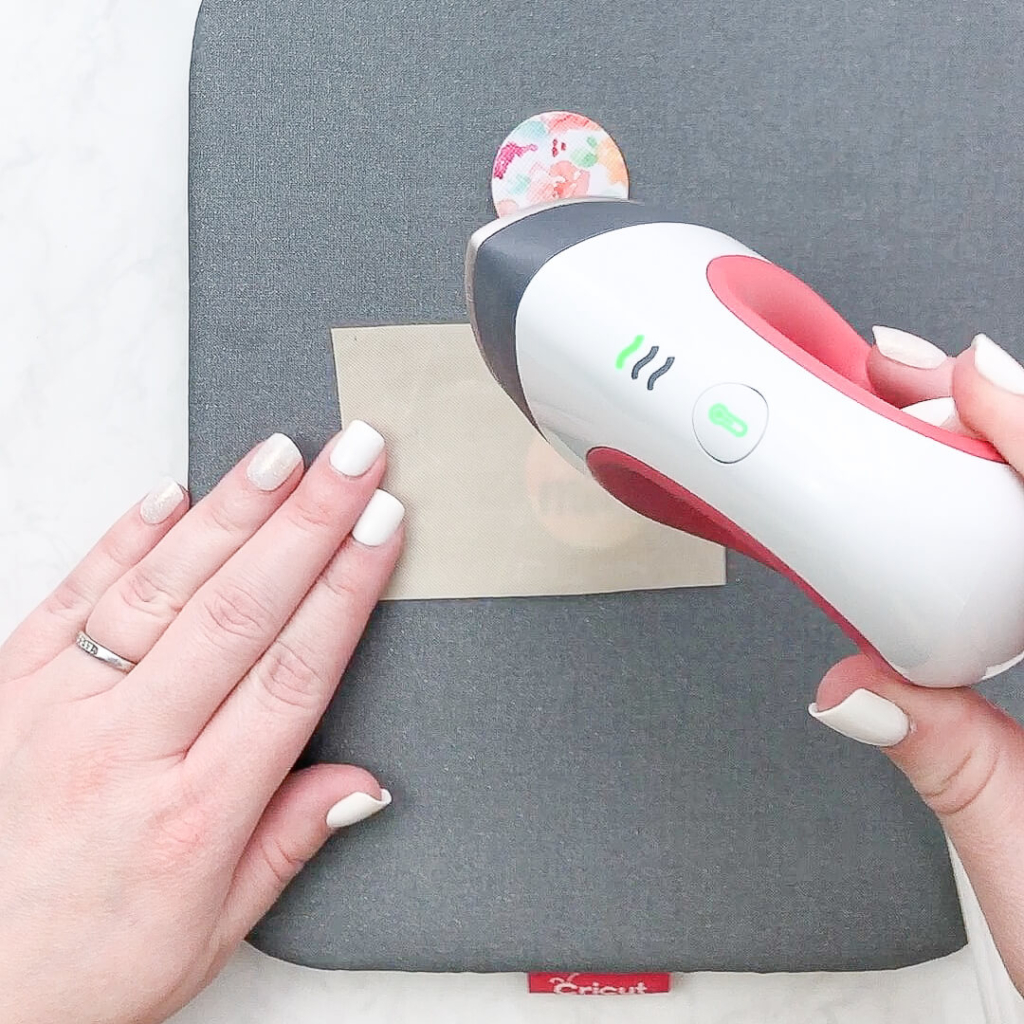
Grab a Cricut EasyPress mat and a Cricut EasyPress Mini to apply the iron-on vinyl. Make sure to use a Teflon sheet or heat resistant protective barrier to ensure the iron does not directly touch the faux leather. If so, the pretty pattern will likely melt and come off.
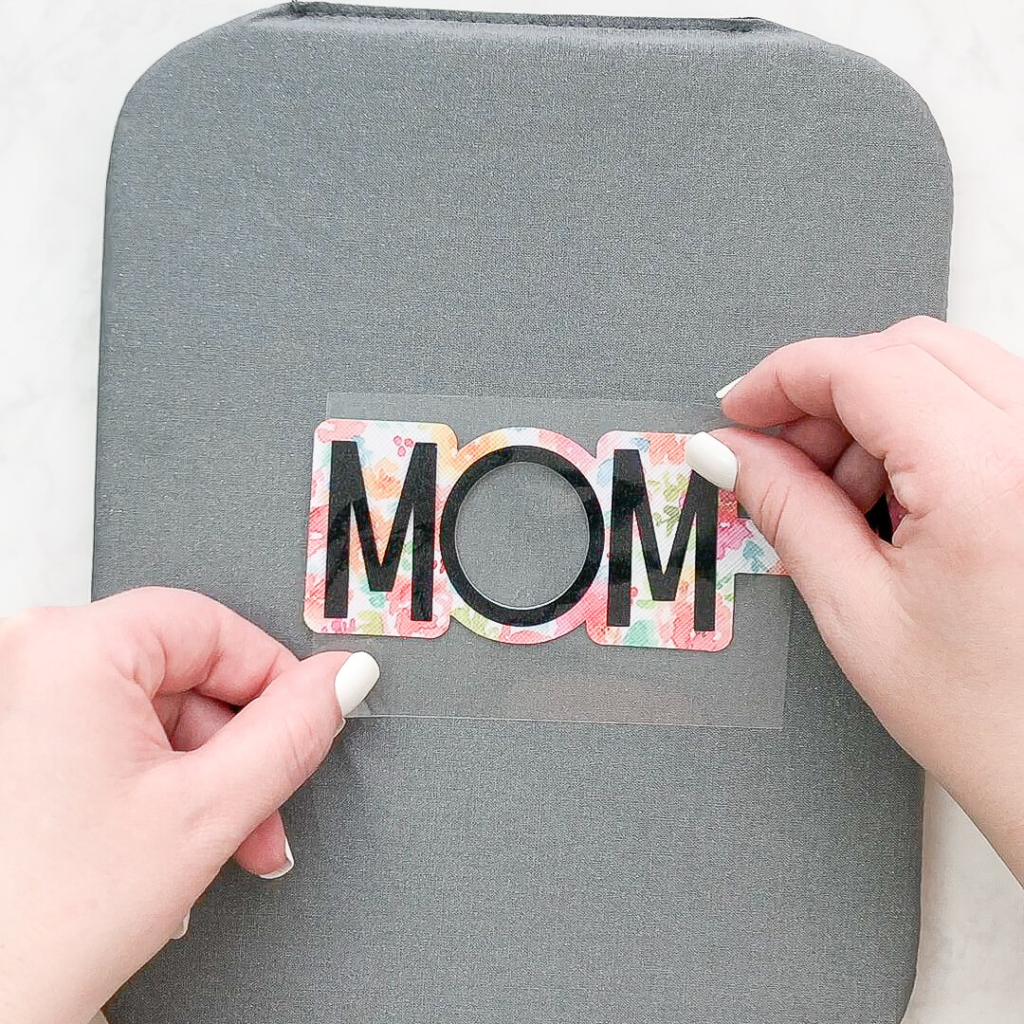
Line up the word MOM on the faux leather. The O will be a perfect fit. Apply heat with a Cricut EasyPress Mini on the lowest setting in short 10 second presses. Peel back the transfer sheet while the material is still warm (but not hot).
Grab the acetate ovals and the photos you want to use. This keychain is double-sided so find two of your favorite photos to use. Use the acetate to trace the shape needed on the photo for a perfect fit in the keychain photo frame.
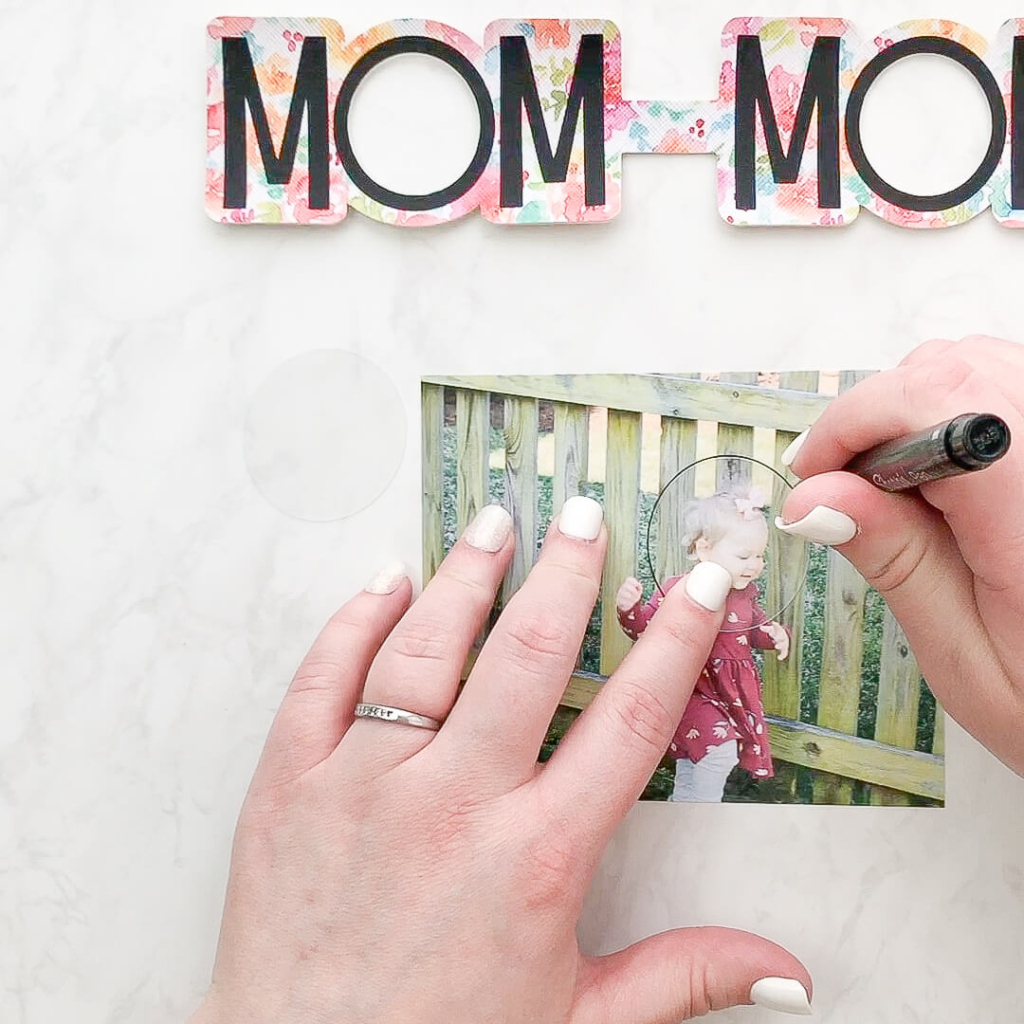
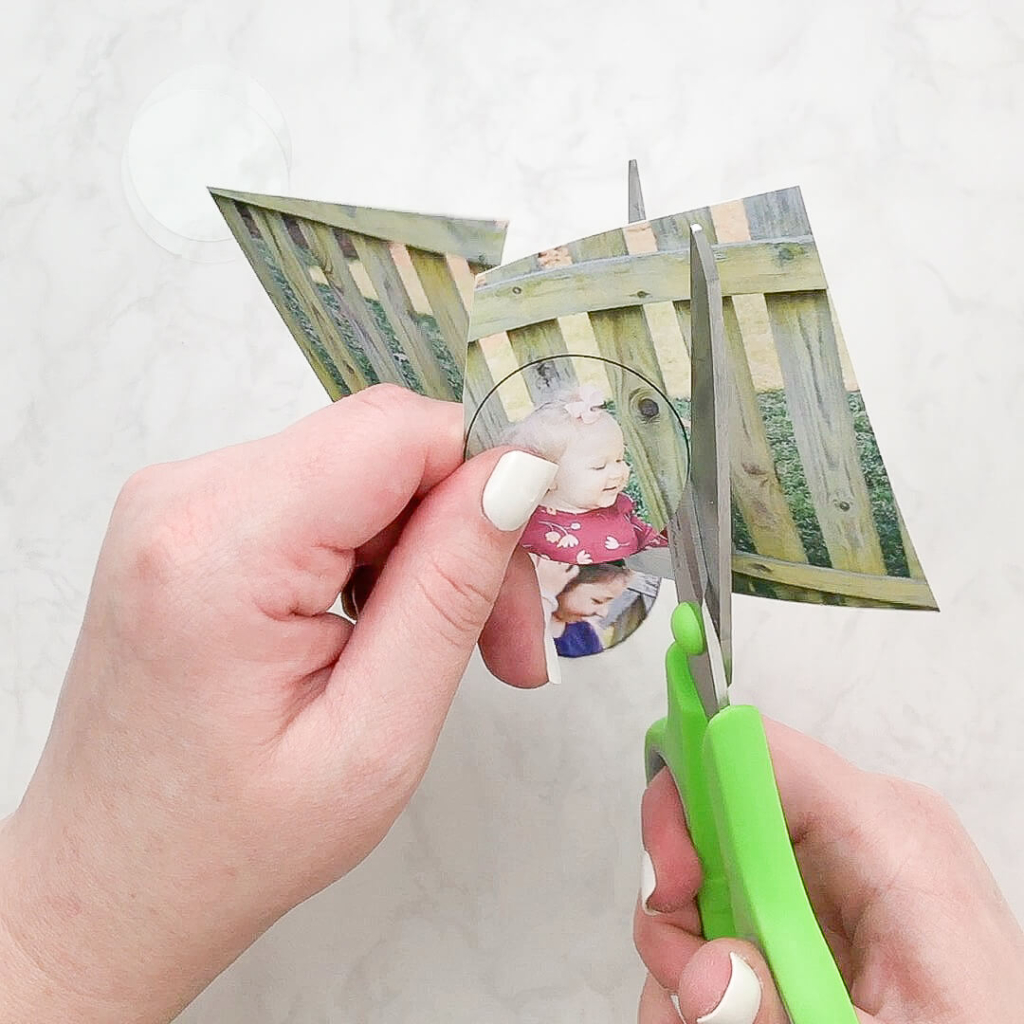
Cut out the photo shapes using scissors. The photo cuts do not have to be perfect because the faux leather provides a little bit of a frame.
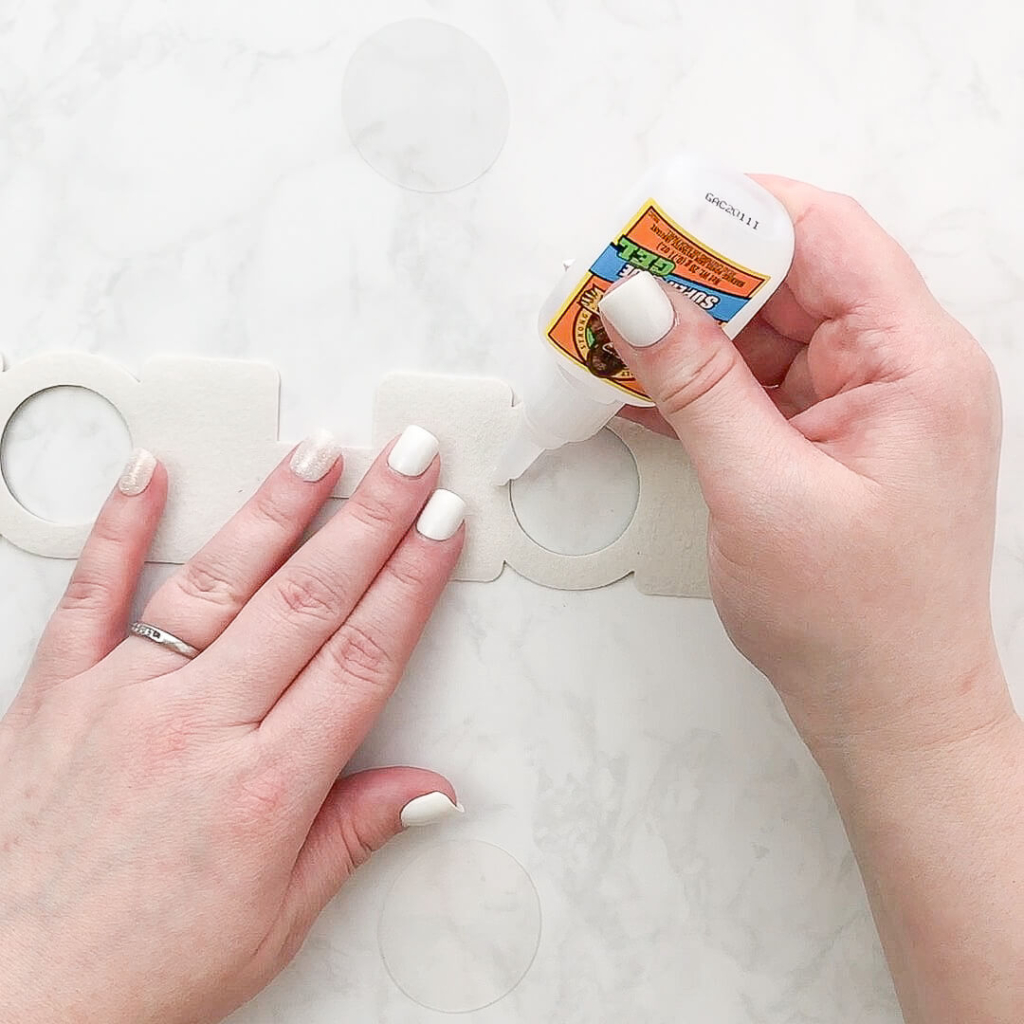
With the photos trimmed, use super glue to secure the acetate to the faux leather. It is really annoying to get super glue on your fingers so drop the acetate shape in place and try not to touch the super glue. Gently push down on the acetate.
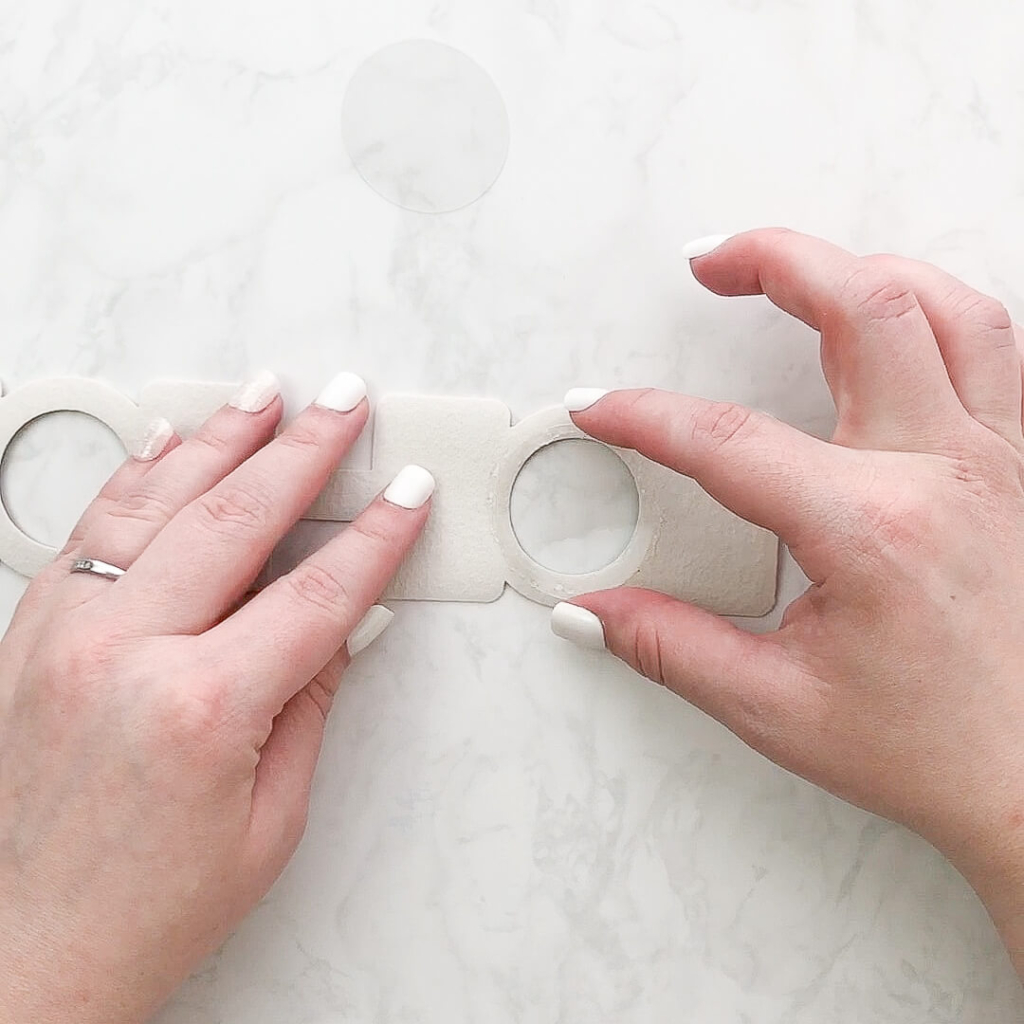
To keep the two photos together, I used double sided tape.
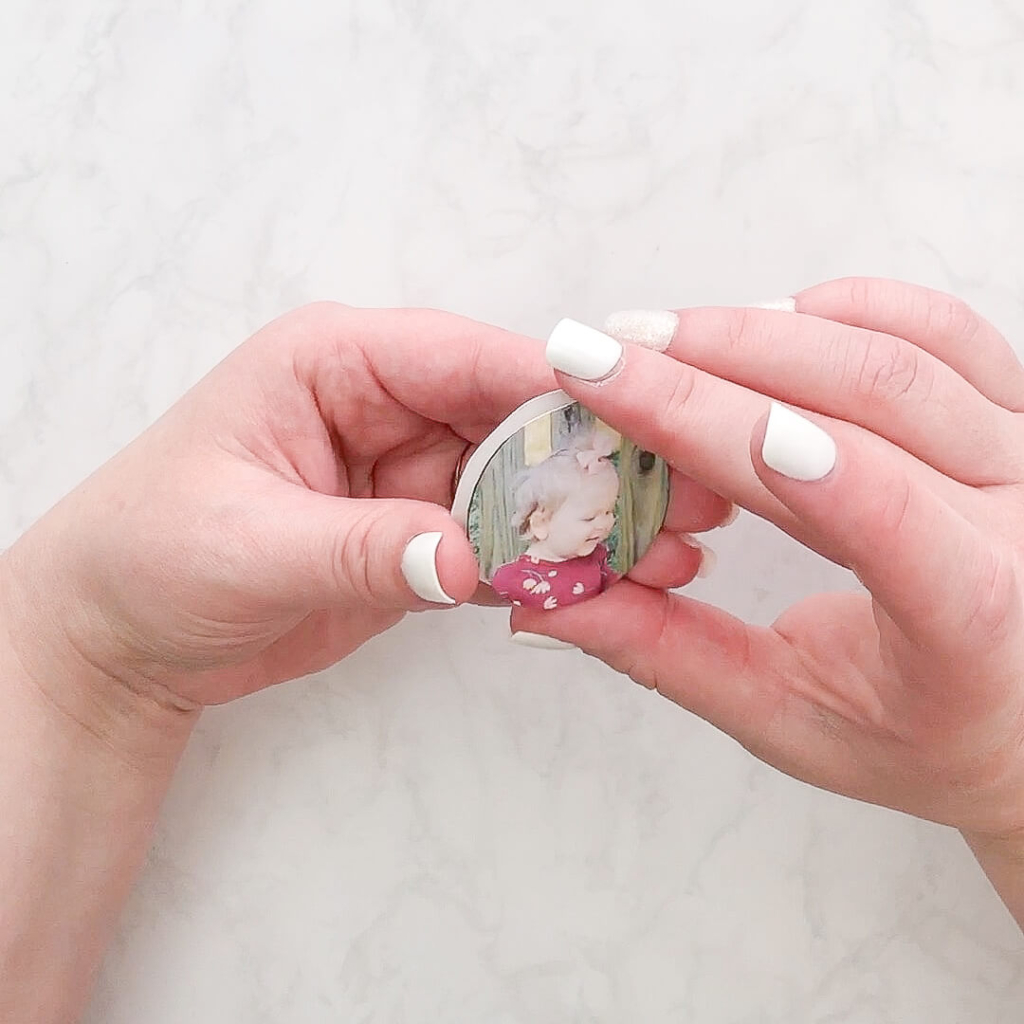
Next, lay the photo into the window of the faux leather. Oftentimes, the super glue has a little extra stickiness that will keep the photo in place.
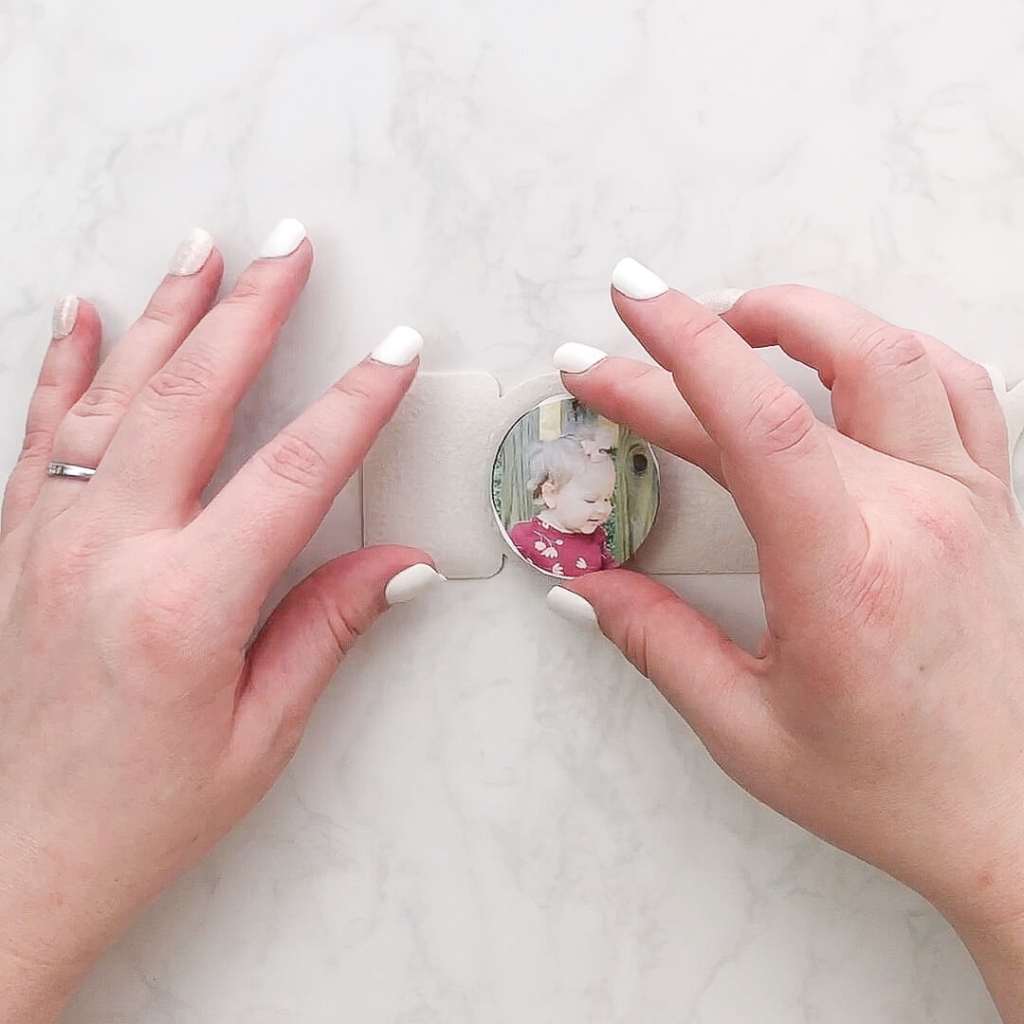
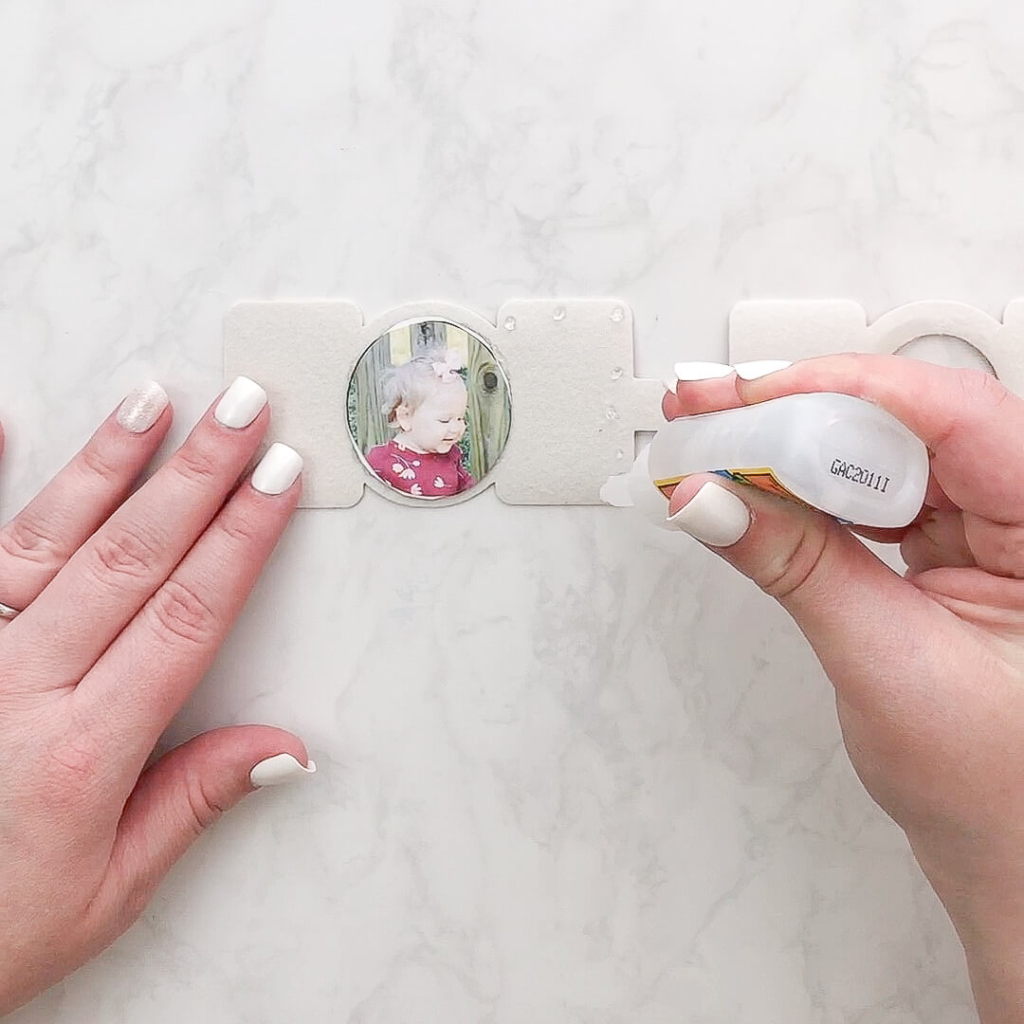
Add super glue around the edges of the faux leather on one side. You will want to apply the glue all in one action as the super glue dries quicker than regular glue. Be sure to add some small drops of glue around the photo frame.
Fold over the other side of the faux leather to secure everything together. Do not glue the loop at the end of the word as that is where the key ring will go. To help the glue adhere well, place something heavy on top to help the glue hold.
While the glue is drying, grab the two cut out shapes. These are perfect to add a little tag with a short saying. Here I used the saying ‘#1 Mom’ which a found in Cricut Access. Apply iron-on the same way as you previously did being extra careful not to let the iron touch the faux leather directly.
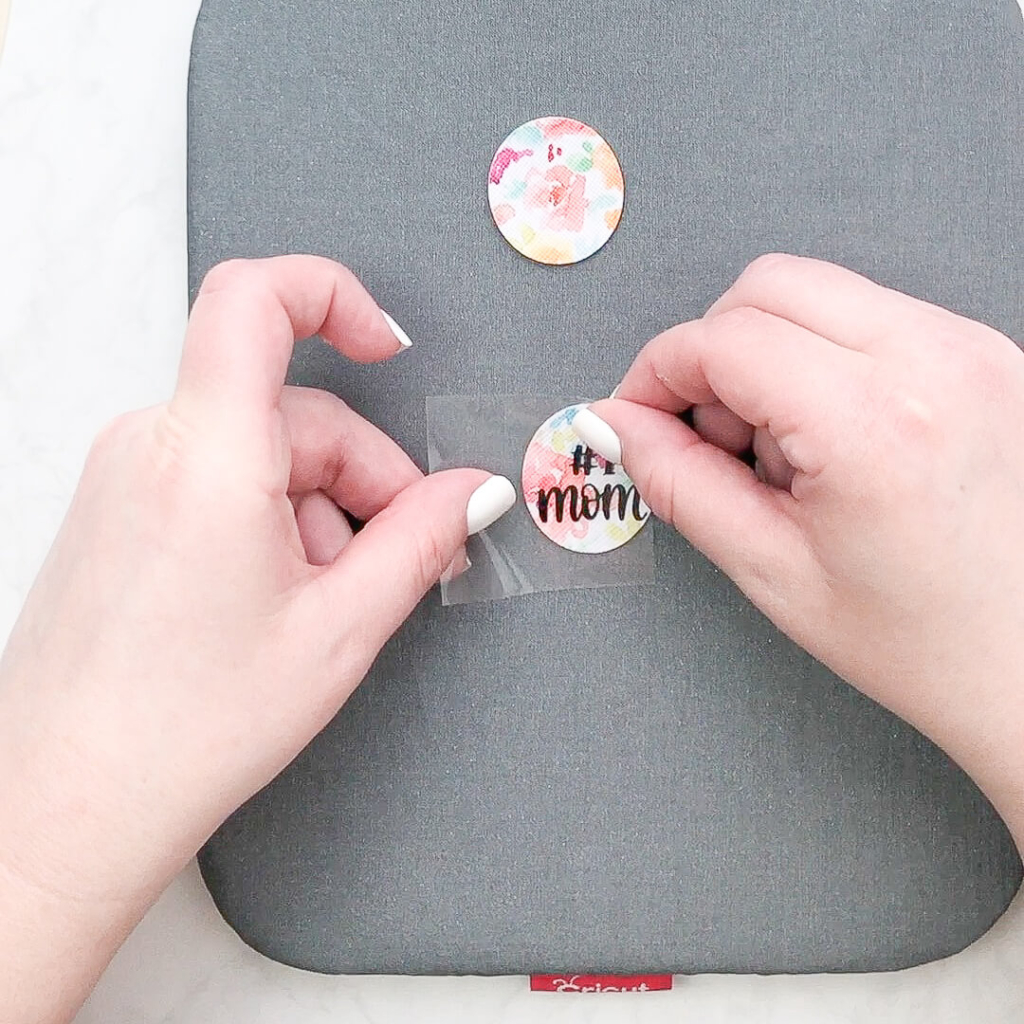
Use a Cricut weeding tool or sharp tweezers to pierce a hole in the two faux leather pieces for a jump ring. Secure the two shapes together with super glue and place the tag under something heavy while the glue dries.
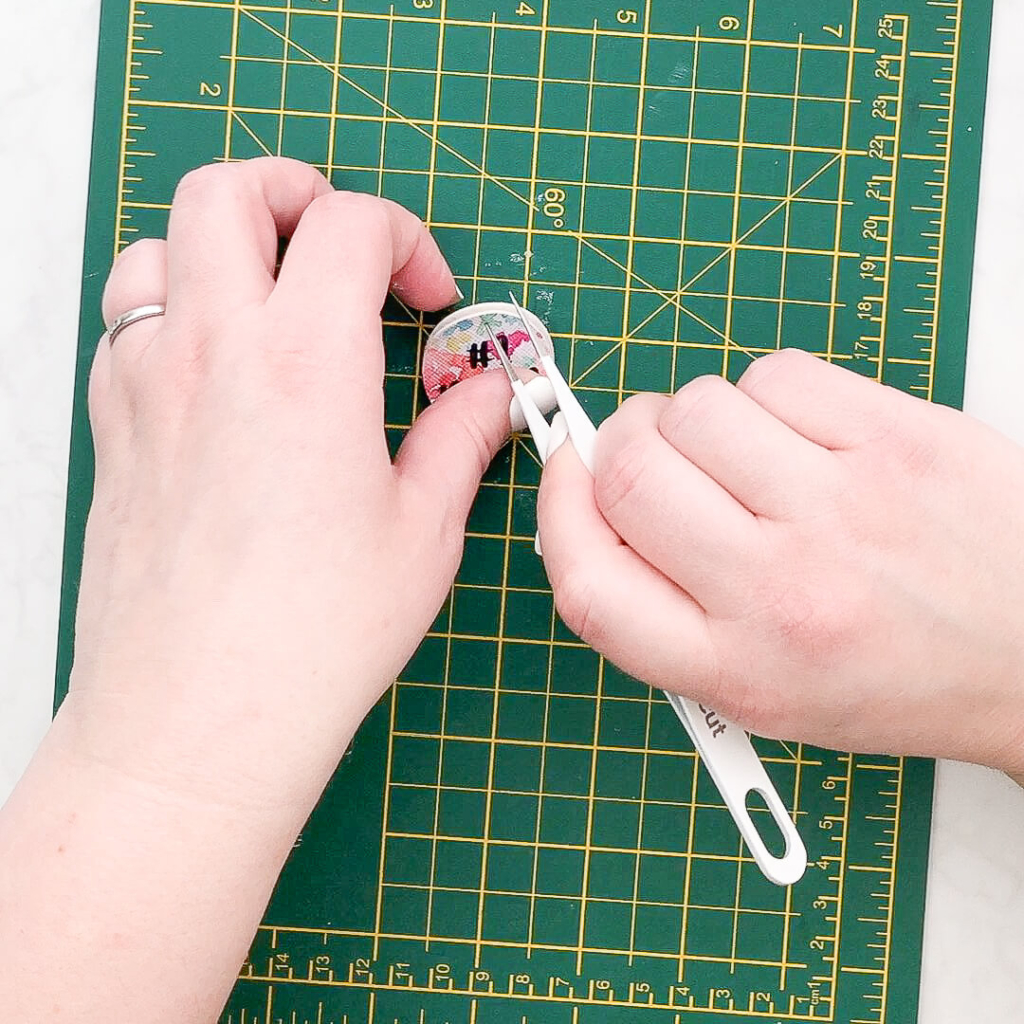
Check on the MOM keychain and use your fingers to close any gaps. By now the super glue should be very tacky or close to dry so it’s a perfect time to apply pressure in any areas you see separation between the faux leather layers.
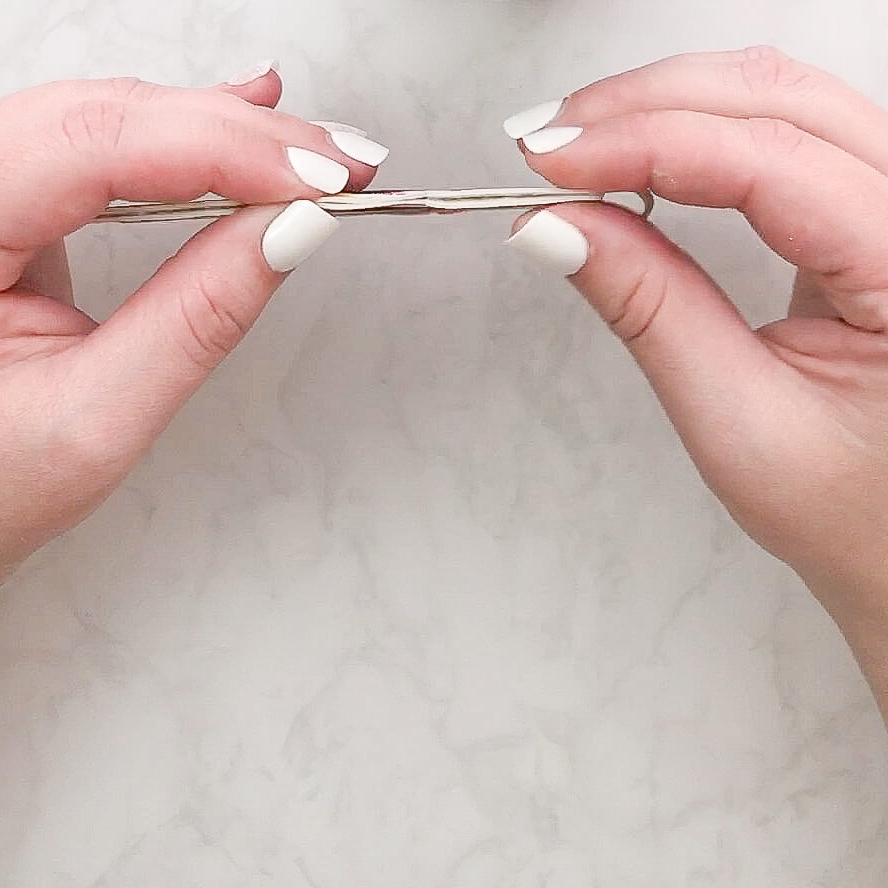
Check on the little tag and do the same checks for any separation. If needed, use the weeding tool again to clear a hole for a jump ring.
ADD HARDWARE
Almost done – time to add hardware! Use jewelry tools to add a jump ring to the tag and add everything to a key ring. Tassel is optional, but super fun, in my opinion.
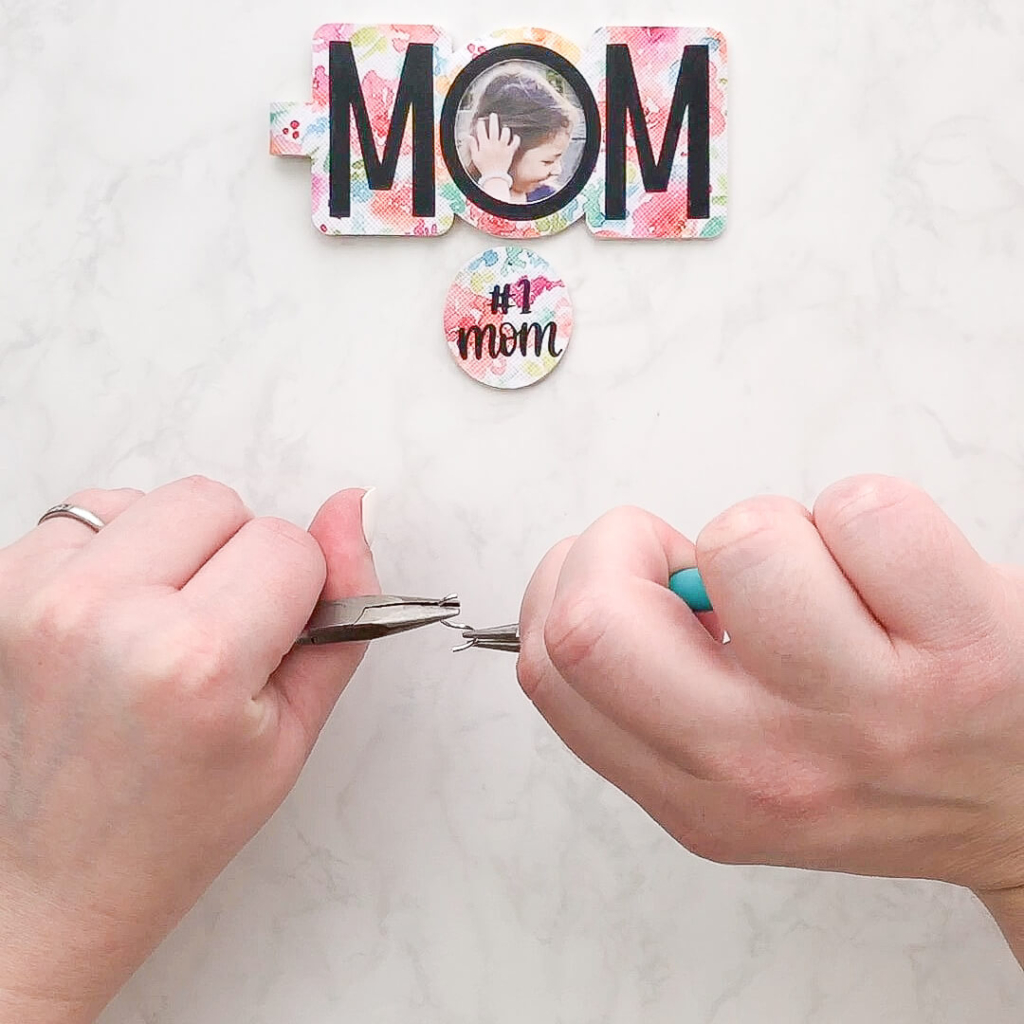
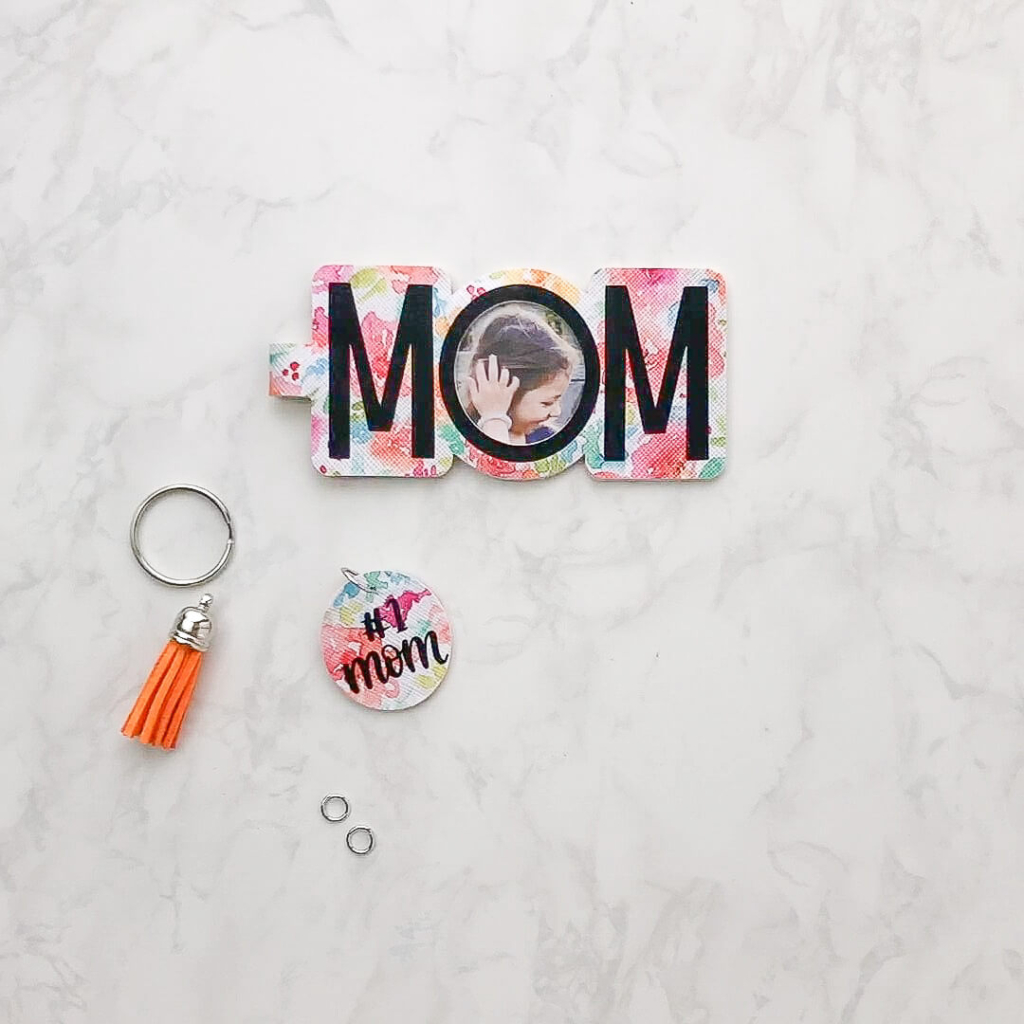
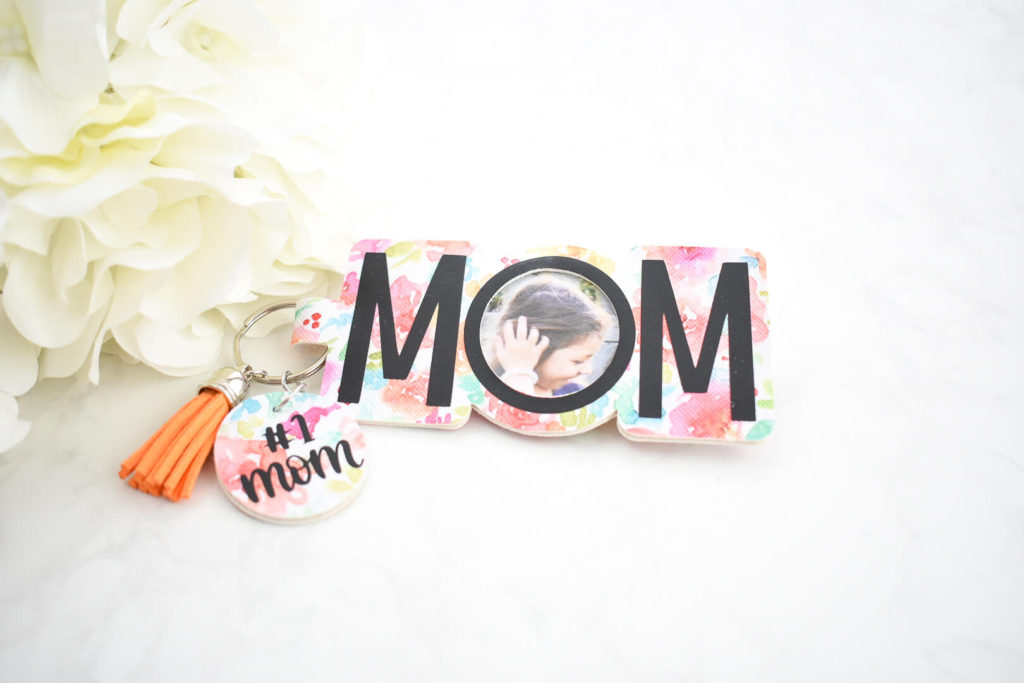
With the hardware added, your Cricut created MOM photo keychain is complete. I love how lightweight the faux leather is and this keychain makes the perfect homemade Mother’s Day gift.
WAS THIS TUTORIAL HELPFUL?
Did you find this tutorial how to make a leather MOM photo keychain with Cricut helpful? If so, please pin this idea and let me know your thoughts in the comments below!




11 Comments
Could I please get the MOM template emailed to me. Thank you!
Hi Alaynna, toward the top of this post, there is a form where you can get emailed the password to the library of cut files which includes the MOM template.
Can i get the password for this?
Hi Renae! Looks like you were able to register with your email. Did you get the password?
I cannot get my password for the svg folder for the Mom keychain. I have looked in spam and it is not there.
Hi Brenda. I sent you an email to help.
Super cute! Do you have a father’s day one? Dad would love one too! ?
Not yet. But I plan to make one soon.
great! ill keep my eye out 🙂