


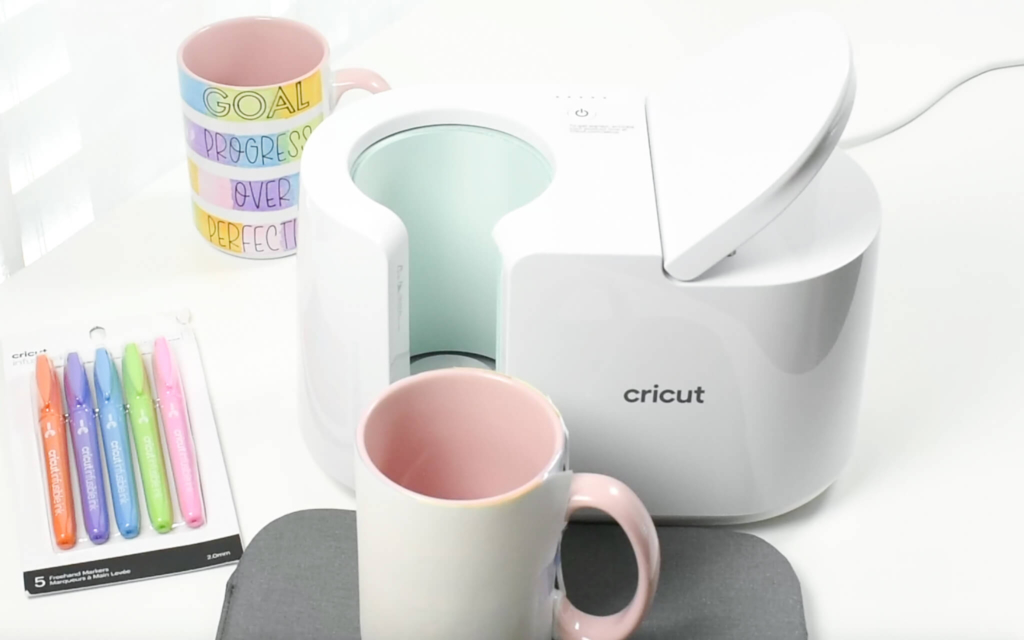
For this fun craft project, I used a Non-Cricut brand 15 oz. Ceramic Sublimation Mug and it worked perfectly. The pretty pink handle and inside make for a fun and easy project color combination. Cricut offers blank mugs made specifically for the Cricut Mug Press. When on sale, the Cricut mugs are similarly priced as compared to other retailers.

HERE’S WHAT YOU’LL NEED
- Cricut Machine (Joy, Explore Air 2/3 or Maker/3)
- Cricut Mat – LightGrip Machine Mat
- Cricut Mug Press
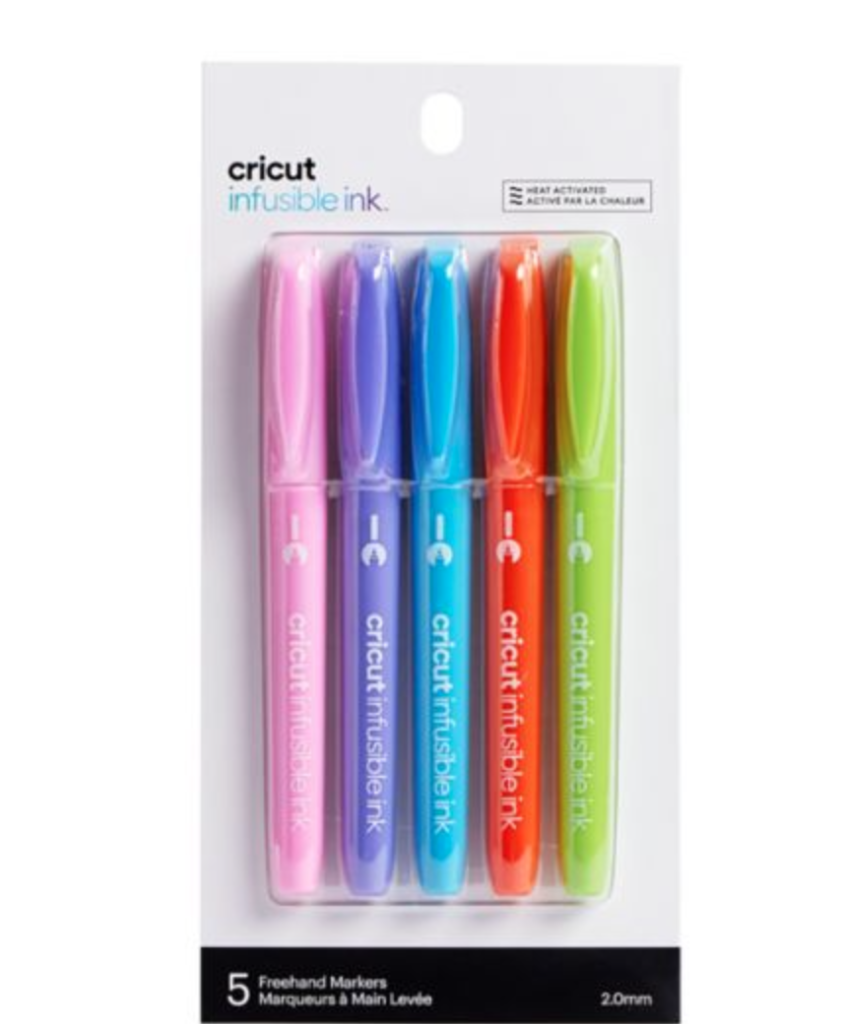
- Infusible Ink Freehand Markers 2.0, Tropical colors
- Cricut infusible ink pen – black
- Cricut fine point pen – any color
- Printer Paper (Love this paper for printing planner pages as well)
- Butcher paper
- Mug Blank with pink inside/handle (rated for sublimation)
- Heat Resistant Tape
- Lint Roller
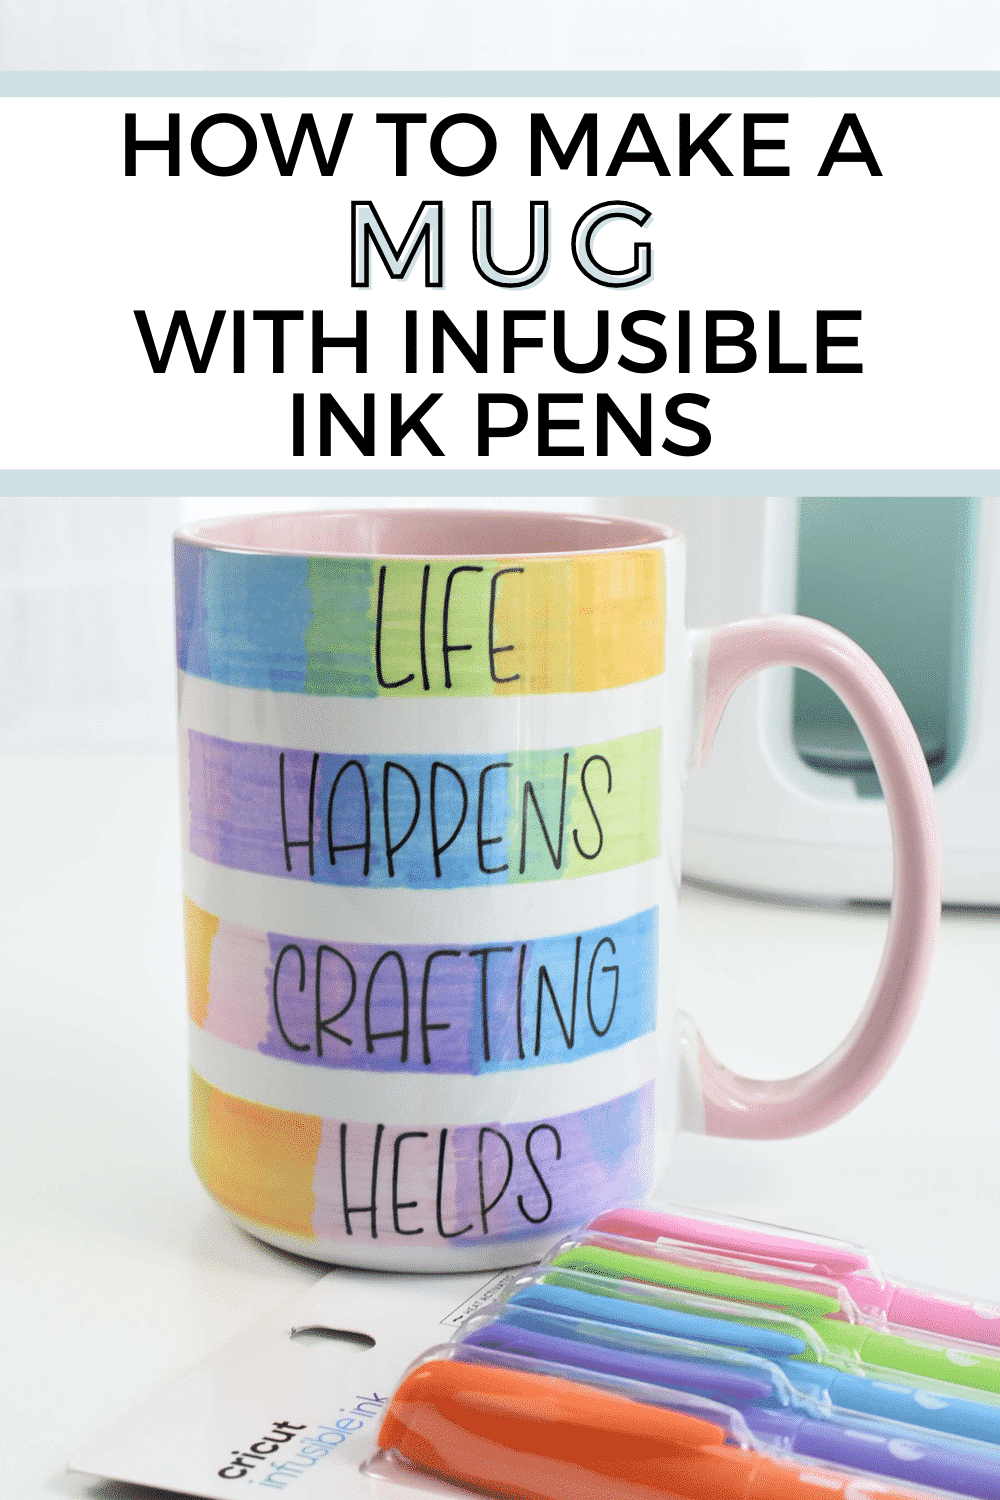
HOW TO MAKE A MUG WITH INFUSIBLE INK PENS
Start with a new canvas within Cricut Design Space. In Projects, search ‘mug’ to find the mug design setup template. This helpful template has ten size/edge options to choose from – but we will be working with the straight edge.
If needed select the design and unattach the layers. This will ungroup the layers. Next, hide the mug placement guide layer.
Check that the center rectangle shape is unlocked, then reduce the height. For this 15 oz mug, I choose a height of .8 inches for each rectangle.
With the center rectangle selected, click duplicate to easily create another shape. Duplicate the rectangle until you have four. Move the rectangle shapes so they are generally centered and evenly divided. Next we will align them so they are perfectly placed.
Select the bottom rectangle and the Mug Wrap shape, then click Align, Align Bottom. Select Align again and Center Horizontally. This will position the rectangle perfectly at the bottom, center of the mug wrap shape.
Next, Select the two inner rectangles and the Mug Wrap shape, then click, Align – Center Horizontally.
To evenly distribute the rectangles, select all four rectangles, then click, Align – Distribute Vertically.
With the rectangles perfectly positioned, select all four and change the operation to Pen. Choose a light pen color – these rectangles will serve as a guide and not actually transfer during the heat press.
ADD WRITING FONT
Next, add text which will be drawn with Infusible Ink pens. I added a phrase with four words to place one word in each of the rectangles.
I choose a writing font to achieve a single line word vs a word that is bubble letters and not filled in. To easily search for a writing font, select Fonts and on the right side and use the Filters to select Writing. This will show fonts that are capable of single line writing.
Once you select the font, be sure to change the Style from Regular to Writing to ensure the single line writing. The text will be thin – just like when writing with a regular pen.
Next to Operation, you can choose the exact pen color to use. This is useful because Cricut will prompt you to change out pens when it begins writing that word. In this case, we will use an Infusible Ink pen because we want the words to transfer during heating.
If needed, adjust the size of the font to fit within the rectangle. Position the text within the rectangle. Then duplicate the text and change the word to the next word in the phrase. Continue duplicating the text to complete the phrase.
With all the text in place, unhide the layer with the mug placement guide. This will help you line up the text well.
TIP FOR A PERFECT MUG TRANSFER: For the top text, move it down to align close to the bottom of the first rectangle. This is because the top sometimes goes just above the top of the mug and might get cut off. Same for the bottom text. Move the bottom text toward the top of the bottom rectangle to avoid cut off.
Lastly, select all the text and Align – Center Horizontally to align them perfectly with each other.
Be sure to hide the mug placement guide layer.
To prepare for Cricut, select the whole design and click attach. Then go ahead and click Make it to send to Cricut.
DRAW AND CUT THE DESIGN WITH CRICUT
Once on the Prepare screen, be sure to select Mirror. This will ensure the text is not backwards on the mug. Also, note that this will move the text to the other side of the mug.
Next, select the material. Search for Copy Paper. For the Cricut Air model, switch the dial to custom to search for Copy Paper.
Add the copy paper to the LightGrip Cricut mat and add the non-infusible ink light colored pen to the Cricut machine. The Cricut machine will draw the rectangles and will pause when it is time to switch to the black infusible ink pen. You will see a notification in Cricut Design Space to switch the pen. Then continue the cut by clicking the blinking button.
The Cricut machine will continue writing out the text. Once finished with the text, the Cricut machine will cut the mug wrap template out of the copy paper. The mug wrap is pre-set by Cricut to cut twice. As long as you set the pressure to copy paper, you will have no issues with leaving cut marks on the mat.
ADD COLOR TO THE MUG WRAP TEMPLATE
After the Cricut machine has completed the cut, remove the mat and gently remove the mug wrap from the mat. The text will be backwards on the paper and that is exactly what you want.
To fill with color, I used Infusible ink freehand markers. What is neat about these markers is when you overlap the colors on the paper it blends them together creating a fun rainbow effect.
Easy Christmas Cupcake Topper Tutorial with Cricut
Step-by-Step Guide: Easy Christmas Cupcake Topper and free cut file for Cricut Check out these charming holiday cupcake topper flags for Santa's North Pole Bakery. They're adorable and super easy to create using your Cricut machine. With these little flags poking out of the snowy white icing, they remind me of my favorite Christmas movie
NOTE: The rectangles drawn with the regular Cricut pen will not transfer onto the mug because they are not infusible ink. The rectangles are to use as guides for coloring.
There really is no right or wrong way to add color. Don’t worry about coloring over the black Infusible ink pen, the black will come through during the heat transfer.
With the color done, prepare the mug for the Cricut Mug Press by cleaning it with a new lint roller to remove any dust or dirt.
Next, wrap the paper mug design around the mug with the color facing the mug and Secure with heat resistant tape.
Finally, add a protective barrier to protect the Cricut Mug Press from ink bleeding through the paper. Cricut recommends wrapping three layers of butcher paper around the mug. Secure the extra paper with heat resistant tape.
APPLYING INFUSIBLE INK WITH THE CRICUT MUG PRESS
Make sure the Cricut Mug Press is plugged in and push the power button to pre-heat the machine. This is a good time to add any small bits of heat resistant tape to your mug to ensure the paper does not move.
TIP FOR A PERFECT MUG TRANSFER: If possible, avoid adding tape over a part of the design that has ink. That way the heat and pressure will be applied evenly to the whole design.
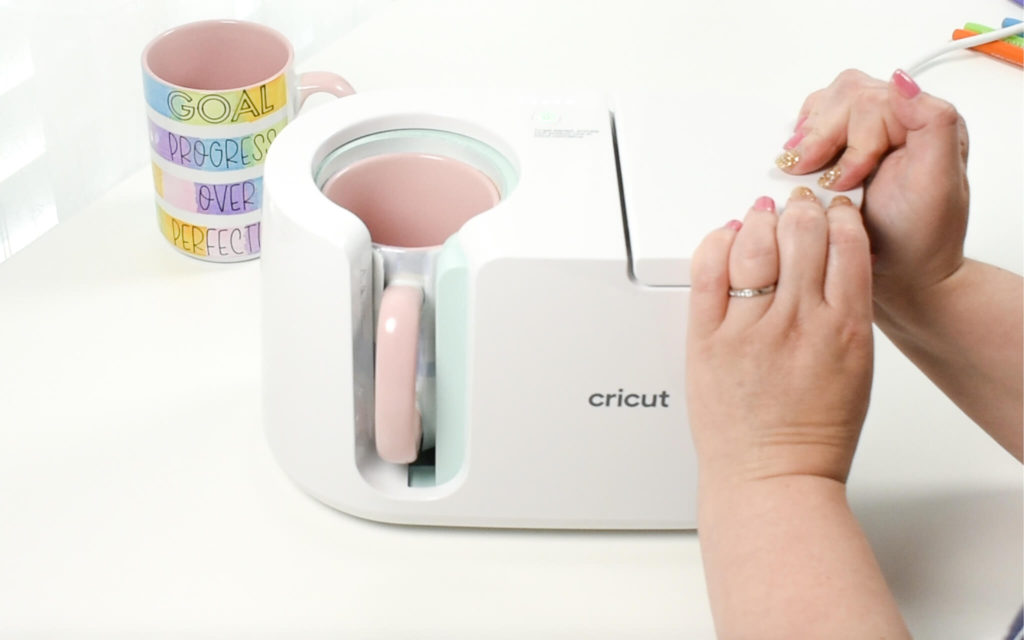
When the Cricut Mug Press is pre-heated, slide the mug into the press at an angle and press the lever down to secure the mug in place.
The mug takes an average of six minutes to transfer the design, but could take more for larger mugs. The Cricut mug press does all the thinking for you with regard to temperature and time.
HOW TO MAKE A MUG WITH INFUSIBLE INK PENS – MUG COOL DOWN
Grab a heat resistant surface like an EasyPress mat and have it ready for when the mug is done. The mug handle remains cool but the mug will be extremely hot so you want a safe spot to let it sit and cool down.
The Cricut Mug Press machine has indicator lights to show progress and will beep when the mug is complete. Once you hear the beep, remove by mug by only touching the handle and place on a heat resistant surface. Allow the mug to cool down all the way. Not only will a hot mug burn you but moving the infusible ink sheet while still hot, may cause colors to shift and ghost. Let the mug sit for 15-20 mins or longer if still warm.
When the mug is cooled, remove the tape and transfer sheet to reveal your beautiful design.
This fun craft project to create a mug with infusible ink pens makes beautiful customized gifts that are permanent, dishwasher and microwave safe. Use the Cricut Mug Press to make fun and quick crafts easily at home with your Cricut cutting machine.
Did you find this fun craft project tutorial on howto make a mug with infusible ink pens helpful? If so, please pin this idea and let me know your thoughts in the comments below!
One Comment