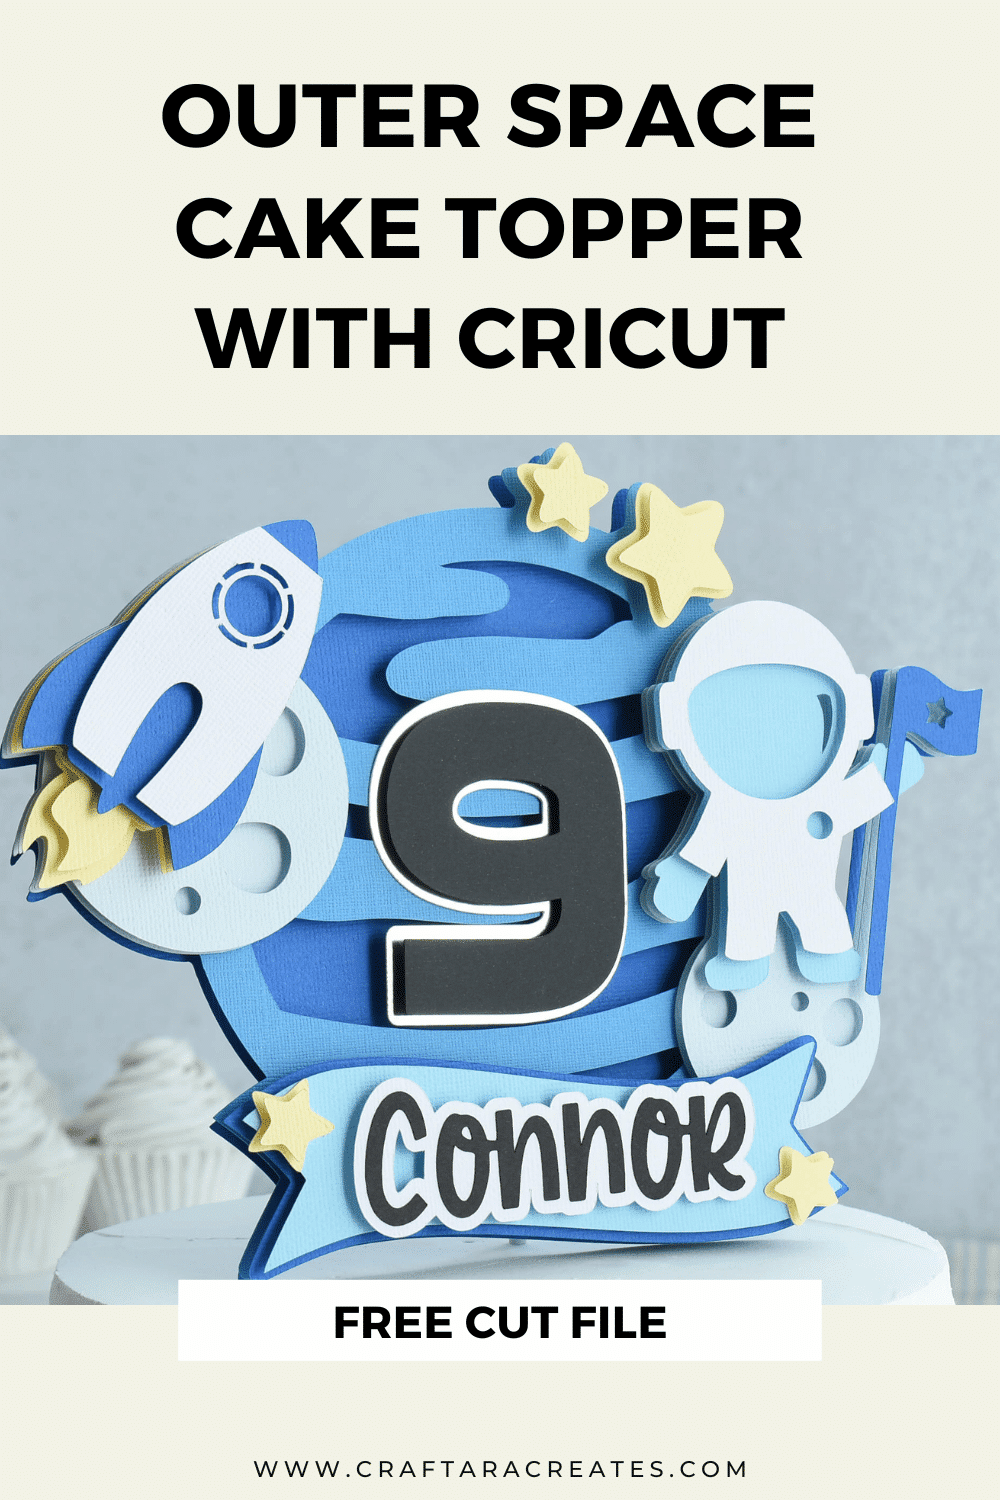
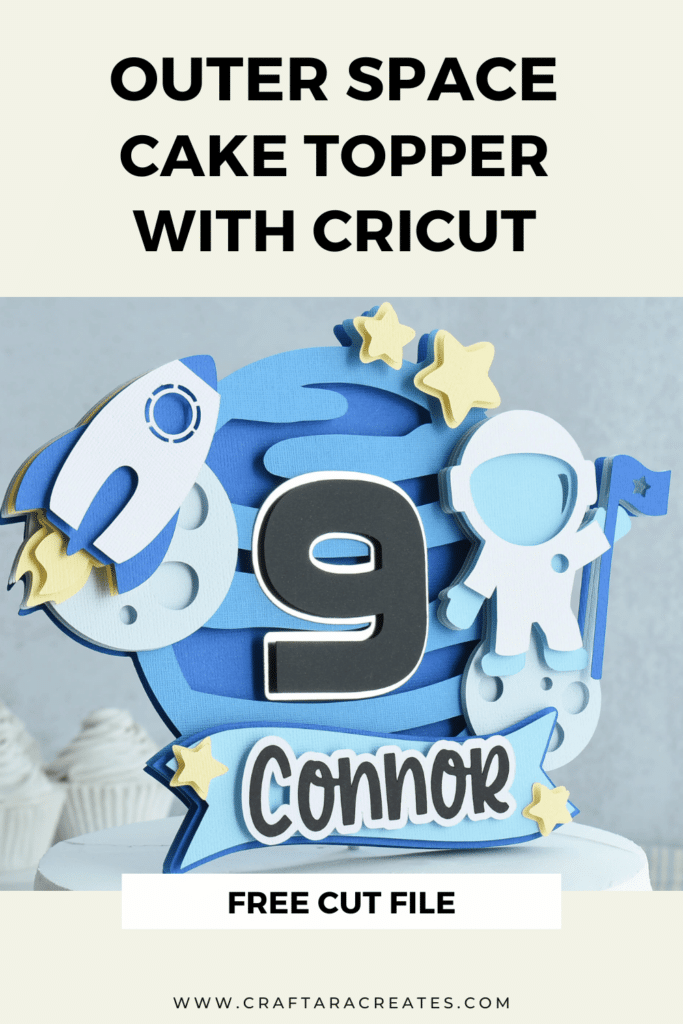
Take your creativity to the stars with an Outer Space Birthday Cake topper with Cricut
If you’re planning a special birthday celebration with an “outer space” theme, this cake topper is the perfect way to bring the magic of the cosmos to your party. Use this project idea as an opportunity to let your imagination soar as you create a one-of-a-kind masterpiece for your little astronaut.
My favorite thing about DIY cake toppers using a Cricut machine is the ability to customize colors and add personalization. Choose your future astronauts favorite colors, whether it’s vibrant blues and grays or cosmic purples and pinks, this project will be the finishing touch to a stellar party.
Grab the free cut file below and follow along as I guide you step-by-step through the process of creating a cake topper that will transport your birthday celebration to the depths of space.
This post may contain affiliate links, which means I’ll receive a commission if you purchase through my links, at no extra cost to you. Please read my full disclosure for more information.
Where can I find the Outer Space Birthday Cake topper cut file?
Grab the free Outer Space Birthday Cake topper svg cut file from my resource library in the Celebration craft freebie section and upload the SVG cut file into Cricut Design Space. Sign up below to unlock the resource library.
You will be included in my email newsletter with helpful Cricut ideas, tips and resources. Unsubscribe anytime and your email will never be shared.
Space themed party ideas
This Outer Space Birthday Cake topper design works well for a variety of space themed parties:
- ‘2 the moon’ birthday party
- Blast off to Outer Space birthday party
- Astronaut Academy or Future Astronauts birthday party
- Galaxy Birthday party
Here's what you'll need to make the Outer Space Birthday Cake topper
- Outer Space cake topper cut file
- Cricut machine
- Cricut machine mat
- Foam tabs
- Craft glue
- White Cake Pop Stick
OR - Clear Cake Pop Stick
- Cardstock from 12×12 Cardstock Shop
- SILVER MIRROR FOIL BOARD
How to upload the Outer Space Birthday Cake topper into Cricut Design Space
Start this project by uploading the cut file. The filename is SVG-SpaceCakeTopper.svg
Click on Upload which is on the left side of the screen. Then click Upload Image. You can either click the browse button or drag and drop the cut file into the Cricut Design Space window.
Click upload. Then select the design so that the green box is around it and click Add to Canvas.
How to prepare the Outer Space Birthday Cake topper
First, you’ll put the Outer Space Birthday Cake topper on the Cricut Design space canvas. Then click on the text tool to add the birthday kid’s name and age. You can make a second layer using the offset tool. Put the name on the banner and the age in the middle of the cake topper.
Next, double check the size of the cake topper and press “make it” when you’re ready to start cutting with your Cricut machine.
This project uses 6 or 7 different colors of cardstock (depending on the colors used for the stars and rocket ship exhaust). After picking the right setting for your cardstock, cut out all the different layers. If you’re using glitter cardstock or foil board, you may need to search for the right setting under ‘browse all materials’.
Assemble your Outer Space Birthday Cake topper
To begin assembling your cake topper, start by putting all the pieces together without glue to make sure everything looks good. Then, use foam tabs to stick the two base layers together.
Next, assemble the moon and rocket ship. The moon consists of two layers and the rocket ship has 4 layers. Each layer stacks on top of the other. Add foam tabs inbetween the layers.
Then assemble the astronaut on the moon. This section is assembled in the same way as the rocket ship. Each layer stacks on top of the next. For the top most layer, which is the flag, secure with glue.
Move on to the banner and stars. Both the banner and stars are two layers stacked with foam tabs. The inside of the star has pointy edges, while the outside layer has more rounded edges.
Once everything is assembled, use glue or foam to add each section to its designated spot on the cake topper. To finish off your Outer Space Birthday Cake topper, add a paper cake pop stick to the back with hot glue.

Was This Tutorial Helpful?
Did you find this information on how to make an Outer Space birthday party cake topper with Cricut helpful? If so, please pin this idea and let me know your thoughts in the comments below.
